4. Select Export (or Data Export) from the File menu and then select the output plug-in that matches your printer.
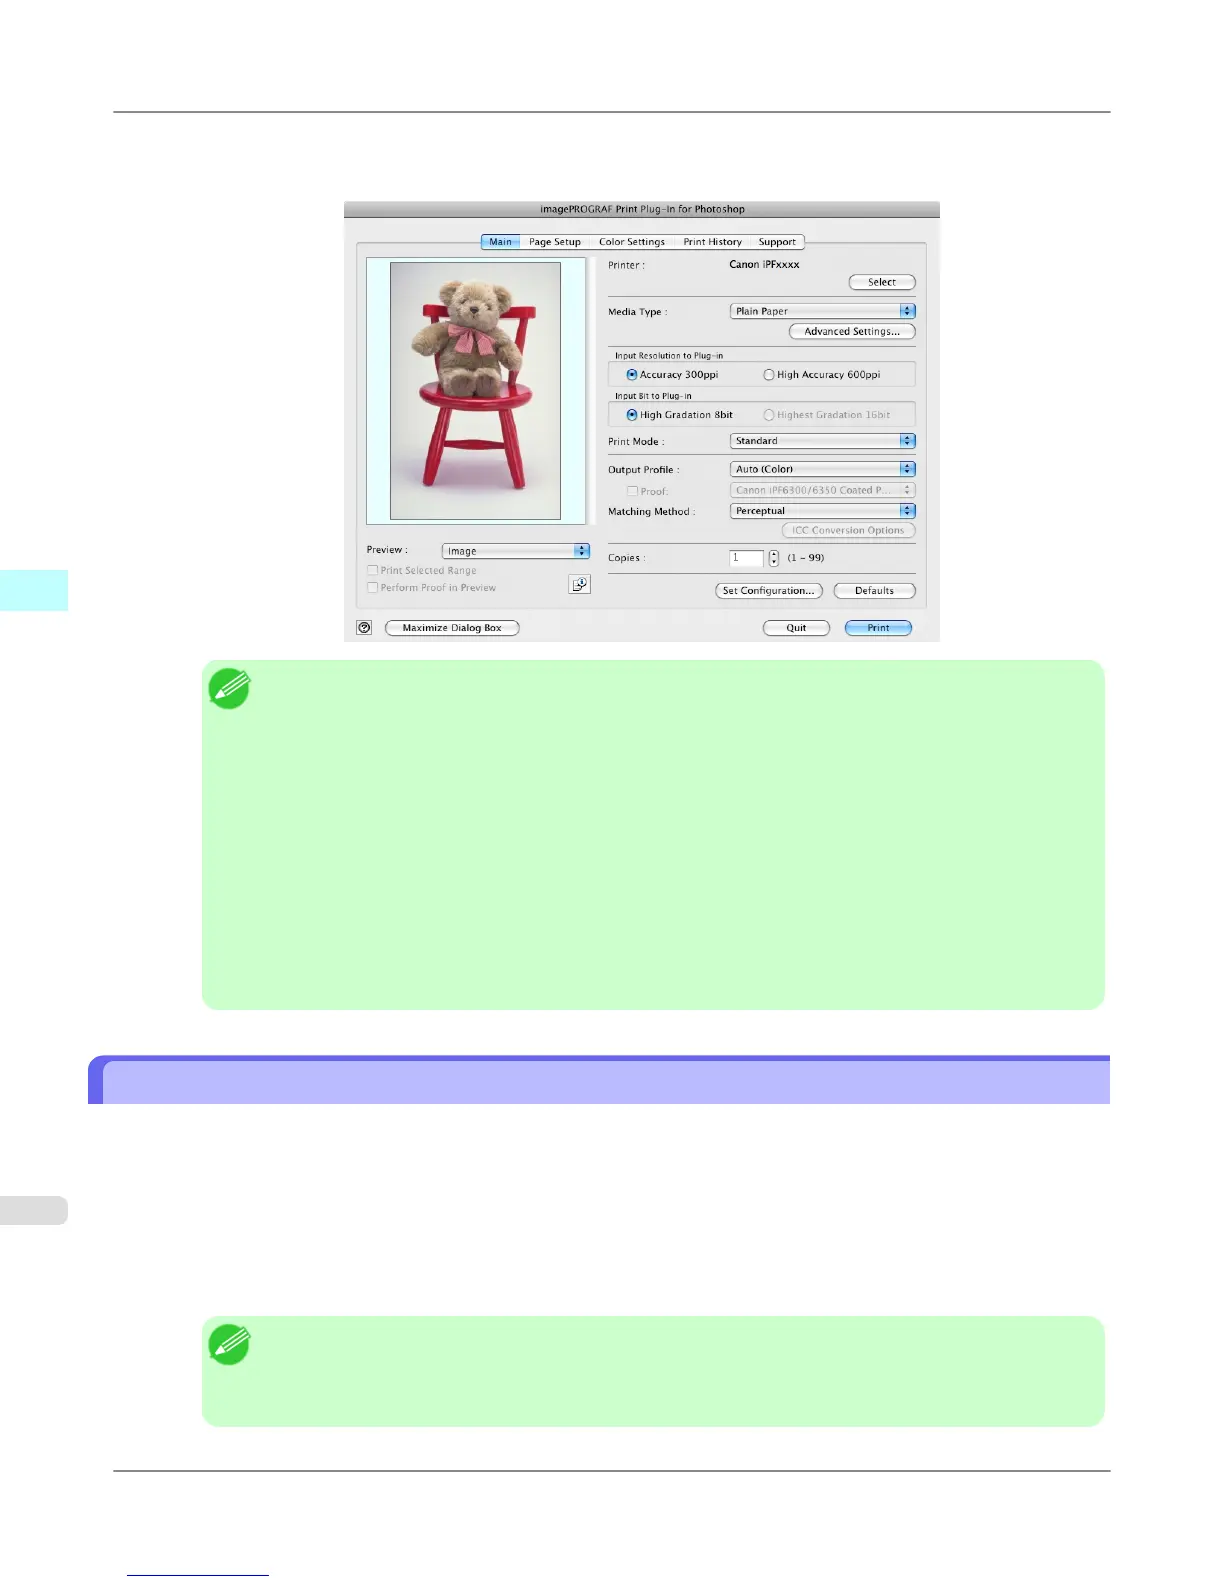
The imagePROGRAF Print Plug-In for Photoshop window (known below as the Print Plug-In window) is displayed.
Note
• When the color space of the input image is CMYK, it is changed to AdobeRGB for processing with
Print Plug-In. Also, Relative Colorimetric is used for the matching method.
• If the message below is displayed but the Print Plug-In window is not displayed, install the newest
imagePROGRAF printer driver and then attempt step 3.
To install imagePROGRAF Print Plug-In, the latest version of the imagePROGRAF printer
driver must be installed.
• If the following message is displayed, but the Print Plug-In window is not displayed, open only one
Photoshop.
When Photoshop is running in multiple windows, the plug-in may not start.
• If the message below is displayed but the Print Plug-In window is not displayed, convert the color
space of the image to either RGB color, grayscale, or CMYK color and then attempt step 3.
Set the color space of the image to either RGB color, grayscale, or CMYK color.
Starting from Digital Photo Professional
Follow the procedure below to start the Print Plug-In from Digital Photo Professional.
1. Start Digital Photo Professional.
2. Open the RGB color image that you want to print.
3. If required, select the print range.
Note
• Images for use with Print Plug-In are less than 6,000 pixels in width and height. Reduce the selection
range or reduce the image with processing for images more than 6,000 pixels in width and height, and
then attempt step 3.
Mac OS X Software
>
Print Plug-In for Photoshop/Digital Photo Professional
>
Starting from Digital Photo Professional iPF6300S
4
614
 Loading...


