5. PREPARING THE DRS
Read carefully and thoroughly paragraph 7 WARNINGS AND PRECAUTIONS before
proceeding with first use.
The test should be performed in conditions of semi-obscurity to facilitate natural
dilation of the pupil.
To set up your DRS follow these steps:
extract the system from its box;
place the DRS on a suitable electrical table
;
connect the power cord provided with the unit to the power inlet (see Figure 2);
optionally connect a compatible printer
1
to any of the USB ports (see Figure 2);
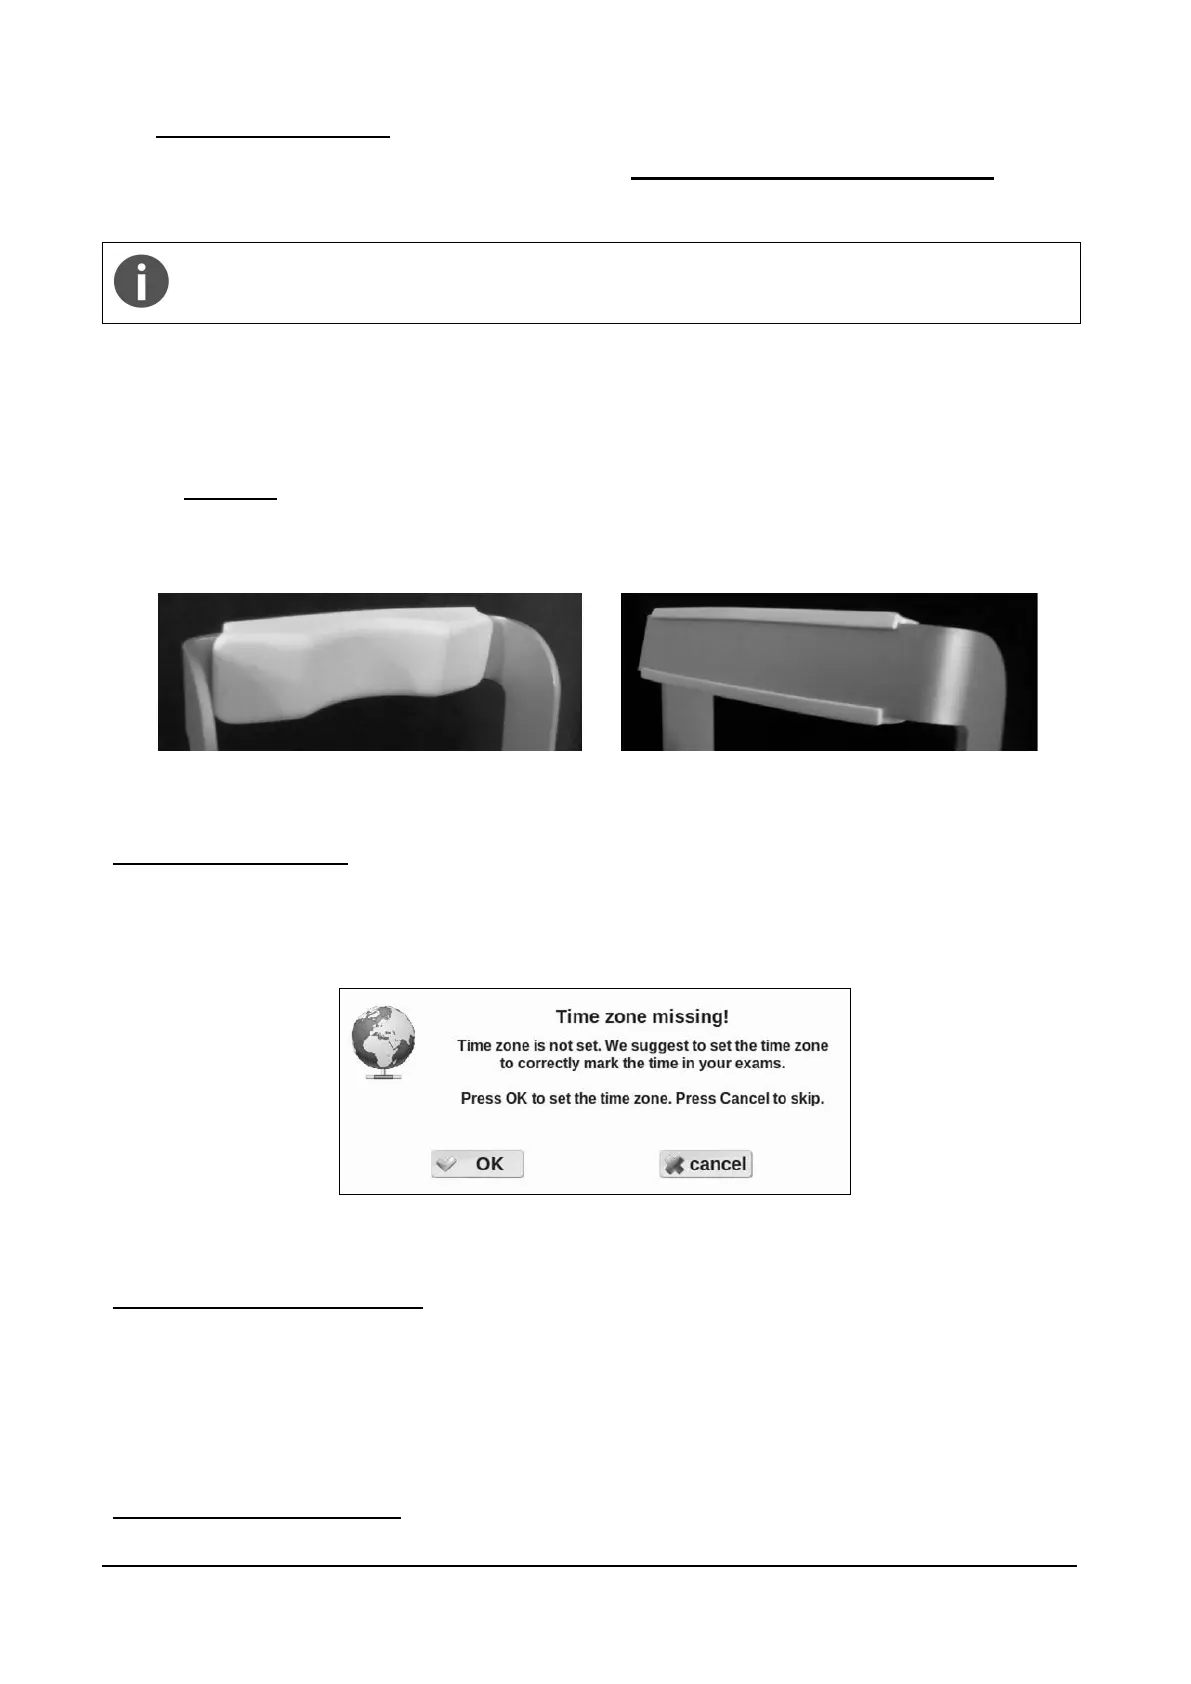
attach the silicon forehead rest (included in the tool box) on the forehead rest frame as
shown in the pictures below (Figure 3 and Figure 4);
Figure 3 - Forehead rest patient side
Figure 4 - Forehead rest rear side
Time zone configuration
The first time the DRS is powered on, the operator is requested to set the time zone. The
configuration request (Figure 5) will appear every time the DRS is started, until the time zone is set
(see §14.4).
Figure 5 – Request to configure time zone
Request for camera auto-tuning
After a software upgrade to the latest version a message as in Figure 6 may appear. Such
message appears only once when a new software is started for the first time: please apply the lens
cap and press ok, then wait until the completion message (Figure 7) appears.
Not provided with the DRS