RM238 Series
System Components Removal and Installation │ 24
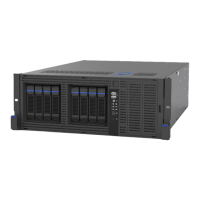
2-3 Hot-swap HDD Assembly Removal and Installation
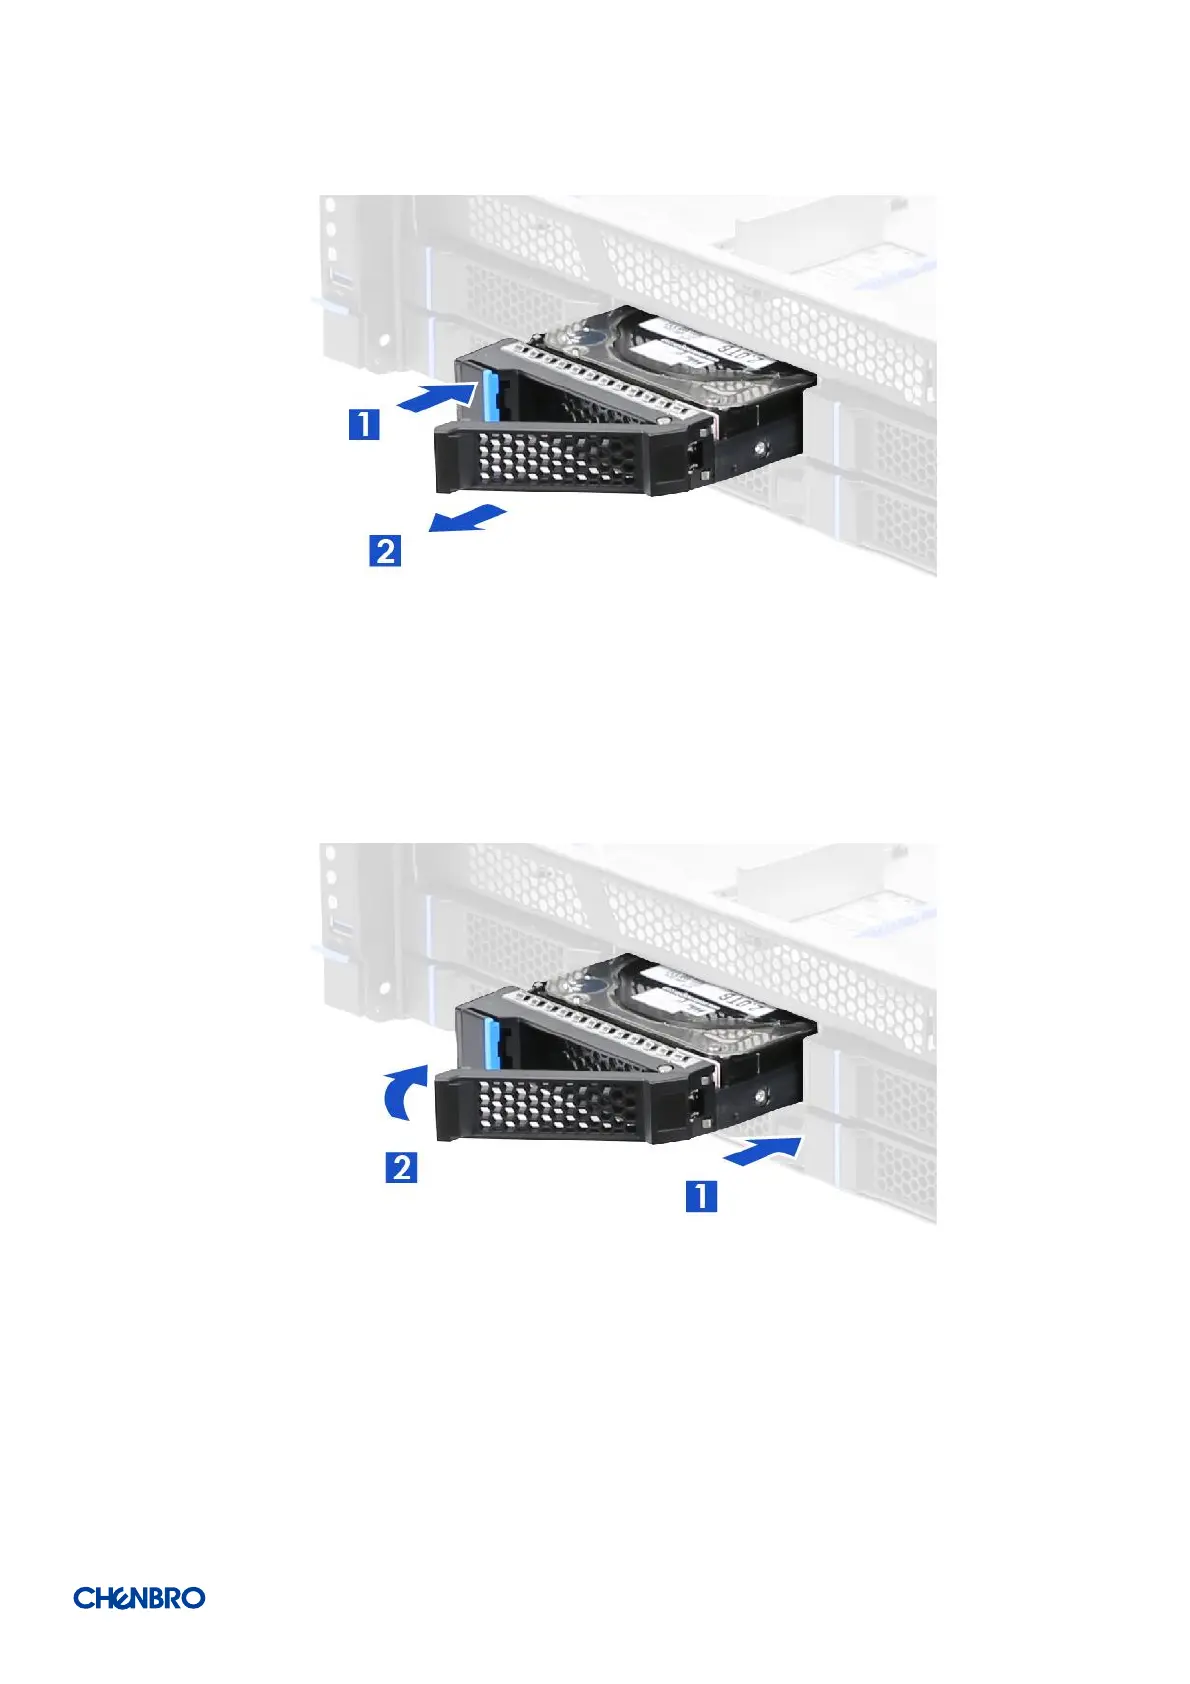
Figure 28 3.5” hot-swap HDD assembly removal
1. Press the tray button to release the lever as shown.
2. Pull the HDD assembly out of the drive bay.
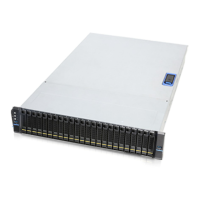
Figure 29 3.5” hot-swap HDD assembly installation
1. With the lever open, insert the HDD assembly into the drive bay until the end of the HDD cage.
2. Push down the lever when it is secured into place.