Digital Power Meter 66200 Series User’s Manual
(2) Press Trig/Enter the 300.00 in I measurement window blinks. Set the Fluke
5500A output to 300V/60Hz and then press OPR to begin output. (To use
other voltage for calibration, use ↑, ↓ to adjust the value in I measurement
window and set the voltage in Fluke 5500A.)
(3) Press Trig/Enter the W measurement window will show the calibrated value
300.00 (this is the reference) and the PF window will show the message “done”.
The meter will beep concurrently.
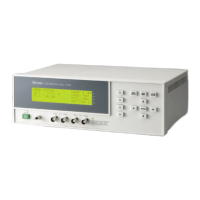
AUTOAUTO
150
300
500
VOLTAGE
CURRENT
2
0.4
0.1
0.01
SYSTEM
Cali
Setup
Trig /
Enter
ON
OFF
I
O
GO/NG
PASS
Limit
Meas
RMT
FAIL
PF F
CF
V
Vpk+
Vpk-
mA
I
Ipk+
Ipk-
Is
W
PF
VA
VAR
Chroma
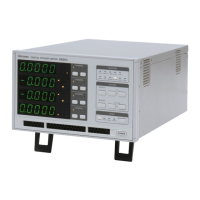
DIGITAL POWER METER MODEL
66201
(4) Set the Fluke 5500A output to OFF and press Trig/Enter to go to next range
(500.00V) for calibration.
c. 500V Range Calibration:
(1) The calibration screen of 500V Range is shown as below (V measurement
window blinks):
20
8
2
0.2
AUTO AUTOAUTO
150
300
500
VOLTAGE
CURRENT
SHUNT
2
0.4
0.1
0.01
LH
SYSTEM
Cali
Setup
Trig /
Enter
ON
OFF
I
O
GO/NG
PASS
Shunt
Limit
Meas
RMT
FAIL
Is/Trig
PF F
E
CF
THDv
THD
V
Vpk+
Vpk-
mA
I
Ipk+
Ipk-
Is
W
PF
VA
VAR
Chroma
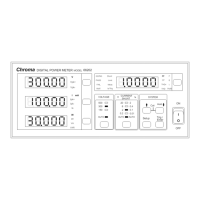
DIGITAL POWER METER
MODEL
66202
k
(2) Press Trig/Enter the 500.00 in I measurement window blinks. Set the Fluke
5500A output to 500V/60Hz and then press OPR to begin output. (To use
other voltage for calibration, use ↑, ↓ to adjust the value in I measurement
window and set the voltage in Fluke 5500A.)
(3) Press Trig/Enter the W measurement window will show the calibrated value
500.00 (this is the reference) and the PF window will show the message
“done”. The meter will beep concurrently.
F-6
 Loading...