Do you have a question about the Cisco AIR-AP1252AG-A-K9 and is the answer not in the manual?
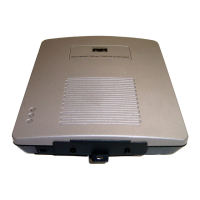
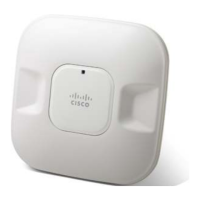
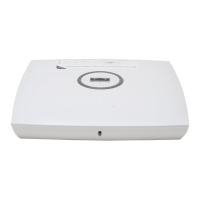
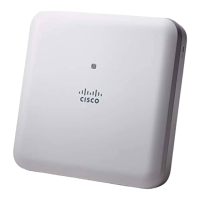
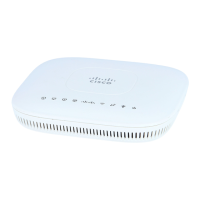
Details the physical components and capabilities of the access point.
Provides essential safety precautions for installing and operating the access point.
An overview of the entire access point installation process.
General guidance on the various mounting methods and options available.
Detailed instructions for mounting the access point on walls or flat surfaces.
Step-by-step guide for installing the access point under a suspended ceiling.
Instructions for installing the access point above a suspended ceiling.
Specific installation method for above-ceiling mounting using the B-Line system.
Alternative above-ceiling mounting method using two B-Line systems.
Above-ceiling mounting method utilizing Caddy 512A systems.
Procedure for mounting the access point onto network equipment boxes.
Guidance for placing the access point on furniture or work surfaces.
Instructions for establishing network and power connections.
Steps for connecting the access point using a Power over Ethernet (PoE) injector.
Steps for connecting the access point using a DC power module.
Describes the startup sequence and status indicators after applying power.
Instructions for attaching the access point securely to its mounting bracket.
Methods to prevent theft or unauthorized removal of the access point.
Procedure for safely removing a radio module from the access point.
Procedure for safely installing a radio module into the access point.
Interpreting status lights for troubleshooting autonomous access points.
Verifying fundamental configuration parameters for connectivity.
Diagnosing and resolving issues related to insufficient power.
Instructions for configuring power settings via the Command Line Interface.
Instructions for configuring power settings via the web browser interface.
Restoring the access point to its factory default settings.
Procedure for resetting the access point using the physical MODE button.
Procedure for resetting the access point via its web graphical interface.
Instructions for reinstalling the access point's firmware image.
Configuring DHCP Option 43 to assist controller discovery.
Interpreting status lights for troubleshooting lightweight access points.
Diagnosing and resolving issues related to insufficient power for lightweight APs.
Restoring lightweight access points to factory default settings via CLI.
Establishing a direct console connection for configuration.
| Model | AIR-AP1252AG-A-K9 |
|---|---|
| Device Type | Wireless Access Point |
| Frequency Bands | 2.4 GHz, 5 GHz |
| Wireless Standards | 802.11a/b/g |
| MIMO Technology | Yes |
| Power over Ethernet (PoE) | Yes |
| Weight | 2.2 lbs |
| Data Transfer Rate | Up to 54 Mbps |
| RAM | 64 MB |
| Flash Memory | 16 MB |
| Encryption Algorithm | AES, TKIP |
| Maximum Data Rate | 54 Mbps |
| Antenna Type | External |
| Data Link Protocol | Ethernet |
| Compliant Standards | IEEE 802.11a, IEEE 802.11b, IEEE 802.11g |
| Authentication Method | WPA, WPA2 |
| Operating Temperature | 0 to 50 °C |
| Storage Temperature | -20 to 70 °C |
| Humidity | 10 to 90% non-condensing |
| Security Features | WPA, WPA2 |
| Mounting | Wall or ceiling mount |