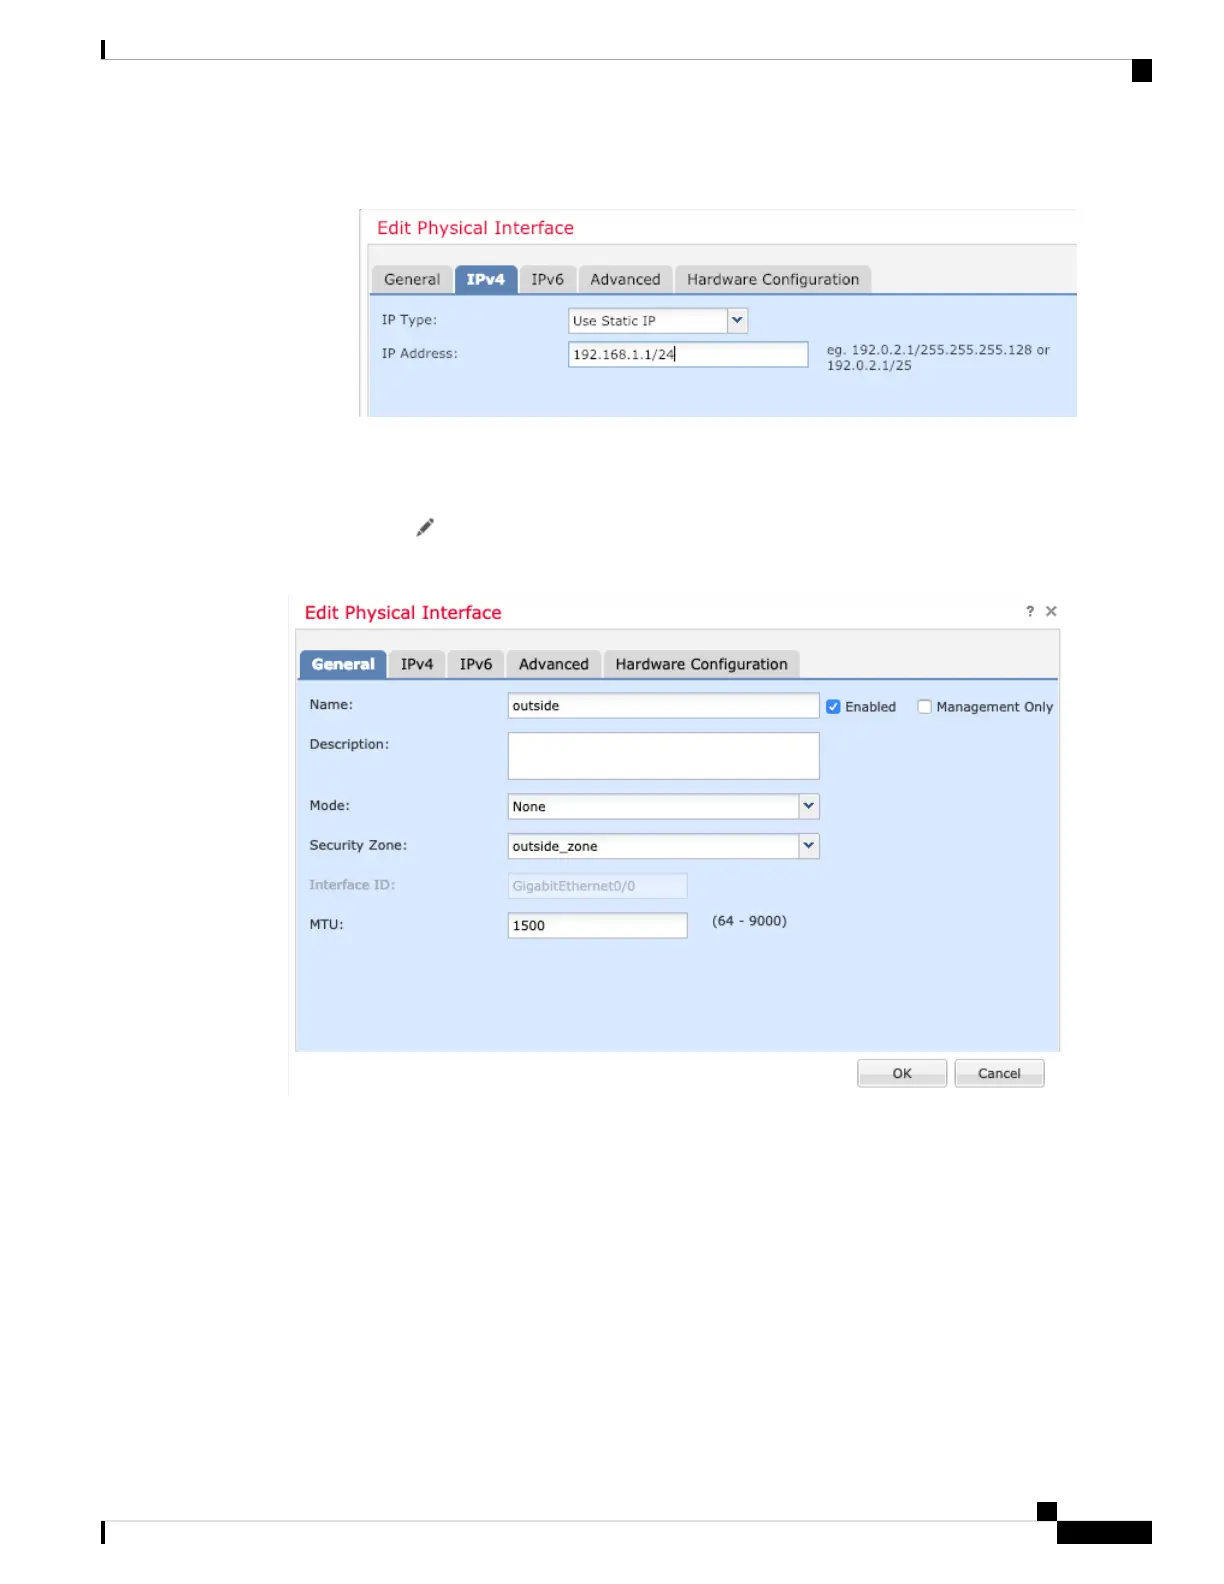
For example, enter 192.168.1.1/24
• IPv6—Check the Autoconfiguration check box for stateless autoconfiguration.
h) Click OK.
Step 6 Click the Edit ( ) for Ethernet1/1 that you want to use for outside.
The General tab appears.
If you pre-configured this interface for manager access, then the interface will already be named,
enabled, and addressed. You should not alter any of these basic settings because doing so will disrupt
the management center management connection. You can still configure the Security Zone on this
screen for through traffic policies.
Note
a) Enter a Name up to 48 characters in length.
For example, name the interface outside.
b) Check the Enabled check box.
c) Leave the Mode set to None.
d) From the Security Zone drop-down list, choose an existing outside security zone or add a new one by
clicking New.
Cisco Firepower 1010 Getting Started Guide
31
Threat Defense Deployment with the Management Center
Configure Interfaces (6.5 and Later)