2-19
Cisco IOS XR Getting Started Guide for the Cisco XR 12000 Series Router
OL-24755-01
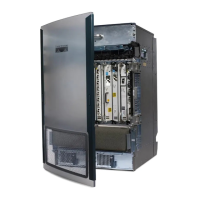
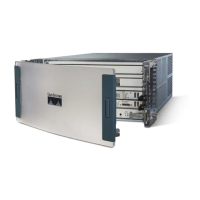
Chapter 2 Bringing Up the Cisco IOS XR Software on a Standalone Router
Bringing Up and Configuring a Standalone Router
Bringing Up and Configuring a Standalone Router
To bring up a standalone router, connect to the router and configure the root-system username and
password, as described in the following procedure:
SUMMARY STEPS
1. Establish a connection to the DSC Console port.
2. Type the username for the root-system login and press Enter.
3. Type the password for the root-system login and press Enter.
4. Log in to the router.
DETAILED STEPS
Command or Action Purpose
Step 1
Establish a connection to the DSC Console port. Initiates communication with the router.
• For instructions on connecting to the Console port, see
the “Connecting to the Router Through the Console
Port” section on page 1-10.
• After you have successfully connected to the router
through the Console port, the router displays the
prompt:
Username:
• If the Username prompt appears, skip this procedure
and continue the general router configuration as
described in Chapter 4, “Configuring Additional
Router Features.”
Step 2
Type the username for the root-system login and press
Enter.
Sets the root-system username, which is used to log in to the
router.
Step 3
Type the password for the root-system login and press
Enter.
Creates an encrypted password for the root-system
username.
Note This password can be changed with the secret
command.
Step 4
Retype the password for the root-system login and
press Enter.
Allows the router to verify that you have entered the same
password both times.
• If the passwords do not match, the router prompts you
to repeat the process.
Step 5
Log in to the router. Establishes your access rights for the router management
session.
• Enter the root-system username and password that were
created earlier in this procedure.
• After you log in, the router displays the CLI prompt,
which is described in the CLI Prompt.
 Loading...