CBR2 CGA4332COM- User Guide
38 of 51
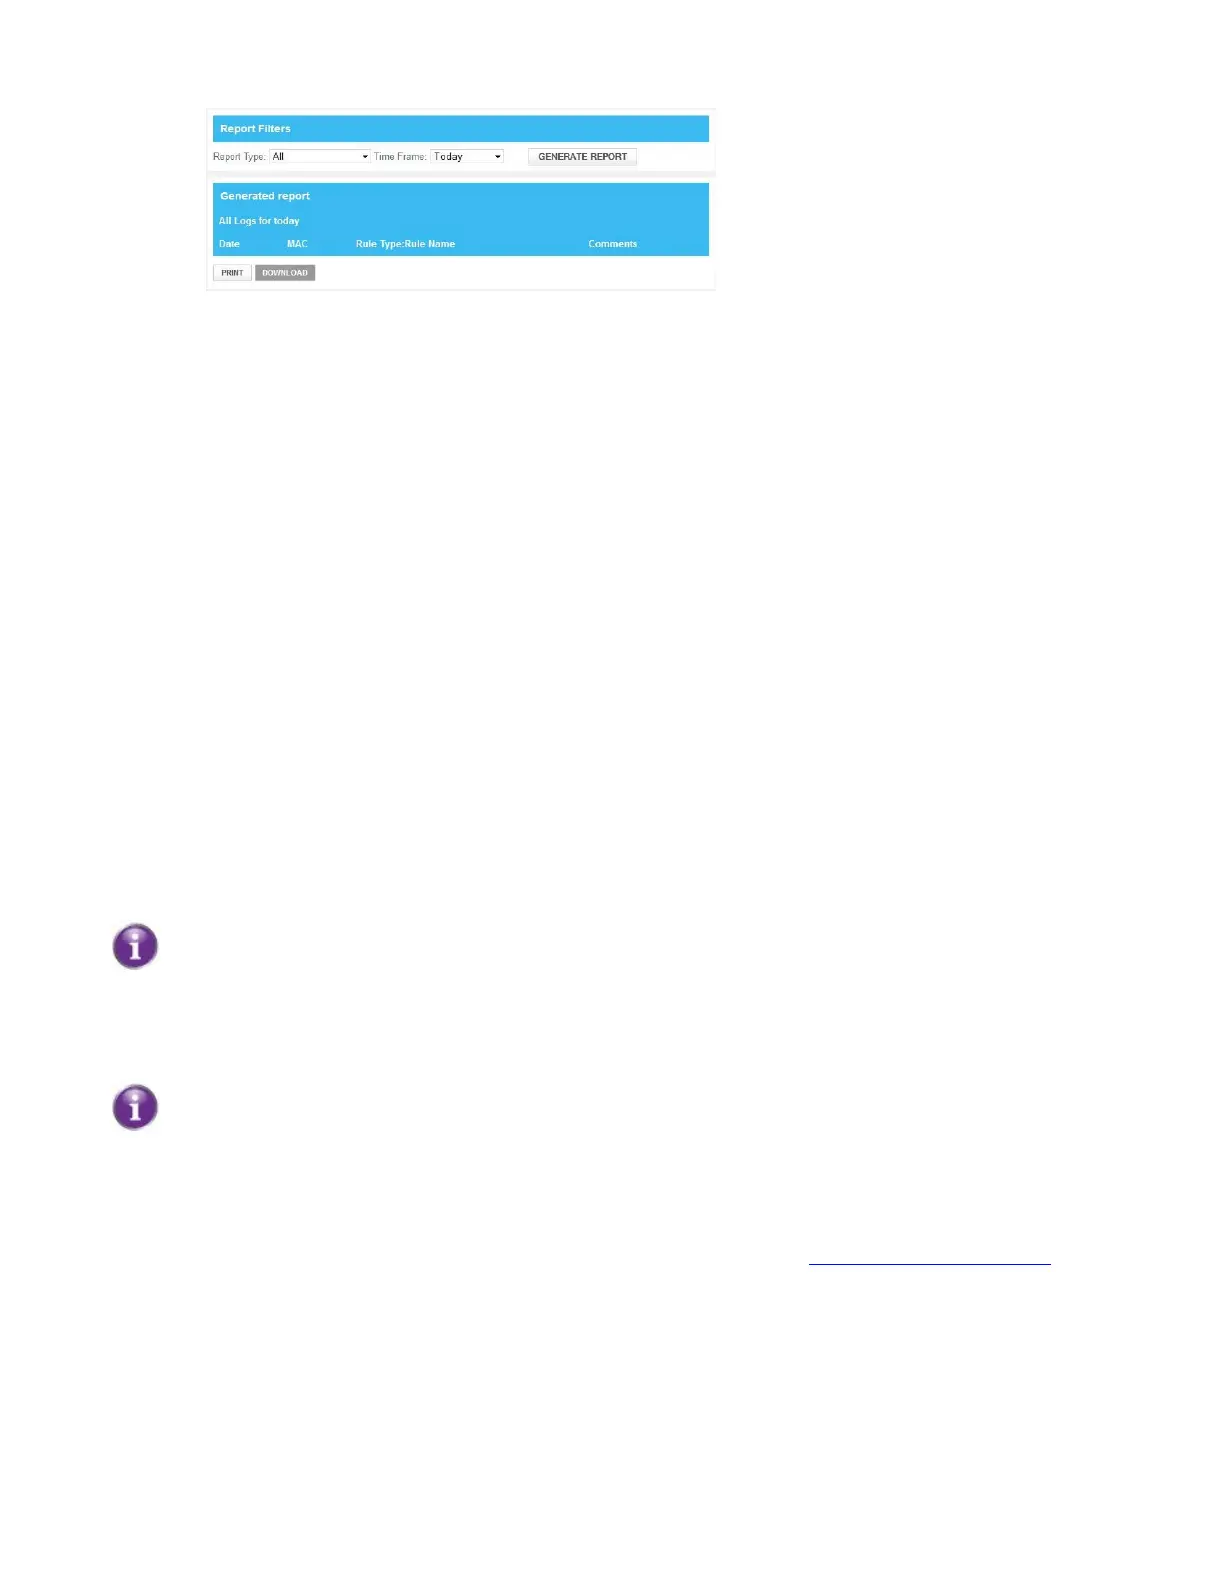
3. Under Report Filters, select a report type and time frame and click GENERATE REPORT.
4. The Generated report table now lists all log entries.
5. Optionally, you can:
Click PRINT to print the log entries.
Click DOWNLOAD to save the log entries as a text file.
6.2
Firewall
The Gateway comes with an integrated firewall that helps you protect your network from attacks from the
Internet. This firewall has a number of predefined levels to allow you to adjust the firewall to your needs.
The default firewall setting is Minimum Security (Low). This means that all traffic passing through the
Gateway (from and to the Internet) is allowed.
Predefined security levels
The Gateway has several predefined security levels. The following levels are available:
• Maximum Security (High)
• Typical Security (Medium)
• Minimum Security (Low
• Custom Security
These are described in more detail below.
Maximum Security (High): Blocks all applications including IP-driven voice applications (such as Gtalk, Skype)
and P2P applications. Allows Internet browsing, email, VPN, DNS, and iTunes services.
Although BlockAll blocks all connections, some mandatory types of traffic such as DNS are still
relayed between LAN and WAN by the Gateway.
Typical Security (Medium): Blocks P2P applications and ping to the Gateway; allows all other traffic.
Minimum Security (Low): Allows all secure applications. This is the default configuration.
The firewall levels only have impact on traffic passing through your Gateway. This means that the
handling of traffic directly appointed from and to the Gateway is independent of the selected firewall level.
Custom Security: Allows you to create your own security level.
Changing the security level
1. Go to the Admin Tool (http://10.1.10.1), using a computer or other device that is currently connected
to your Gateway (either wired or wirelessly). For more information, see “Accessing the Admin Tool”
.
2. On the Gateway menu, select Firewall.
3. The Firewall page appears. Under Firewall Security Level, select one of the predefined levels or select
Custom Security to create a custom level.
4. Click SAVE SETTINGS.