44
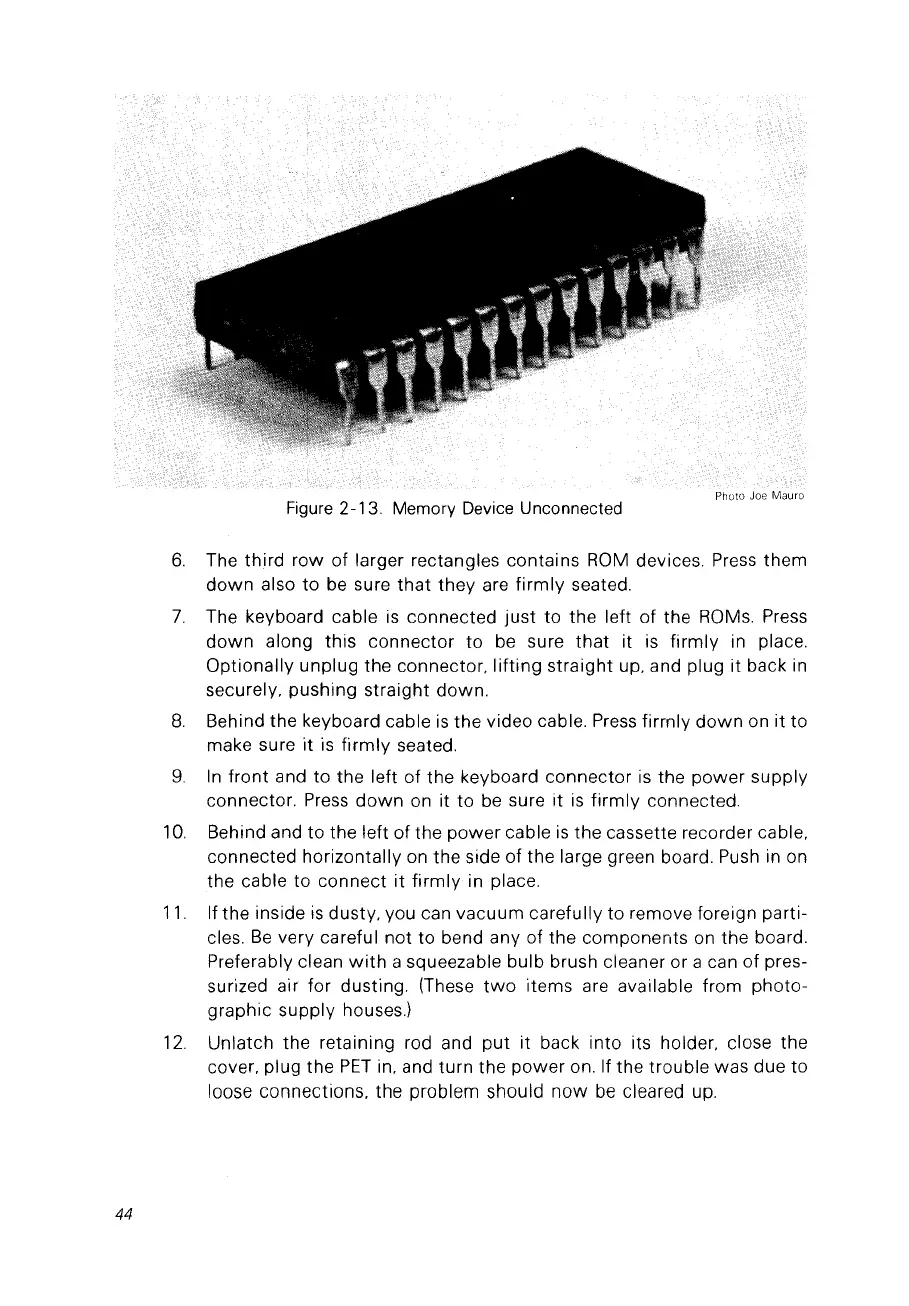
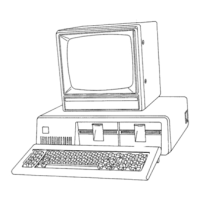
Figure
2-13. Memory
Deviee
Uneonneeted
6.
The third
row
of larger rectangles contains
ROM
devices.
Press
them
down
also
to
be
sure
that
they are
firmly
seated.
7.
The keyboard cable
is
connected
just
to the left
of
the
ROMs.
Press
down
along this connector
to
be
sure
that
it
is
firmly in place.
Optionally unplug the connector. lifting straight up, and plug it back
in
securely, pushing straight down.
8.
Behind the keyboard cable
is
the video cable.
Press
firrnly
down
on it to
make sure
it
is
firmly
seated.
9.
In
front and to the left
of
the keyboard connector
is
the power supply
connector.
Press
down
on it to
be
sure it
is
firmly connected.
10.
Behind and to the left of the
power
cable
is
the cassette recorder cable,
connected horizontally
on
the side of the large green board.
Push
in
on
the cable to connect it firmly in place.
11.
If the inside
is
dusty, vou can vacuum carefully to remove foreign parti-
cles.
Be
very careful not to bend any of the components
on
the board.
Preferably
c1ean
with
a squeezable bulb brush cleaner or a can of pres-
surized air for dusting. (These
two
items are available from photo-
graphie supply houses.)
12.
Unlatch the retaining rad and
put
it back into its holder, close the
cover, plug the
PET
in, and turn the power on. If the trouble was due to
loose connections, the problem should
now
be
cleared up.