26 Ruckus ICX 7450 Switch Hardware Installation Guide
Part Number: 53-1003899-09
Installing the Ruckus ICX 7450
Installing the device on a desktop
Installing the device on a desktop
Complete the following steps to install the Ruckus ICX 7450 on a desktop or other flat surface.
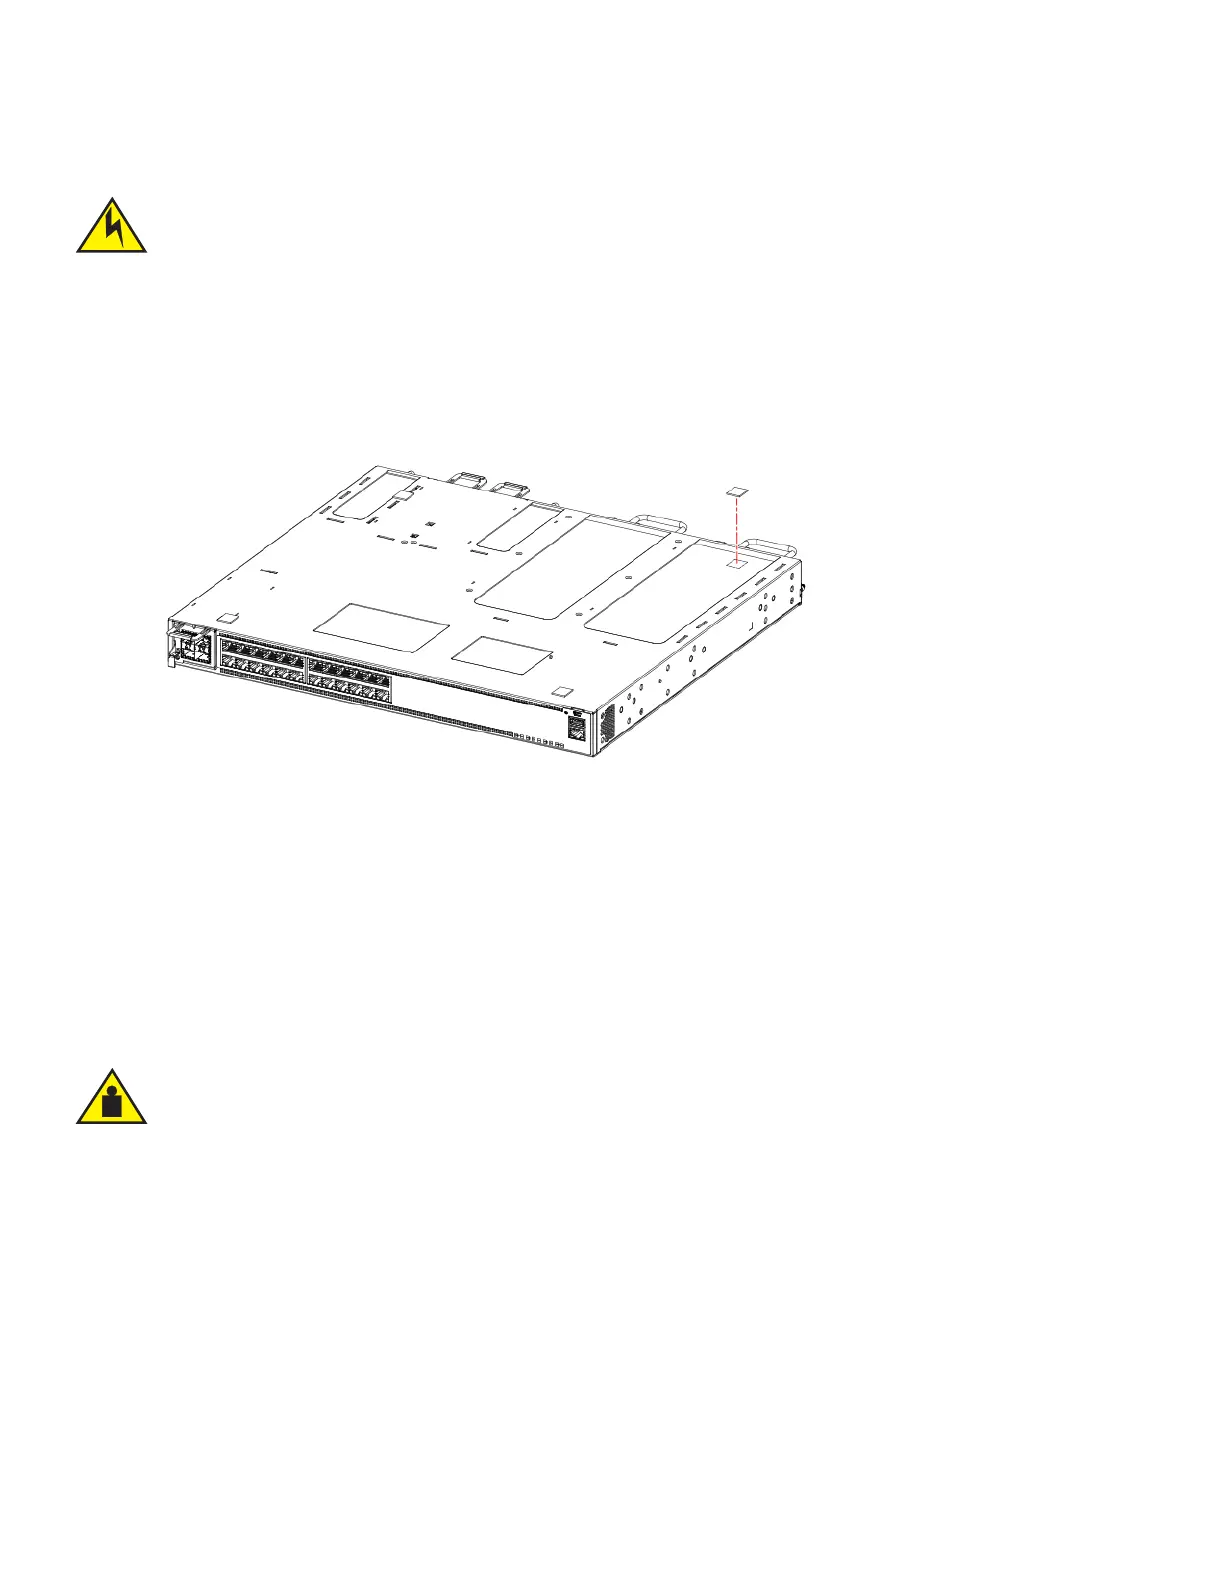
FIGURE 14 Attaching the adhesive feet
1. Attach the four adhesive feet to the bottom of the device.
2. Set the device on a flat desktop, table, or shelf near an AC power source. Make sure that adequate ventilation is provided for the
system. A 7.62 cm (3-inch) clearance is recommended on each side.
3. If installing a single device only, go to “Powering on the system”.
4. If installing multiple devices, attach the adhesive feet to each device. Place each device squarely on top of the one below.
Installing the device in a rack
You need a #2 Phillips screwdriver for installation.
Before mounting the switch in a rack, pay particular attention to the following factors:
• Temperature: Because the temperature within a rack assembly may be higher than the ambient room temperature, check that
the rack-environment temperature is within the specified operating temperature range. (Refer to “Environmental considerations”
on page 22.)
• Mechanical loading: Do not place any equipment on top of a rack-mounted unit.
• Circuit overloading: Be sure that the supply circuit to the rack assembly is not overloaded.
For the DC input circuit to the system, make sure there is a 20 Amp circuit breaker, minimum 60 VDC, double pole, on the
input terminal block to the power supply. The input wiring for connection to the product should be copper wire, 12 AWG,
marked VW-1, and rated minimum 90°C.
Make sure the rack housing the device is adequately secured to prevent it from becoming unstable or falling over.
 Loading...