88
To Pre-Load the Spring
NOTE
Have a 6" long bladed, narrow, flat screwdriver available.
Grasp the roller at position A and rotate to position B. The spring will create a large amount of
back pressure, DO NOT RELEASE ARM, or it will return to near position A. With the arm held
in position B, insert the screwdriver between the chain links of the large (#50) chain, the upper
chain, and ensure that it goes through to the chain on the other side. Once in place, the
screwdriver will lock the chain from rotating and prevent the arm from returning to position A.
Release the arm, it should stay reasonably close to position B.
NOTE
Release arm slowly to allow it to ‘lock’ onto the screwdriver.
The arm must now be removed from the drive shaft to be placed in the door track. Mark the
location of the arm in relation to the operator drive shaft, in order to ensure it is put back into
the same holes as when it was removed. Remember, there are eight (8) possible locations for
re-installation. Use a black marker to draw a line vertically on the operator shaft, and the arm
where it attaches to the shaft. This visually shows the location where the arm was removed.
Remove the arm by unfastening the 1/4" - 2" screw on the arm. Grasp the arm at the point
where it enters the frame and goes up to the operator shaft. Pull straight down or pry slightly
with a flat bladed screwdriver, it should release easily.
With the arm released from the shaft, place the roller into the track on the top of the door.
There is a slot where the arm roller can enter the track. This slot is at the leading edge side of
the door. The roller should easily slide back and forth inside the track.
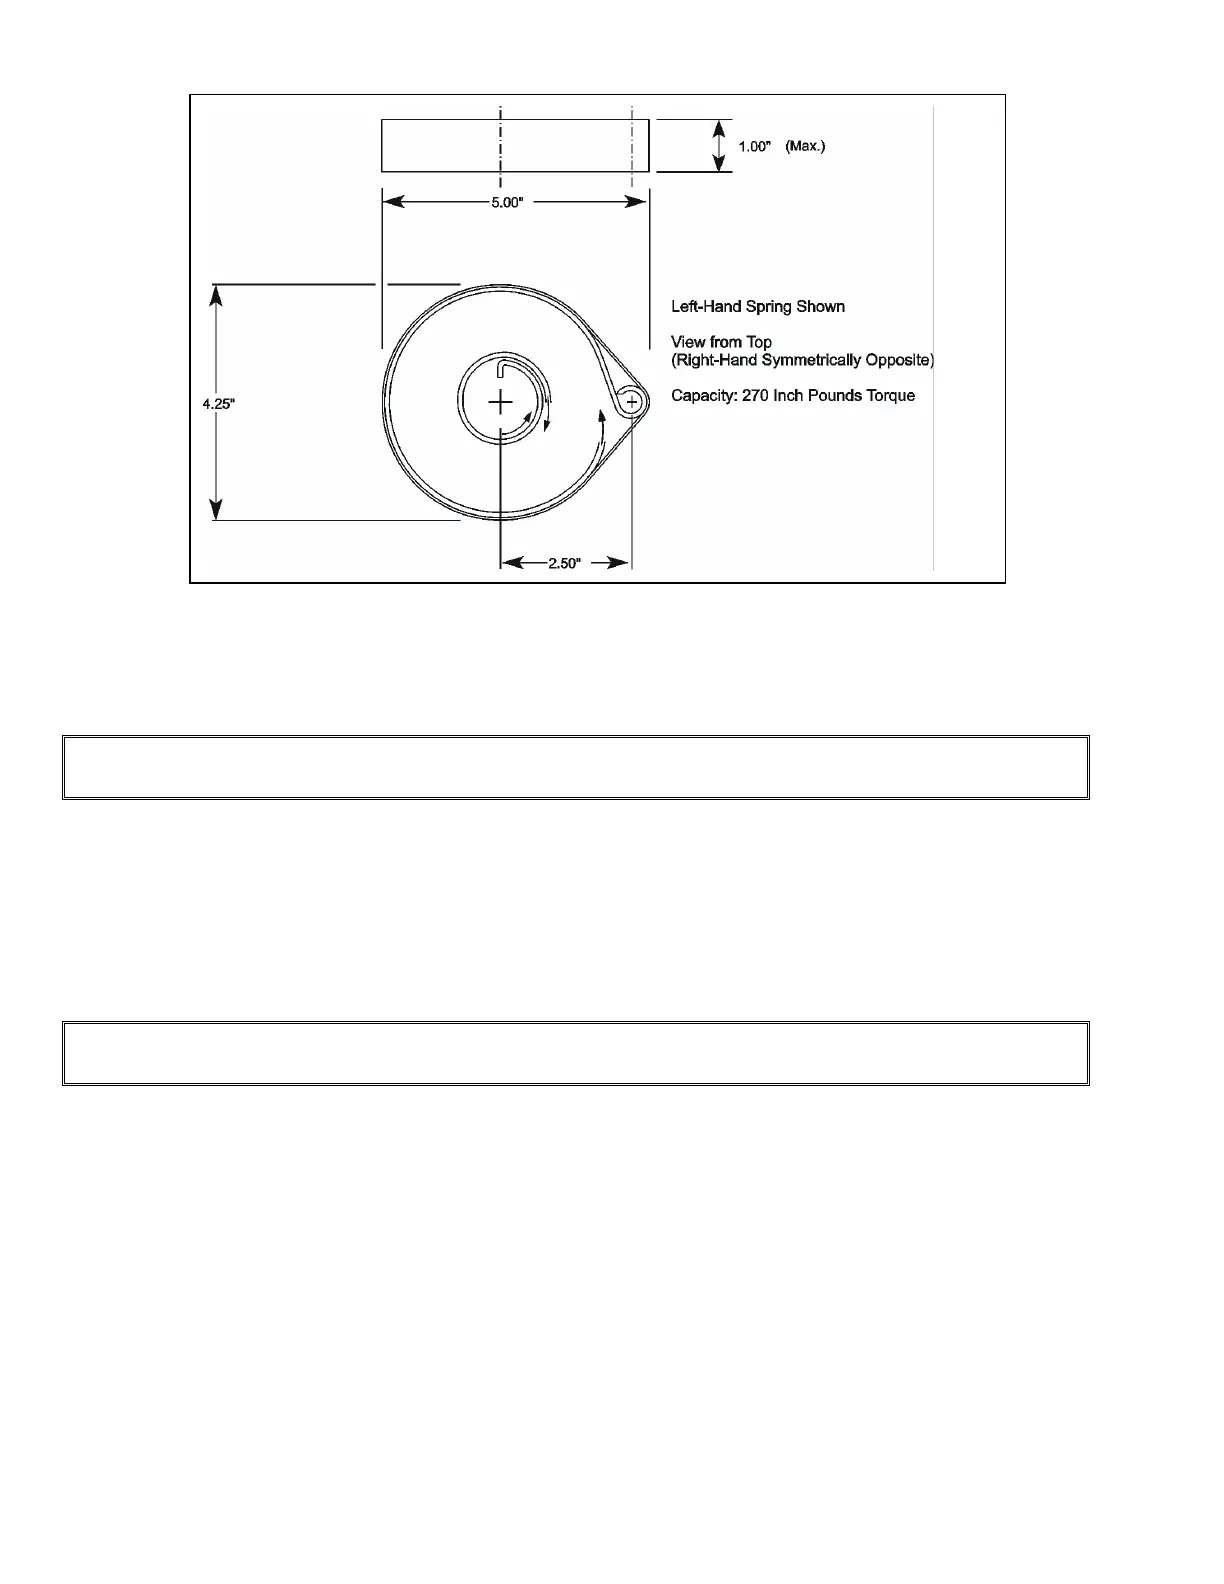
Figure # 55 Power Door Spring