14
Figure # 9 Section View of Horizon
18) Tighten the clip bolts ensuring that rail clips are properly “seated” on rails. NOTE: The
splice plate should be adjusted before the nearest bracket is tightened. Place the 4 foot
carpenter’s level on the face of the rail at the joint to ensure the rails are properly aligned
in the tongue and groove joints.
19) Snug up four (4) of the splice plate bolts and re-check with level, then tighten last four (4)
bolts. Check again, torque all eight (8) bolts and re-check.
20) All rail joints must be tight, clean and smooth, with no overlapping. File as required to
ensure smooth joints. The slightest misalignment here will be multiplied and felt in the
cab. A good rail file job will smooth the joint. File at least 4" on either side of the joint.
Do not “point file” at the joint.
JACK UNIT AND UPSTAND INSTALLATION
The heart of the Horizon Commercial “Lula” Elevator is the
1:2 CABLE HYDRAULIC system that drives the lift. This
system uses the inherent safety and strength of a hydraulic
plunger with the flexibility and ease of cable drive. The basic
principle is 1:2 mechanical advantage along with the fact
that the jack unit used need only be one half of the normal
length used in a conventional system installation. The
advantage of this is obvious, if we consider the difficulty
often encountered in installations where space is tight.
The cable hydraulic system features cables; a sheave/guide
yoke; and a slack/broken cable SAFETY DEVICE.
The installation of a cable hydraulic system is different from
a standard direct drive unit and not as forgiving. Care must
be taken to ensure that all adjustments of the SAFETY
DEVICE are carried out carefully and that the lifting cables
are handled according to the recommended procedures.
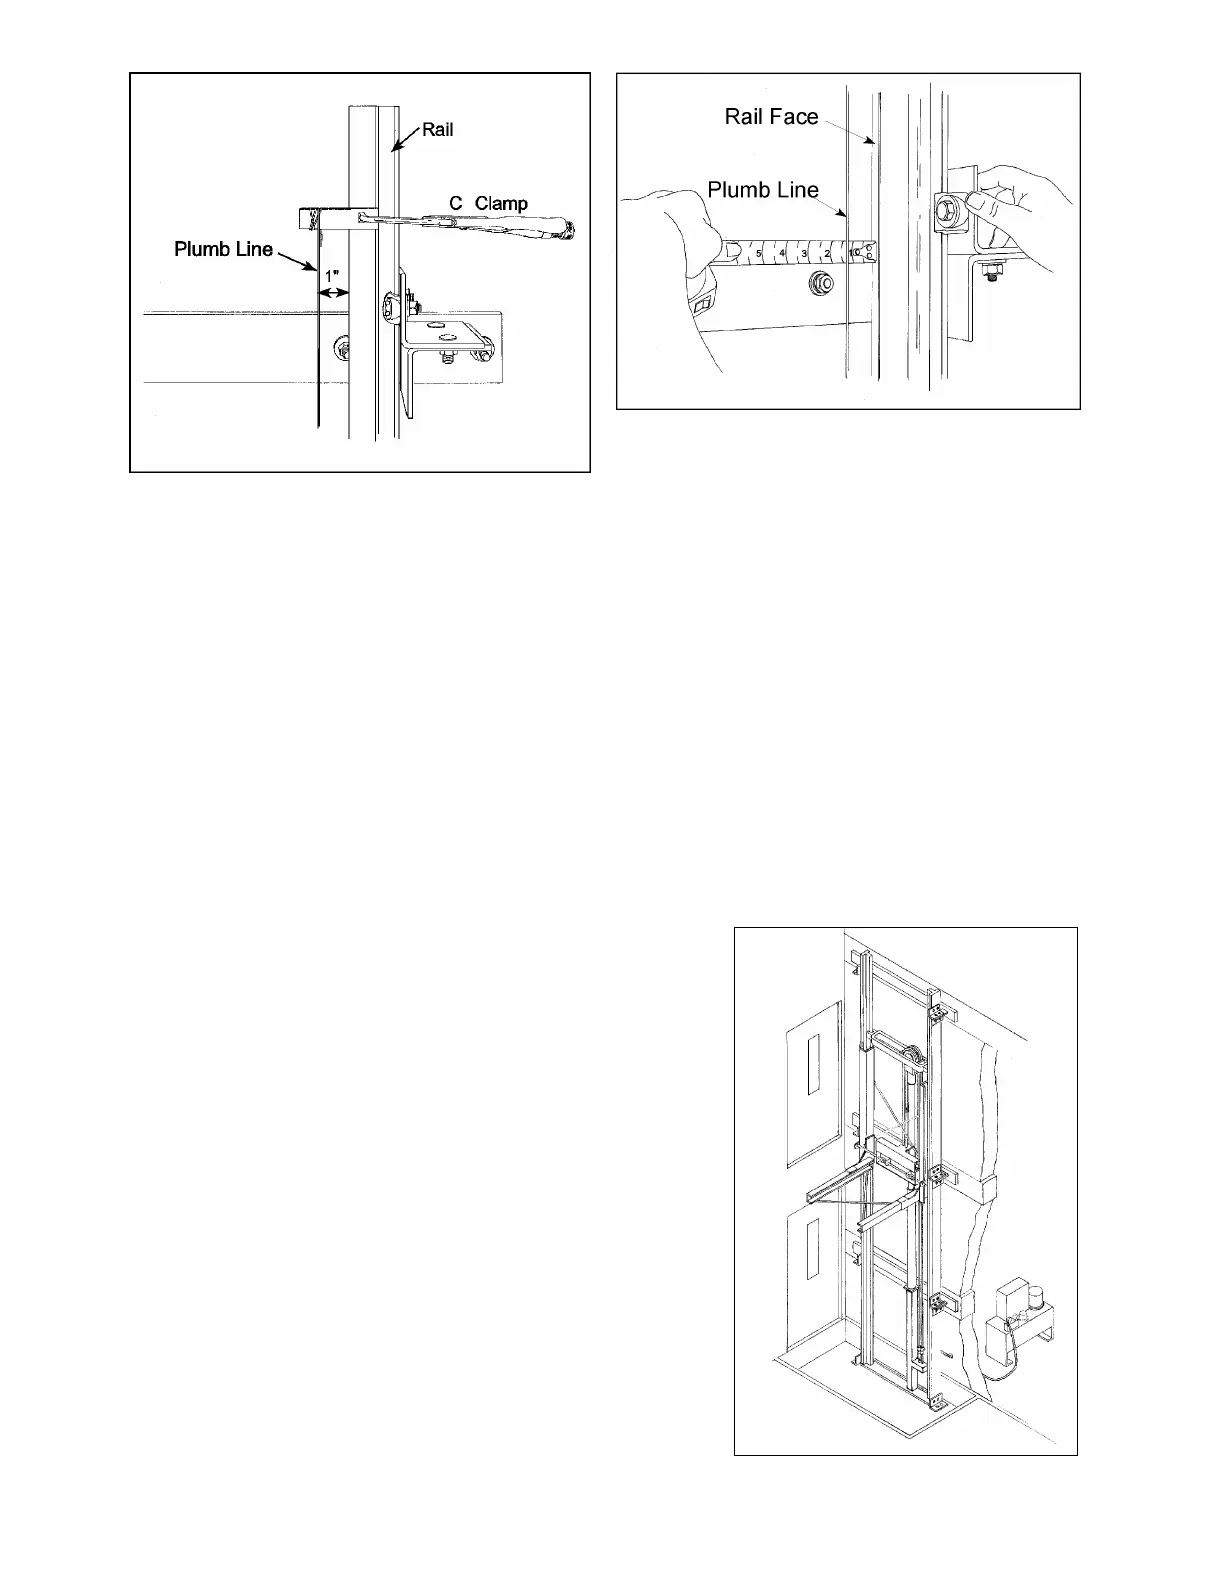
Figure # 7 Hanging Plumb Line
Figure # 8 Checking Plumb