67
8 INSTALLATION AND INSTALLATION OF
THE CONEL FLOW RAIN-CHAMPION
8.1 SECURITY
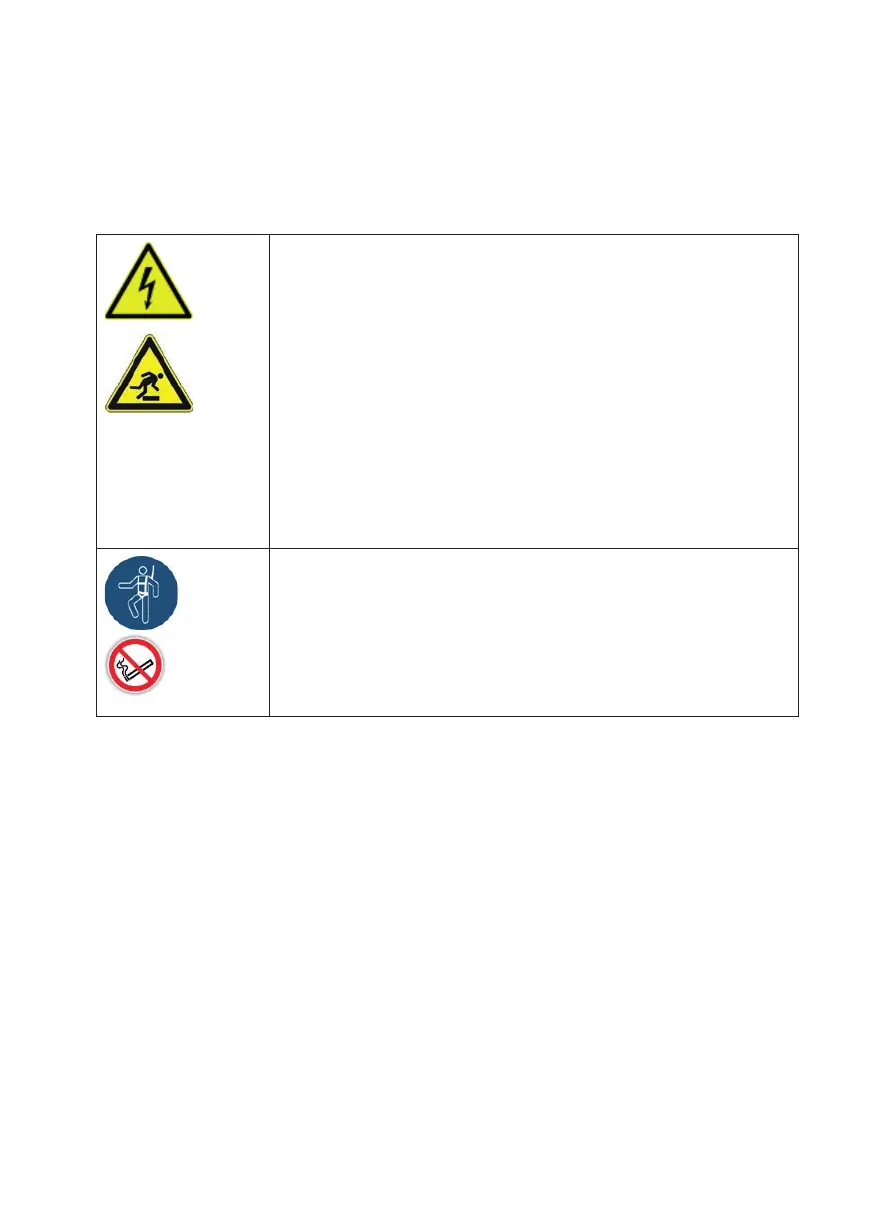
DANGER: Danger to life due to deadly electric shock!
• All assembly and commissioning activities may only be carried out by
professional and knowledgeable personnel who have been suf ciently
informed by studying the operating instructions in-depth;
• The electrical installation may only be carried out by certi ed personnel,
in this case the applicable standards and regulations of the respective
country in which the Conel Flow Rain-Champion is to be used must be
observed;
• This personnel must have read and understood this operating manual;
• Before the activities begin, the system shall be switched off without
voltage and secured against unauthorised or unintentional re-entry;
• Ensure that the Conel Flow Rain-Champion cannot be put into operation
without authorisation or unintentionally during assembly, installation or
initial commissioning;
• Refer to unauthorized persons (especially children, adolescents) or
animals from the eld of work/activity.
DANGER: Danger of stumbling and falling!
• Ensure a tidy work area – avoid stumbling and risk of falling.
• If you need to enter the store – pay attention to your personal fuse by
holding/carrying straps;
• It is possible that life-threatening gases can leak in the storage tank -
there is an acute danger to life.
• Avoid open re, do not smoke
8.2 WALL MOUNTING
Mount the Conel Flow Rain-Champion:
• in a dry and frost-free room, e.B. cellar;
• in a room with oordrains to the public canal or lifting system;
• at least 30 cm (possibly larger) below the ceiling of the room, measured from the top edge of the
device (necessary for possible maintenance /service work);
• on a at wall (prevents tensions on the Conel Flow Rain-Champion);
• horizontal (mandatory for orderlyoperation);
• above the maximum water level of the Speicher (see Figure 7.2.1);
• above the backlog level of the public sewer network (see Chapter 8.6 for details on this).
• Keep the wall bracket (included in delivery) horizontally to the place of attachment and draw moun-
ting holes;
• Drilling mounting holes (8mm drills) and putting dowels.
• Attach the wall bracket to the wall with screws and washers;
• Make sure that the wall bracket is horizontally aligned.