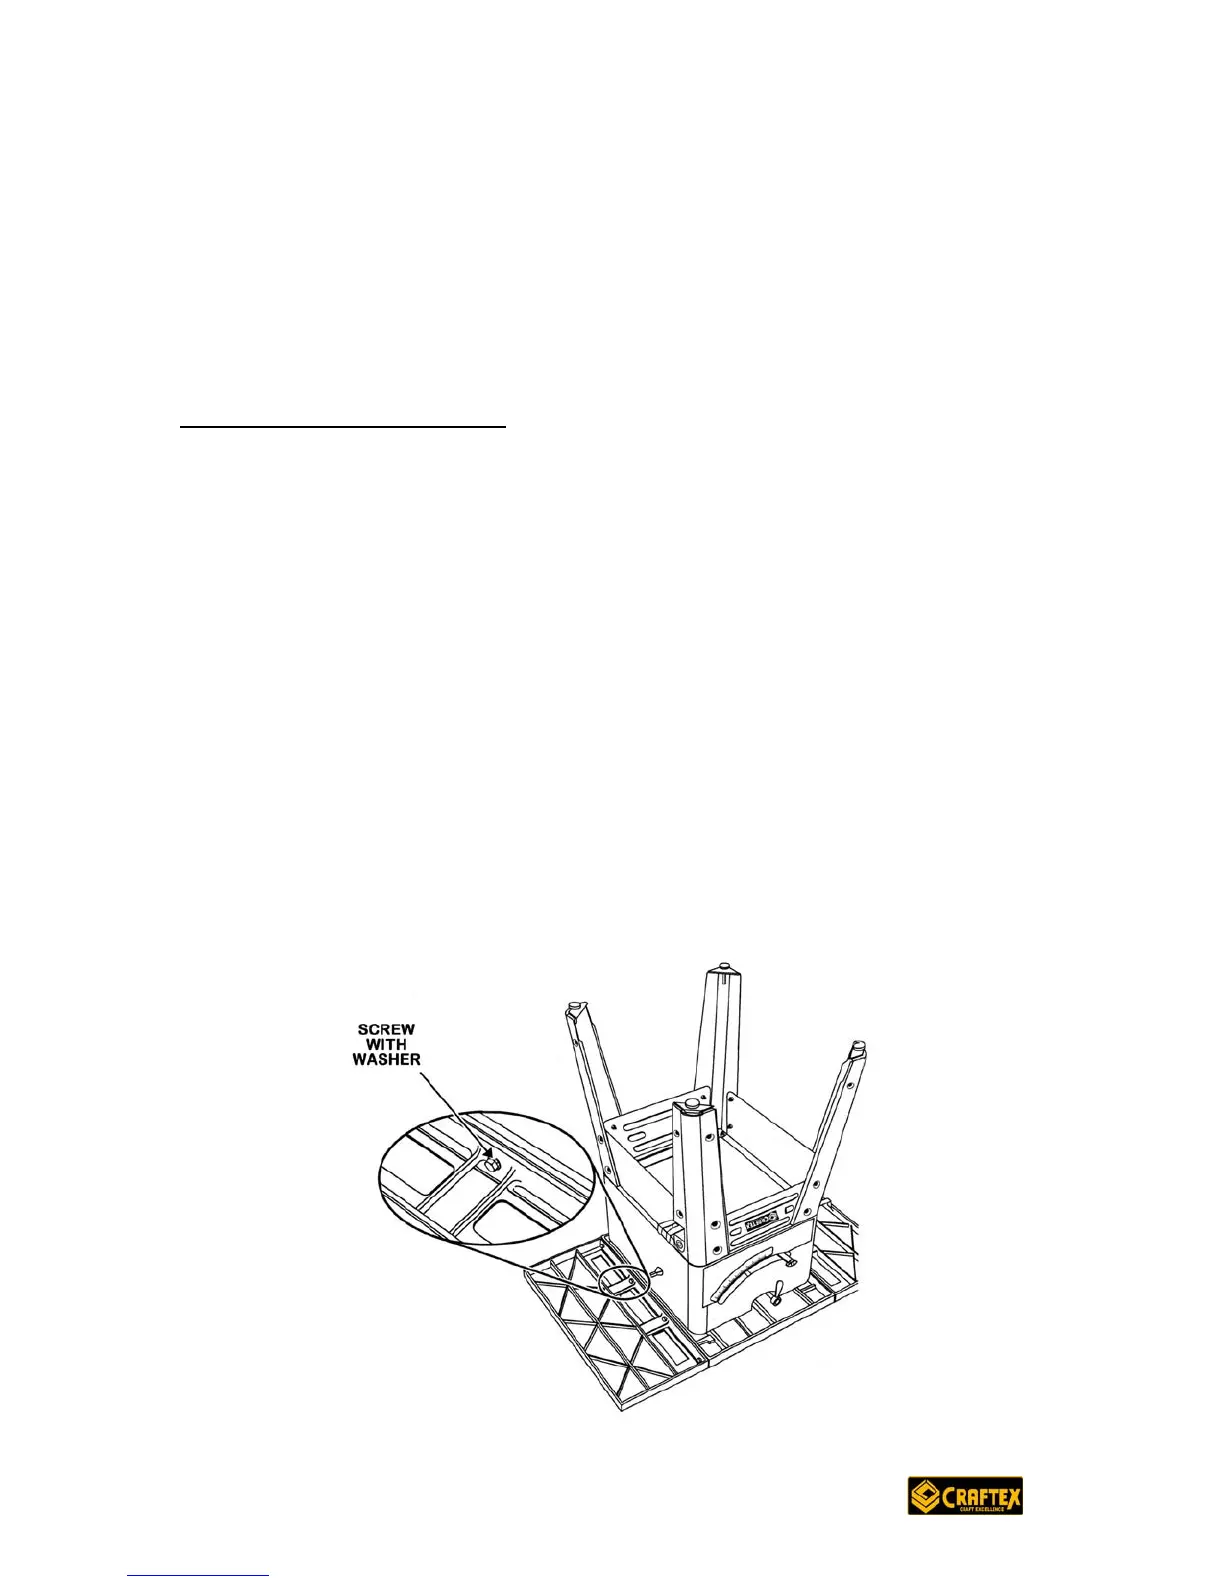
ASSEMBLY
Insert a screw though the hole in the leg stand and also in the and in the saw
base. Add a hex nut here and hand tighten only.
Repeat for the remaining holes and tighten all hardware when complete with a
wrench to ensure it is secure.
See Figure 3
Installing the Extension Tables
While the table is still upside down, it is the ideal time to install the extension
tables. Place the extension table against the table top.
Insert 4 hex head screws (5/16-18 x ¾” with washers) into the holes in the
extension table and screw into the table top. At this time, do not tighten.
The holes in the table top are threaded.
Repeat the above step for the other side of the extension table. Once this is
done, stand the saw upright onto its legs. (DO NOT lift this saw without help, the
saw is a heavy machine and precaution must be taken)
See Figure 4
Line the front edge of the table top with the front edge of the table extension.
Check the alignment of the table top edge to the extension rail edge and tighten
the two corner nuts only with a wrench.
Check the center of the table top and extension table and ensure that they are
aligned. Tighten at this time with a wrench.
Repeat the above stops for the other side extension table.
Figure 4