ASSEMBLY
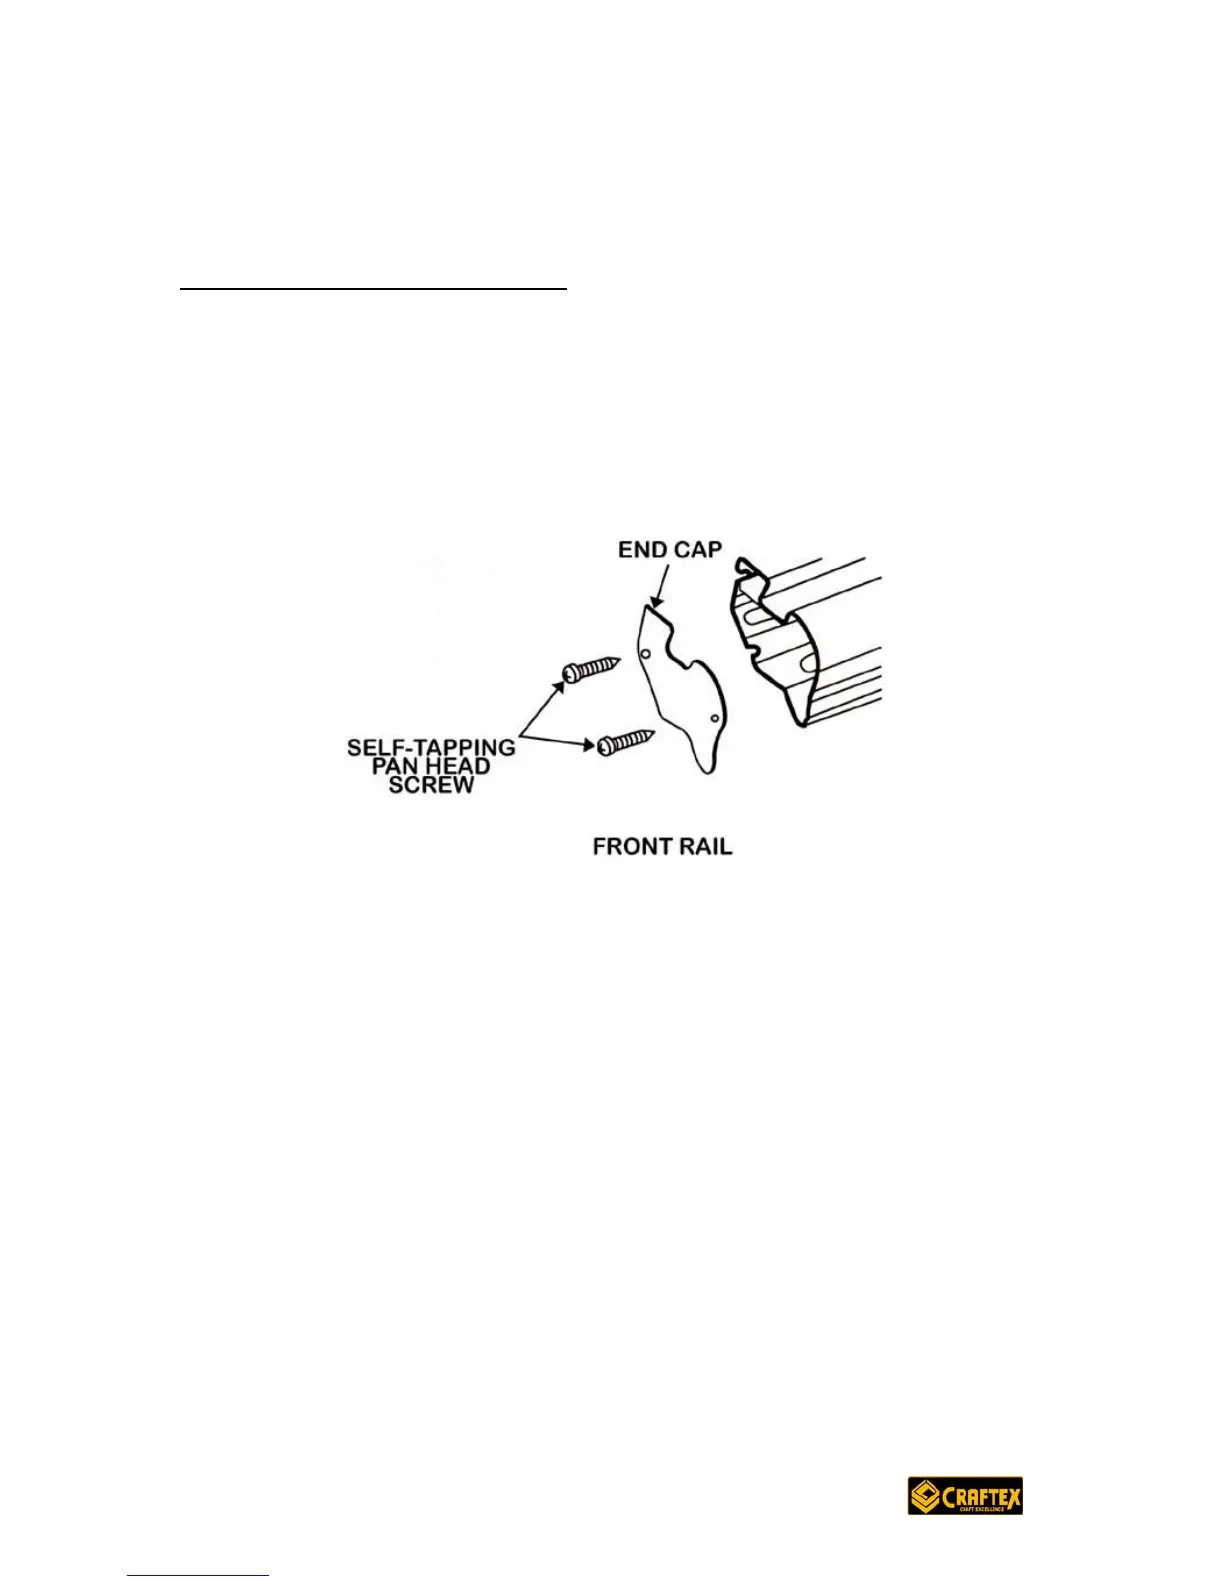
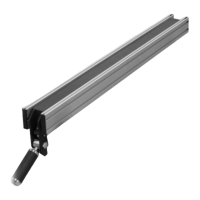
Installing the End Caps of the Fence
Align the end caps of the front rail to the end of the rail. Secure these by using a
self tapping pan head screw (M4) is each hole.
Do the same for the rear rails.
See Figure 21
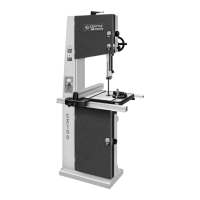
Congratulations, your saw should now be fully assembled and ready to take its
first cut. Before connecting your saw to a power source, take a walk around and
carefully inspect your new saw. Ensure that all nuts and bolts are secure &
tightened and that nothing is loose that shouldn’t be. Make sure that the saw is
free of loose parts, debris and has enough clearance around.