Chapter 5: Commissioning 43
99-04-23
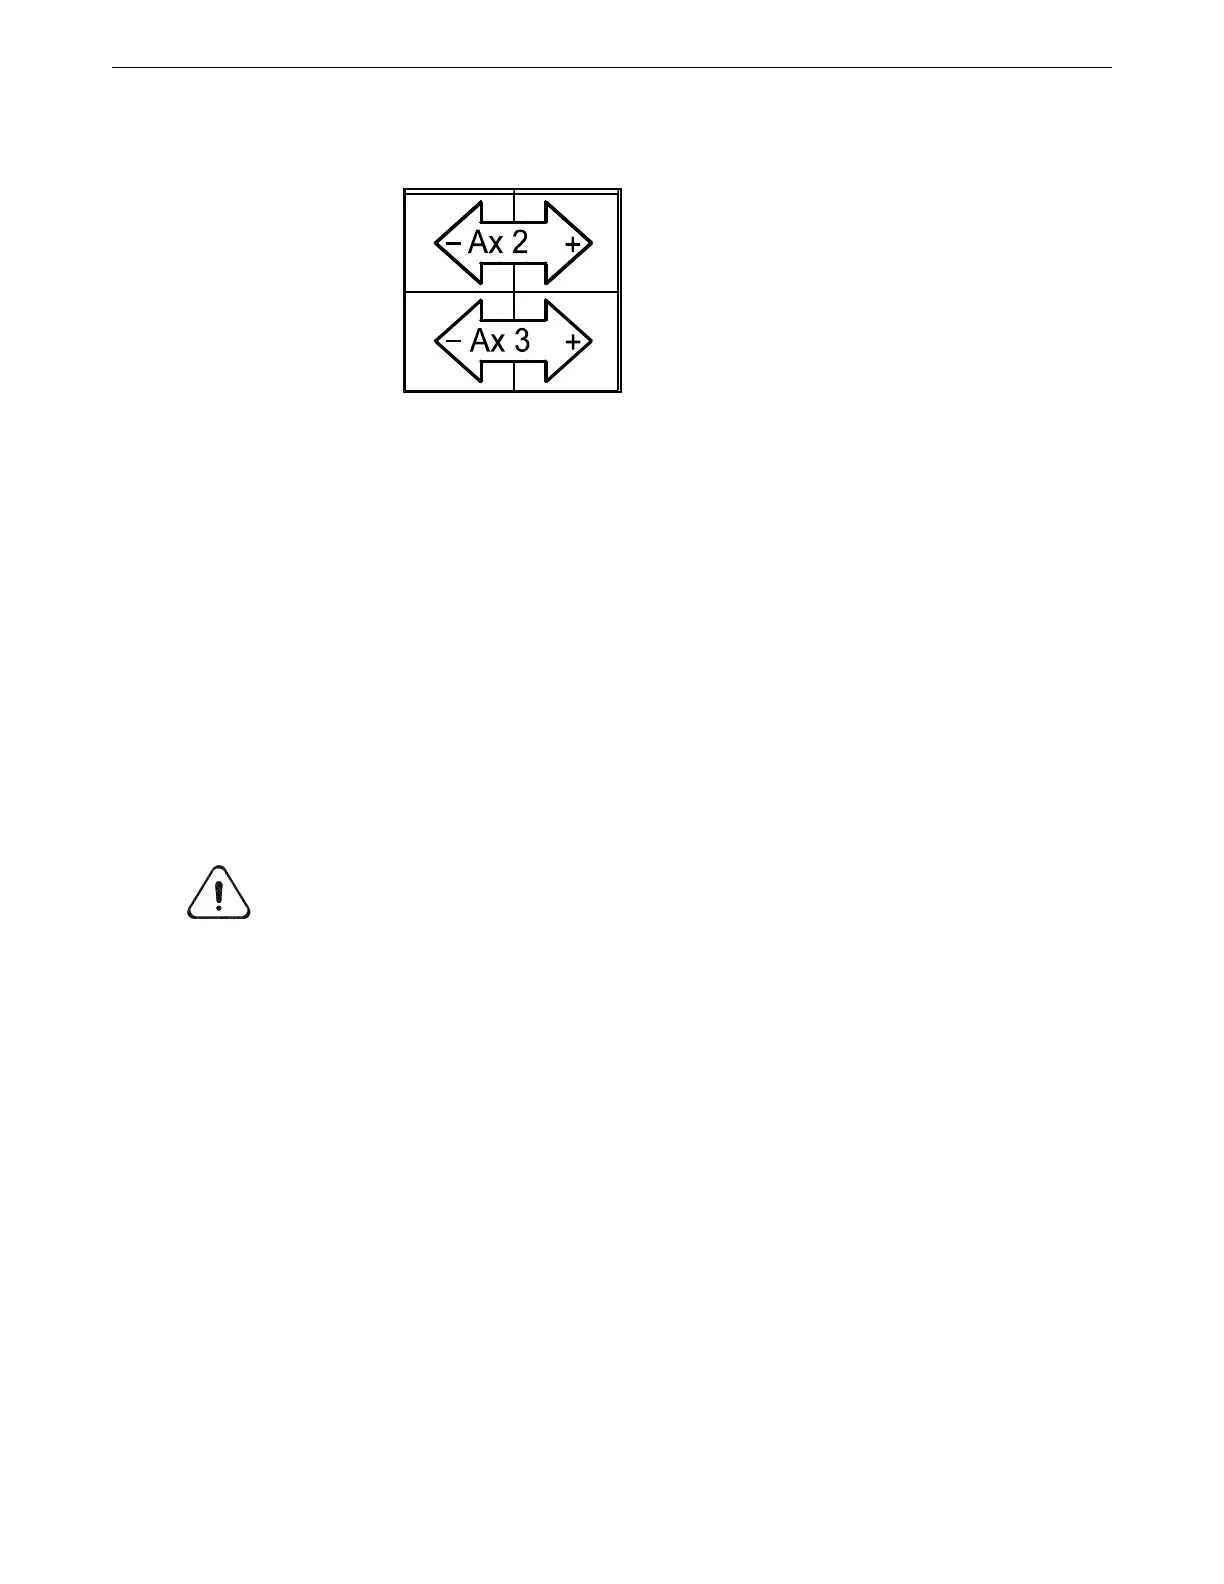
6. When you are finished moving joints 2, 3, and 4 with the axis keys, the arm
should be in a safe starting position, such as in the drawings on page 41.
Using the Terminal
To use the terminal, follow these steps.
Before you begin, ensure that you:
• Have a terminal running by having either:
—A terminal emulator or the terminal window of Robcomm3 communicating
through the front panel console port and having control of the robot at the
terminal. (If not, at the teach pendant, press Shift + ESC to transfer control), or
—The Command Prompt window of CROSnt communicating through the
SimSockD cable in the teach pendant’s port.
To move out of the shipping position:
1. Turn on arm power.
2. Set the speed to a very slow value by typing
speed 1
Warning! Be prepared to strike an e-stop. When you use a command from the
application shell, the robot attempts to move to the commanded position, without knowing
if it is safe to do so. Use the proper joint number and distance value to avoid a collision.
3. Move joint 2 by 10 degrees by typing
joint 2, 10
Repeat this several times.
4. Move joint 3 by 10 degrees by typing
joint 3, 10
Repeat this. Continue moving the joints until the arm links and tool flange are
safely away from the mounting surface, base, cabling, and any elements in
your workcell.
5. Move joint 4 by 10 degrees by typing
joint 4, 10
Repeat this several times.
6. When you are finished moving joints 2, 3, and 4 with the joint command, the
arm should be in a safe starting position, such as in the drawings on page 41.