54 A255 Robot Arm User Guide
99-04-23
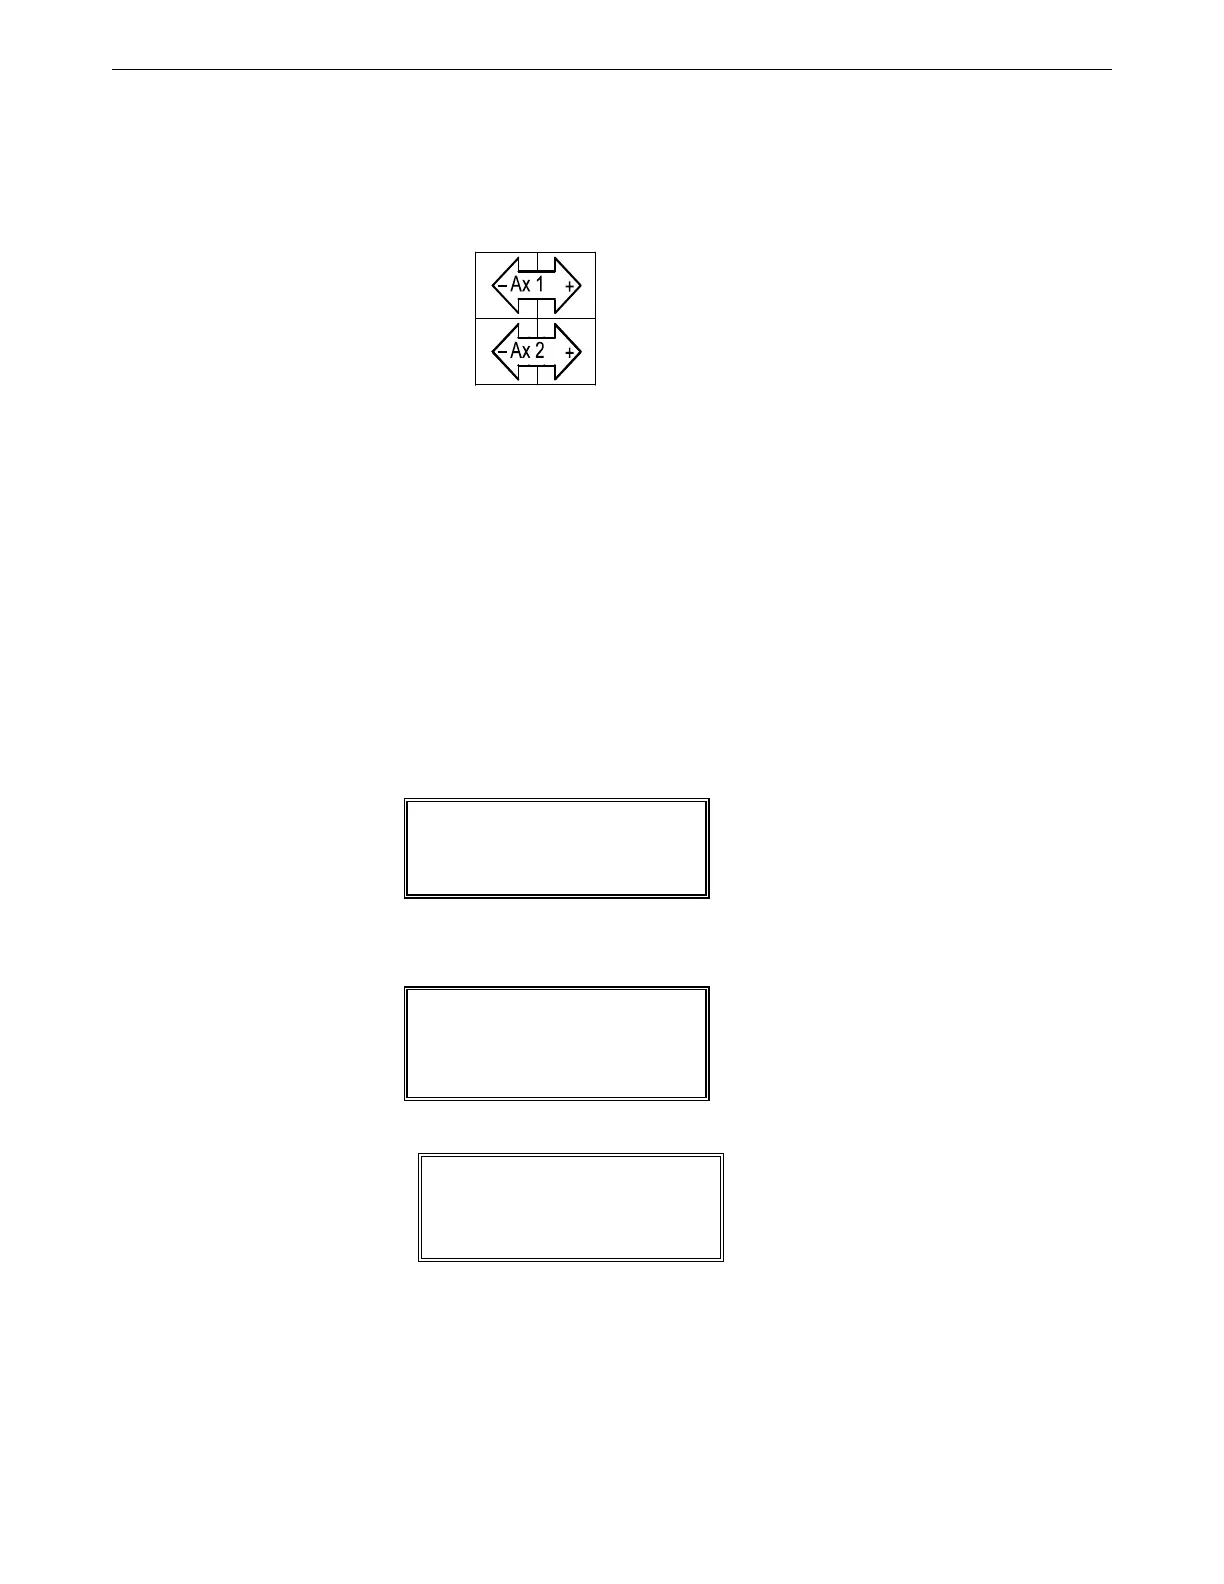
Moving by Limping One Joint at a Time
In limp mode, a positive (+) key limps a joint and the negative (–) axis key unlimps the joint. “Ax 1” for axis 1 (the
waist joint), “Ax2” for axis 2 (the shoulder joint), etc.
“Limping” a joint disengages the servo control to the motor and makes the joint go
limp. After you limp the joint, you can position the link by hand. After you position
the link, you can “unlimp” the joint, which re-establishes servo control and holds
the link in its new position.
Before you begin:
• Ensure that the teach pendant is connected to the controller.
• You will be working within the robot’s workspace, observe the safety and
operation checks on page 24 “Working Within the Robot’s Workspace”.
1. Power ON at the main controller switch. The teach pendant displays the Main
Menu screen.
2. Turn ON arm power. The teach pendant displays the status message “ON”.
3. Press F1 (Manual) to change to the Manual screen.
4. Press F1 repeatedly until LIMP displays.
5. Press the joint’s positive (+) axis key.
• For joint 1, 4, or 5, the joint limps immediately. If you press the axis key for
either joint 4 or 5, both joints limp together at the same time.
• For joint 2, or 3, you must confirm limping.
a. Check that the link is supported.
001:Main Menu ON
Not Homed
1manu 2edit 3run
005:Manual NOTHmd ON
VEL JOINT
10%
1motn 2mode 3loc 4here
005:Manual NOTHmd ON
LIMP JOINT
1motn 2mode 3loc 4here