50 A255 Robot Arm User Guide
99-04-23
application shell. (If not, at the teach pendant, press Shift + ESC to transfer
control), or
—The Command Prompt window of CROSnt communicating through the
SimSockD cable in the teach pendant’s port.
To home the arm:
Warning! Be prepared to strike an e-stop. When you use a command from the
application shell, the robot attempts to move to the commanded position, without knowing
if it is safe to do so. Monitor the motion to avoid a collision.
1. Type
home
press Enter, and at the prompt, type Y (yes). Each joint rotates individually in
sequence from joint 1 to 5 and the amber LED of the Home switch flashes.
When arm motion stops and the LED is lit continuously, the homing sequence
is complete.
2. Type
ready
and press Enter. The arm moves to the ready position.
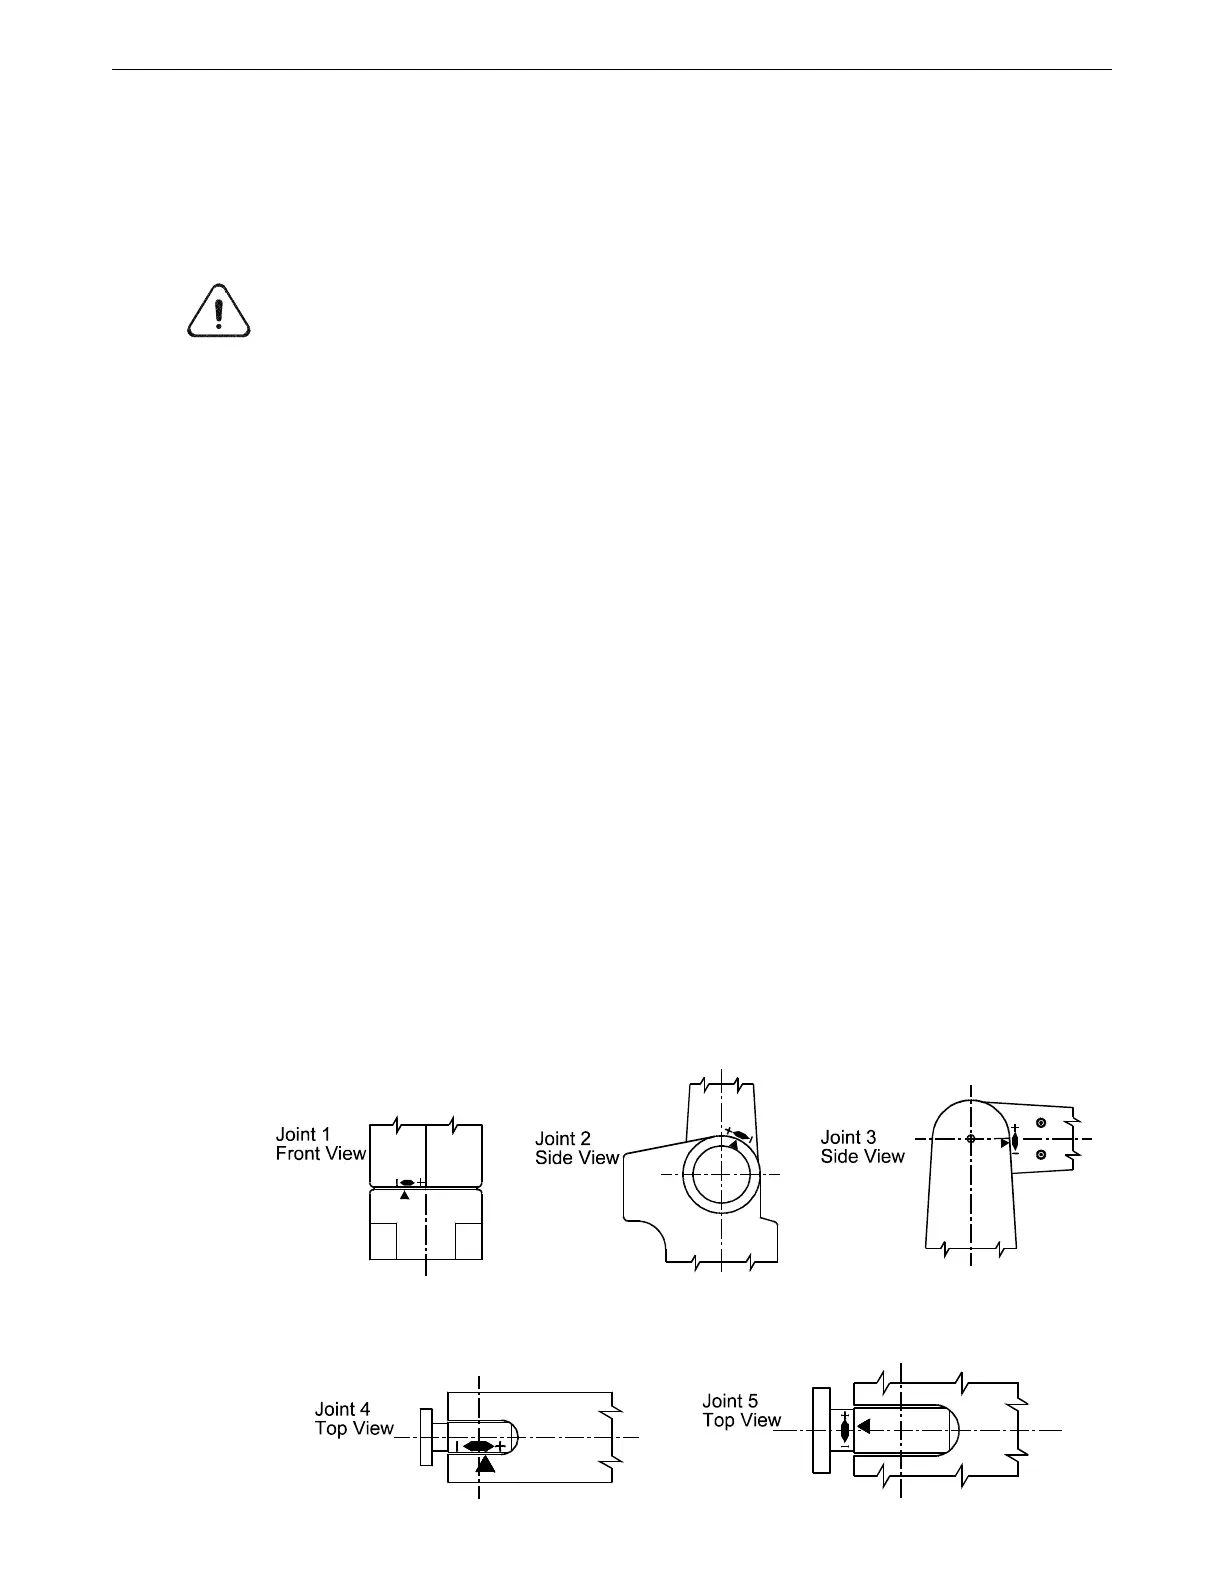
3. Visually inspect the arm. The link between joints 1 and 2 should be vertical
and the link between joints 3 and 4 should be horizontal. Visually inspect each
homing marker. The pointer should be toward the correct end of the zone for
that joint as shown in the previous drawing.
• If any pointer is outside the range of the homing mark, repeat the
procedure, making sure that the pointer starts within the starting zone, but
away from the end where the pointer finishes.
• If the arm did not home correctly, repeat the procedure.
• If joint 1, 2, or 3 is repeatedly off by several degrees, move the arm to the
ready position and move the joint by 1000 motor pulses in the opposite
direction from where it was outside the homing mark using a command
such as
motor +1000
motor –1000
and then home the arm. If this solves the problem, you may
need to adjust your calibration. Contact your distributor or CRS
Robotics.