EasyManuals Logo

D-Link DNS-313 User Manual

D-Link DNS-313
92 pages
To Next Page IconTo Next Page
To Previous Page IconTo Previous Page
Page #12 background imageLoading...
Page #12 background image
9D-Link DNS-313 User Manual
Section 2 - Installation
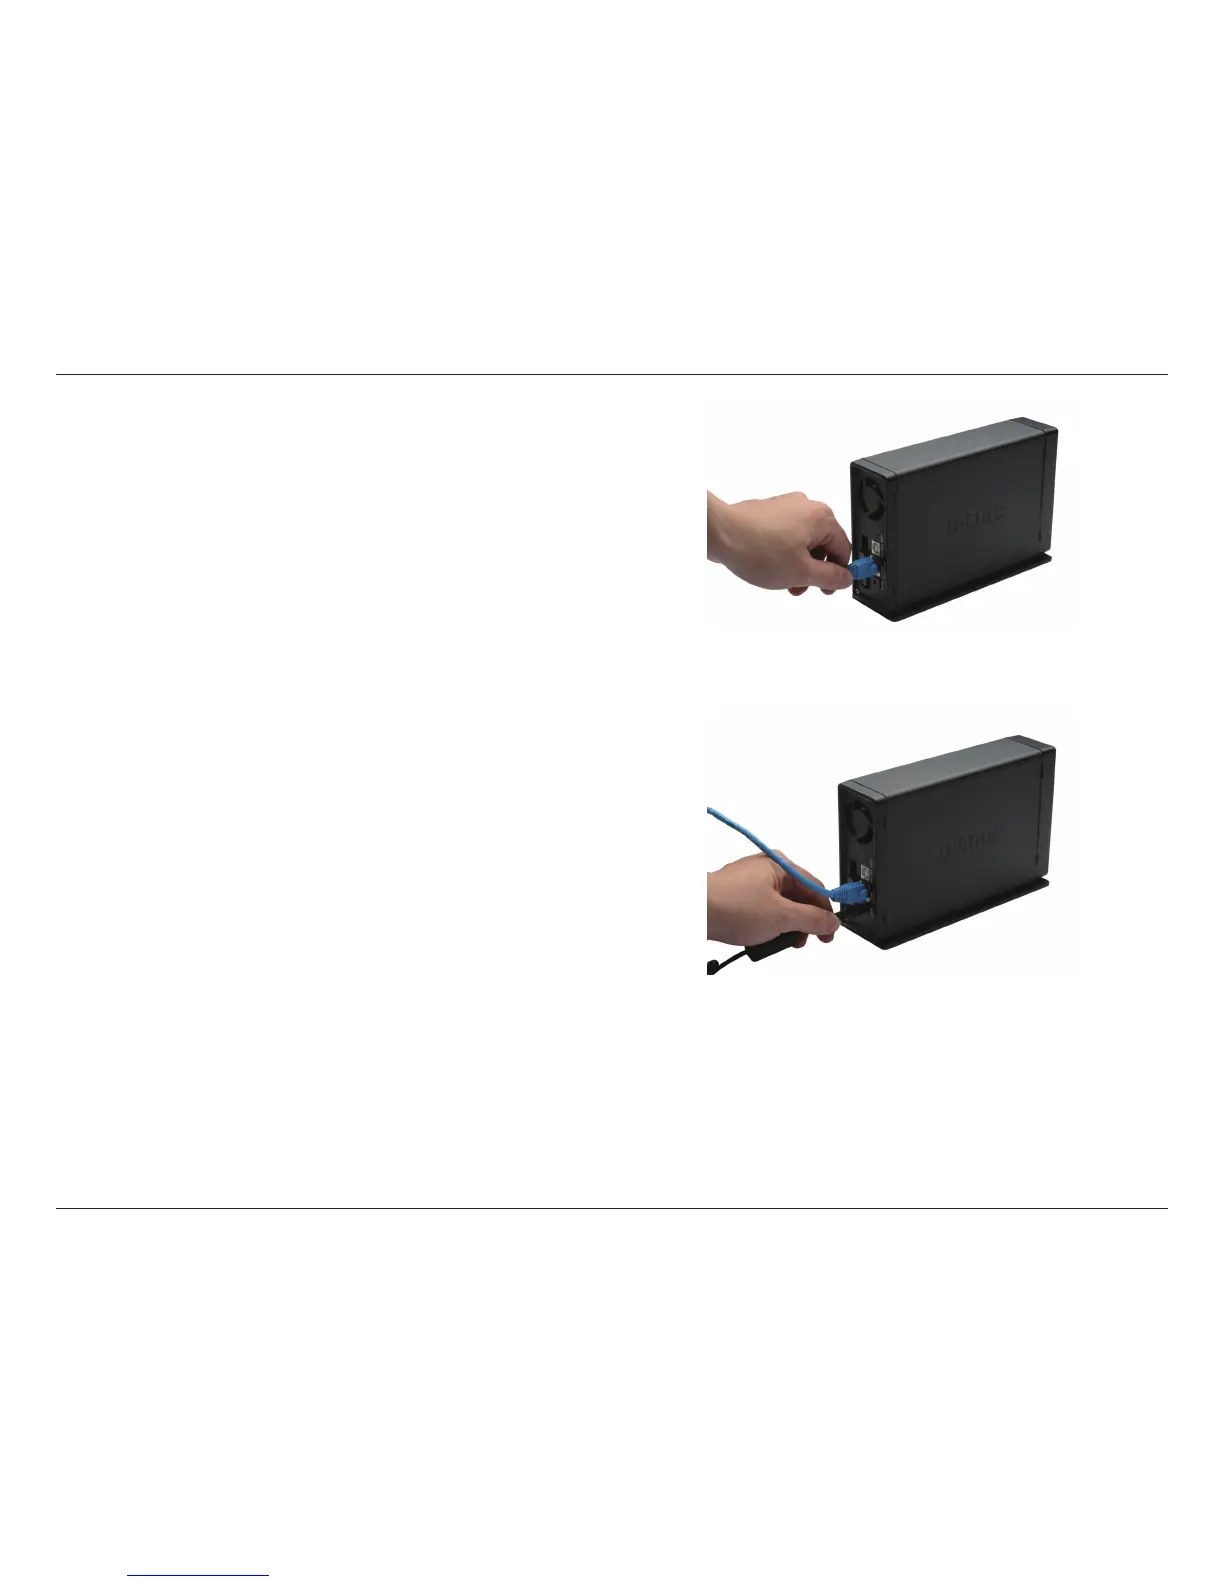
5. Move the Direct Attached/Network Storage Mode
switch to the Network Storage Mode position and
connect an Ethernet cable to the Ethernet port. This
cable should connect the DNS-313 to your local
network via a router or switch, or directly to a computer
for conguration.
6. Connect the power adapter to the power receptacle.
Note: When a new hard disk is installed, the hard disk
must be formatted in the DNS-313 before it can be
used. Insert the Installation CD into your computer’s
CD-ROM or DVD-ROM drive and follow the instructions
in the “Setup Utilities” section on page 10 to use the Click
n’ Connect Utility for initial setup.

Other manuals for D-Link DNS-313

Questions and Answers:

Question and Answer IconNeed help?

Do you have a question about the D-Link DNS-313 and is the answer not in the manual?

D-Link DNS-313 Specifications

Device Interfaces IconDevice Interfaces
Gigabit Ethernet port1 10/100/1000
USB port1 USB 2.0
Power socketexternal power adapter
Operating Environment IconOperating Environment
Operating temperature0˚ to 55˚ C (32˚ to 131˚ F)
Storage temperature-20˚ to 70˚ C (-4˚ to 158˚ F)
Operating humidity5% to 90% (non-condensing)
Weight and Dimensions IconWeight and Dimensions
Dimensions200 (L) x 124 (H) x 49 (W) mm
Weight1.29 Kg
Supported hard drive type3.5-inch internal SATA

Related product manuals