20D-Link DNR-202L User Manual
Section 2: Assembly and Installation
HDD Viewer Software Installation
Step 1
Attach the hard disk containing the DNR-202L video recordings you wish to view
to your computer.
Step 3
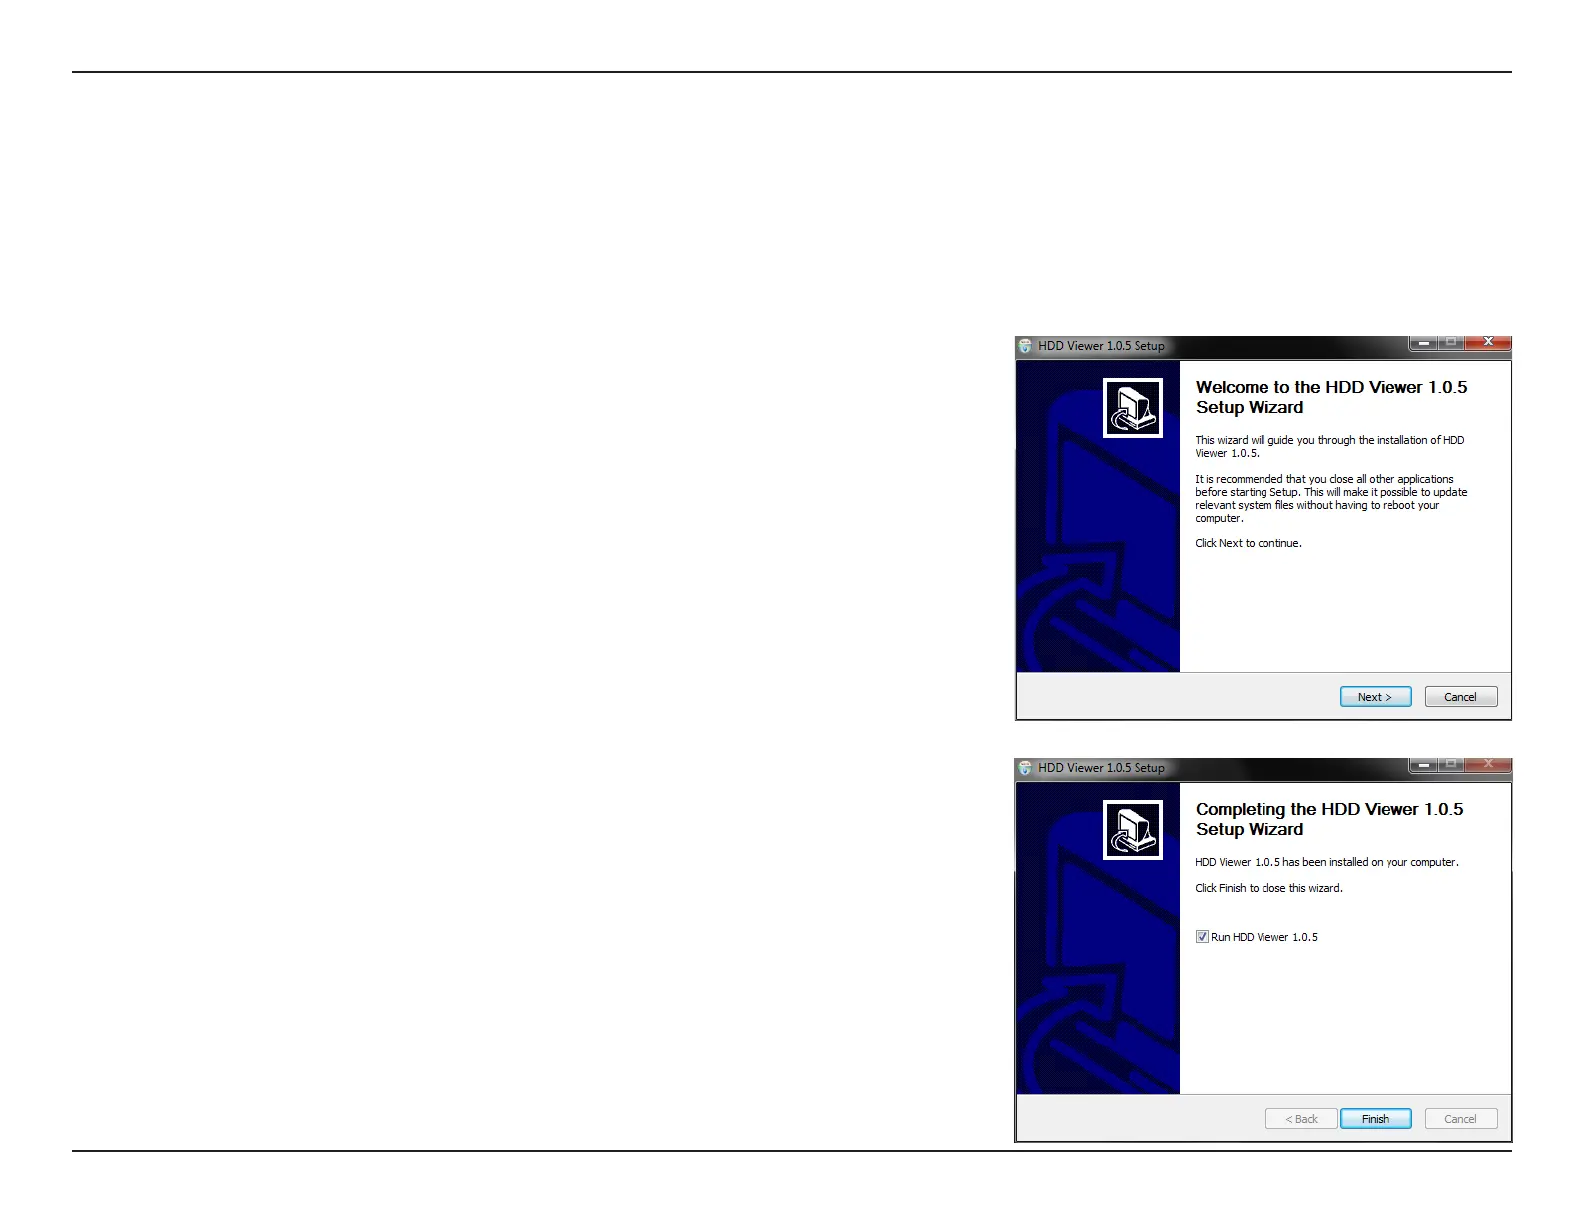
Follow the on-screen prompts to install the software. You will see a message that
says, HDD Viewer has been installed on your computer.
Make sure the box is checked by Run HDD Viewer. Click Finish to close the HDD
Viewer Setup Wizard.
Your DNR-202L comes with a convenient application to assist you in managing your recorded video. If you have the HDD Viewer
installed, you will be able to remove a USB HDD from the DNR-202L and plug it into your computer to review recorded video.
This section will guide you thrugh the easy-to-use HDD Viewer Setup Wizard.
Step 2
Open your web browser and go to http://www.mydlink.com/support. Click on
the Storage tab, and then select the DNR-202L from the row of products. Click
on the link to download the HDD Viewer Setup Wizard.
 Loading...
