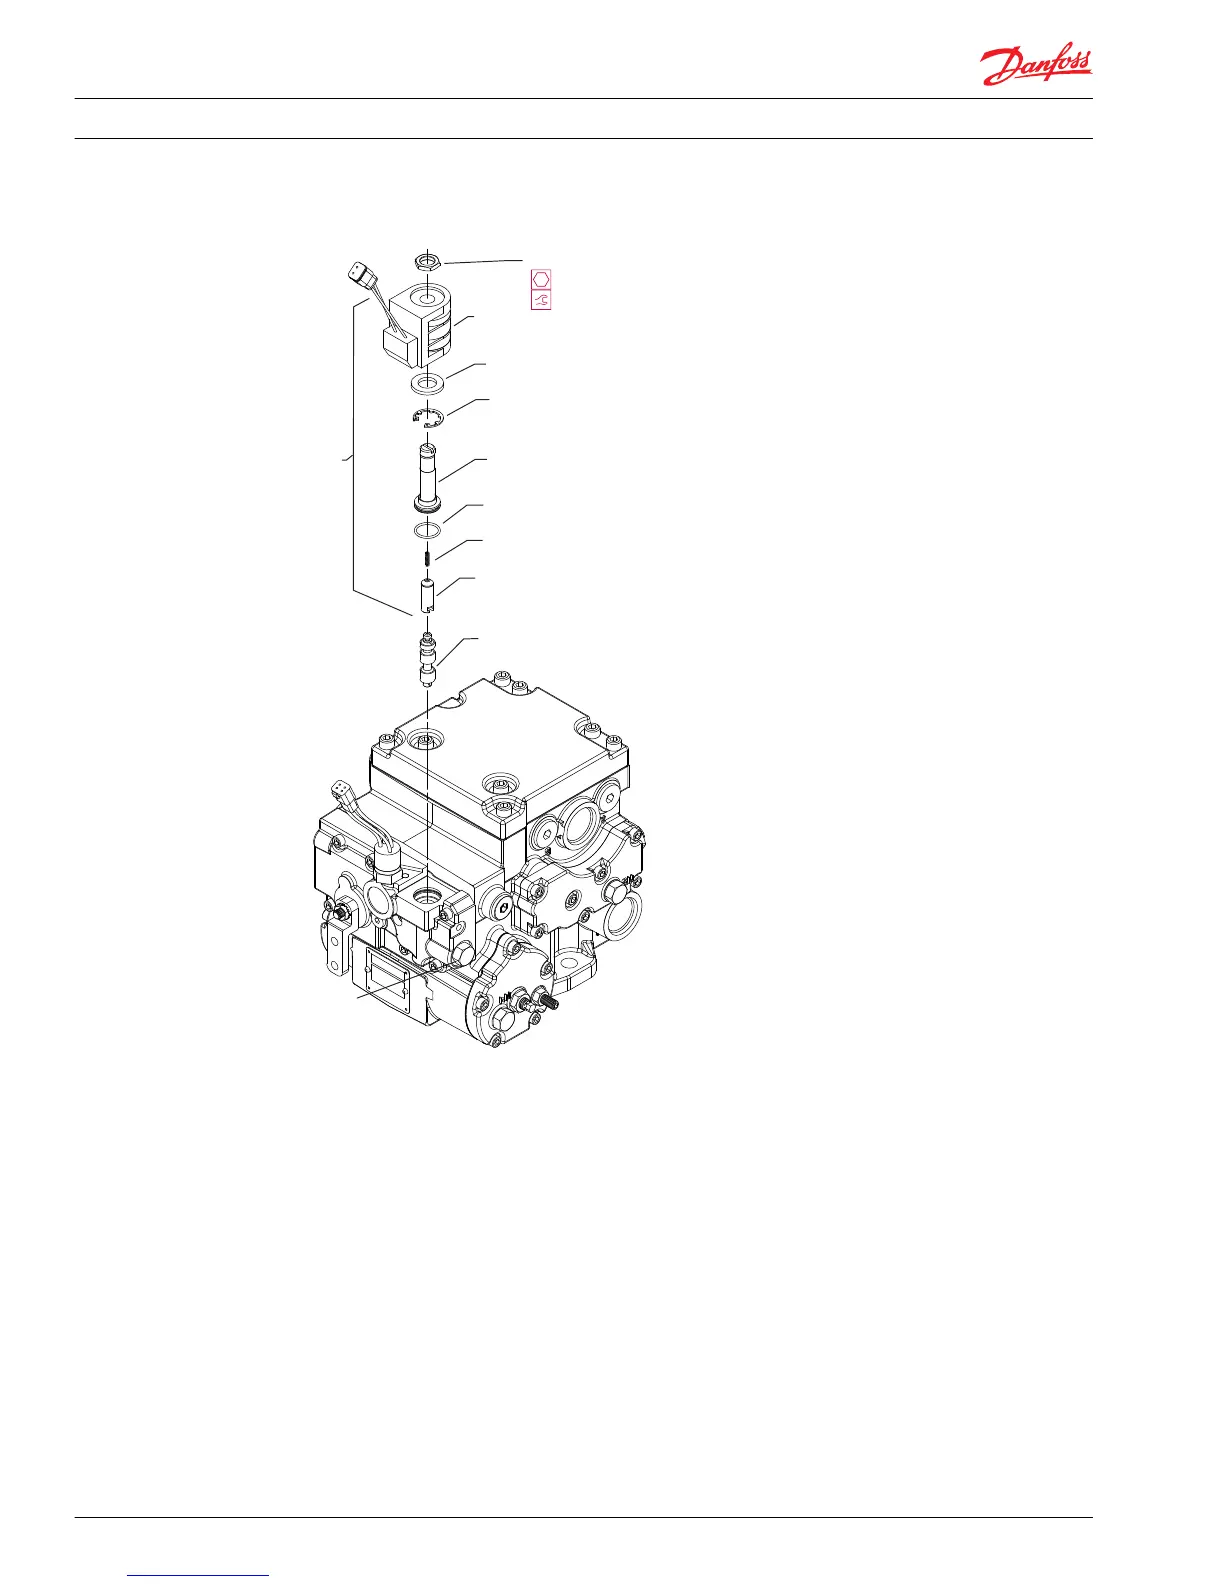
Removal
1. Using a 3/4 inch wrench, remove the coil nut (D056B) from the valve stem.
2. Remove the coil (D056) and washer (D056C).
3. Using snap-ring pliers, remove the retaining ring (D054) at the base of the solenoid.
4. Remove the valve stem (D056D), plunger (D056G), spring (D056F), and spool (D053).
5. Remove the O-ring (D056A) from the stem, and discard it.
Installation
1. Lubricate and install a new O-ring (D056A) on the valve stem (D056D).
2. Place the spring (D056F) and the plunger (D056G) inside of the stem.
3. Attach the spool (D053) to the plunger (D056G).
4. Insert the solenoid/spool assembly into the solenoid override cavity.
5. Using snap-ring pliers, install the retaining ring (D054).
6. Install the washer (D056C) onto the valve stem.
7. Install the coil (D056) and coil nut (D056B) and torque to 6 N•m [4.4 lbf•ft]. Do not over torque coil nut.
Service Manual
Series 42 Axial Piston Closed Circuit Pumps
Minor Repair
50 520L0638 • Rev 0300 • July 2015