Removal and Replacement
4-3
Replacement:
1. Carefully connect the Printhead Cable to the Printhead.
2. Position the Printhead onto the pins in the Printhead Assembly and, after ensuring that the
Printhead Cable is not pinched, tighten (but not excessively) the Printhead Screw.
3. Clean the Printhead (see Section 2.1.1).
4. Adjust the Printhead; see Section 2.4.
4.3 Electronics Tray
Removal:
1. Turn OFF and unplug the printer.
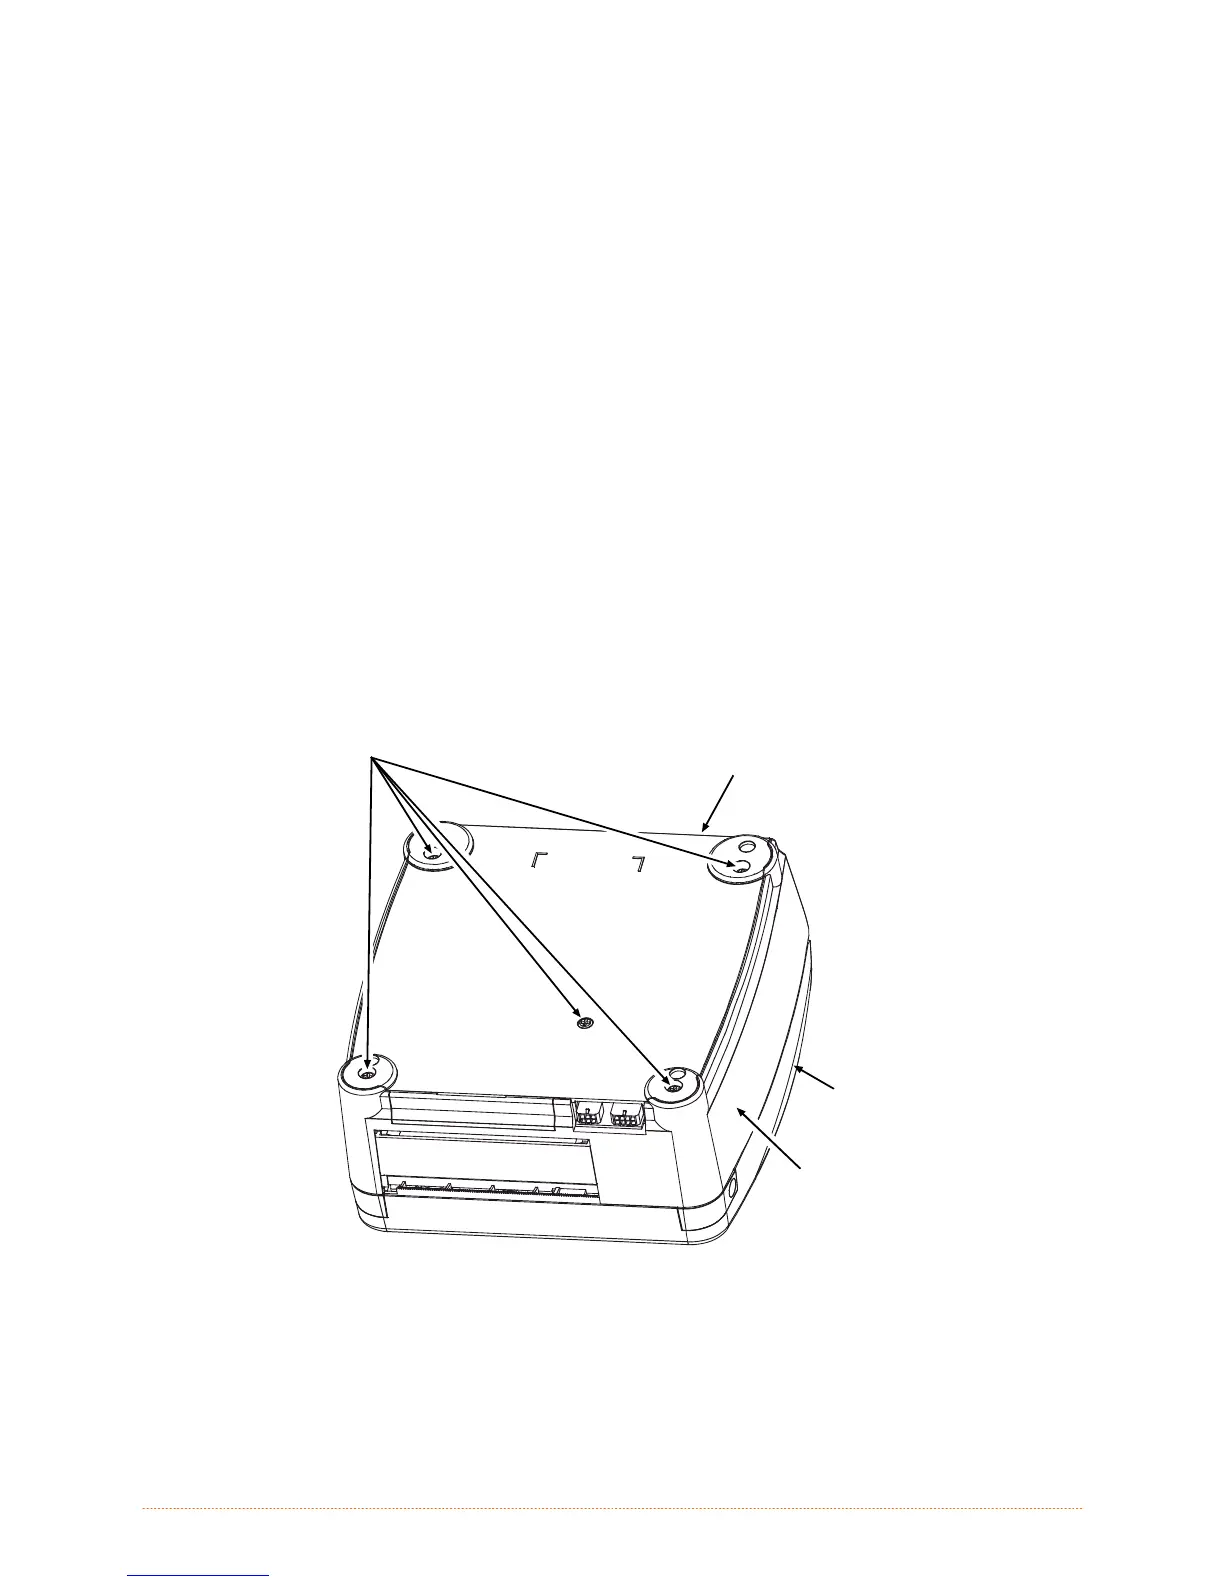
2. Remove the five Screws that secure the Electronics Tray to the Bottom Enclosure.
Screws
Electronics
Tray
Bottom
Enclosure
Cover
3. While holding the Electronics Tray, the Bottom Enclosure, and the Cover right the printer. Then
gently lift the Bottom Enclosure and the Cover off and to the left of the Electronics Tray, as shown
below.