Removal and Replacement
4-7
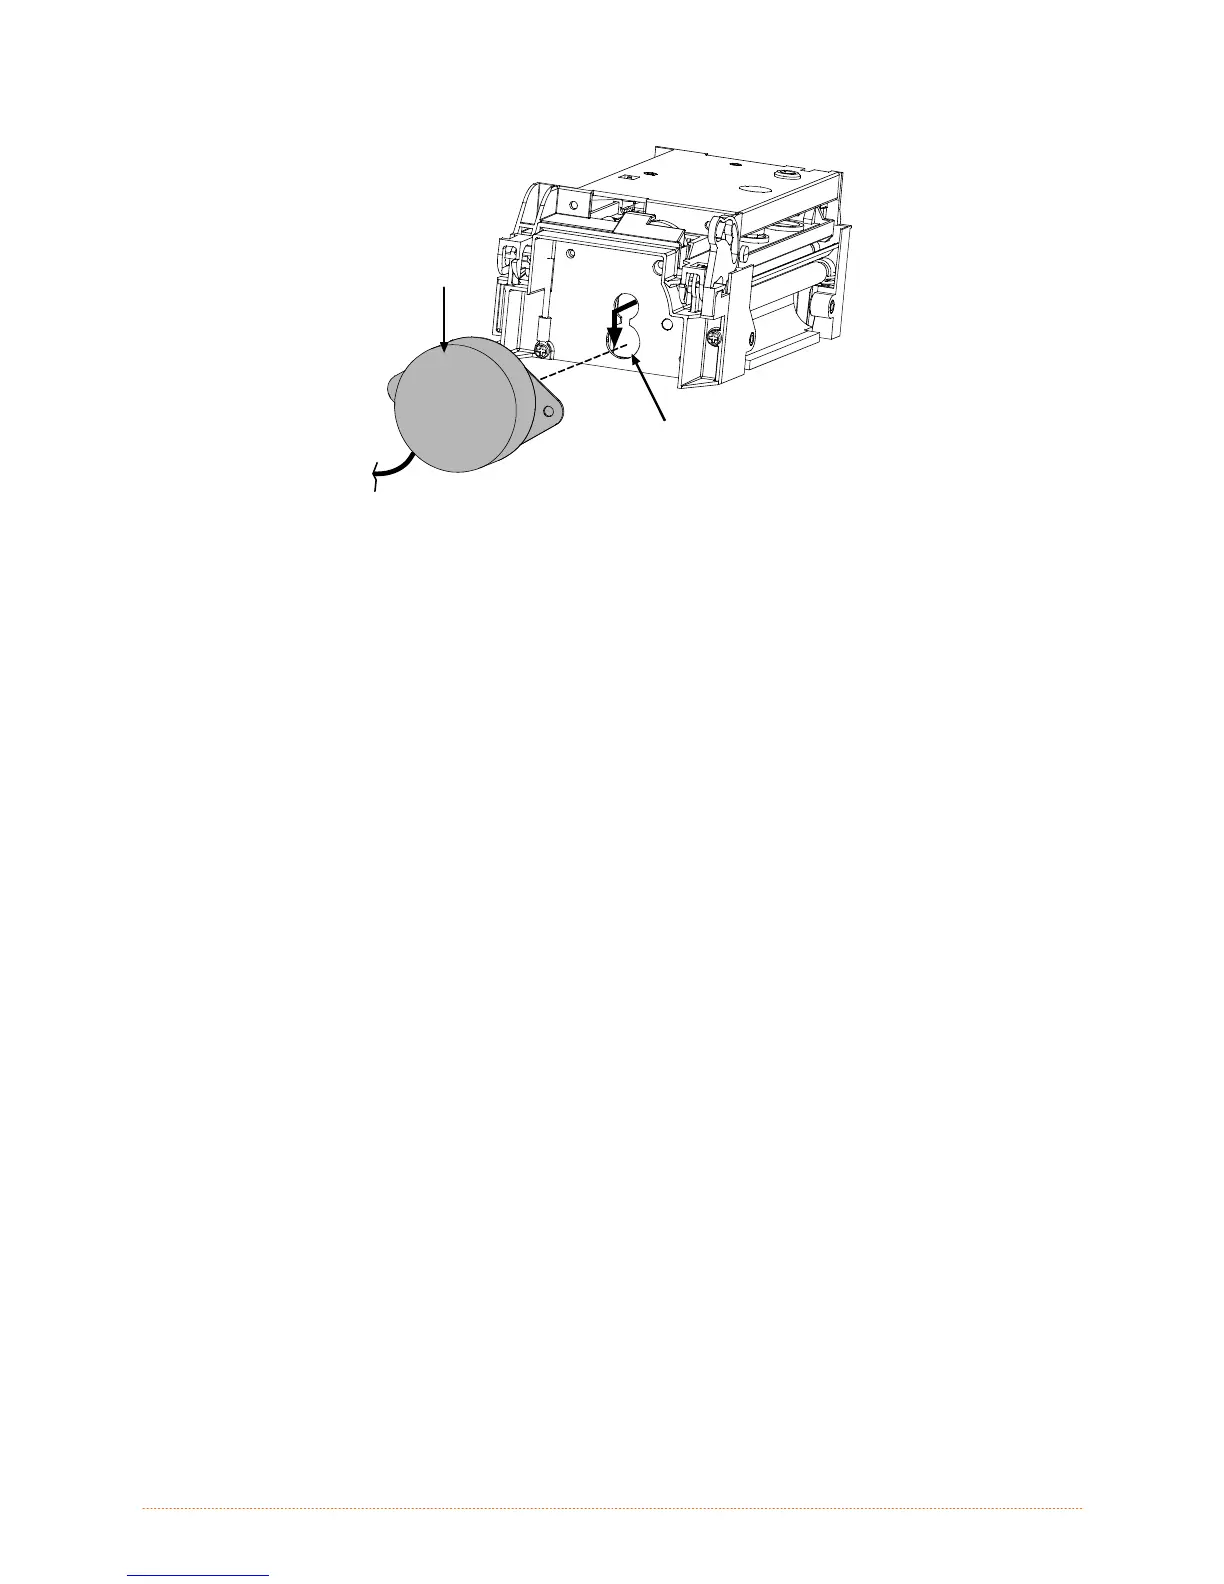
Drive
Motor
Lower
Hole
Replacement:
1. Slide the Drive Motor gear into the Lower Hole then up into position, ensuring that the gears and
mounting holes are aligned.
2. Reinstall the two Motor Mounting Screws.
3. Reinstall the Print Mechanism; see Section 4.4.
4.6 Platen
Removal:
1. Turn OFF and unplug the printer.
2. Remove the Print Mechanism; see Section 4.4.
3. Remove the Drive Motor; see Section 4.5.
4. Remove the two screws that secure the Motor Mounting Bracket (also freeing the Ground Lug).
 Loading...


