Removal and Replacement
4-9
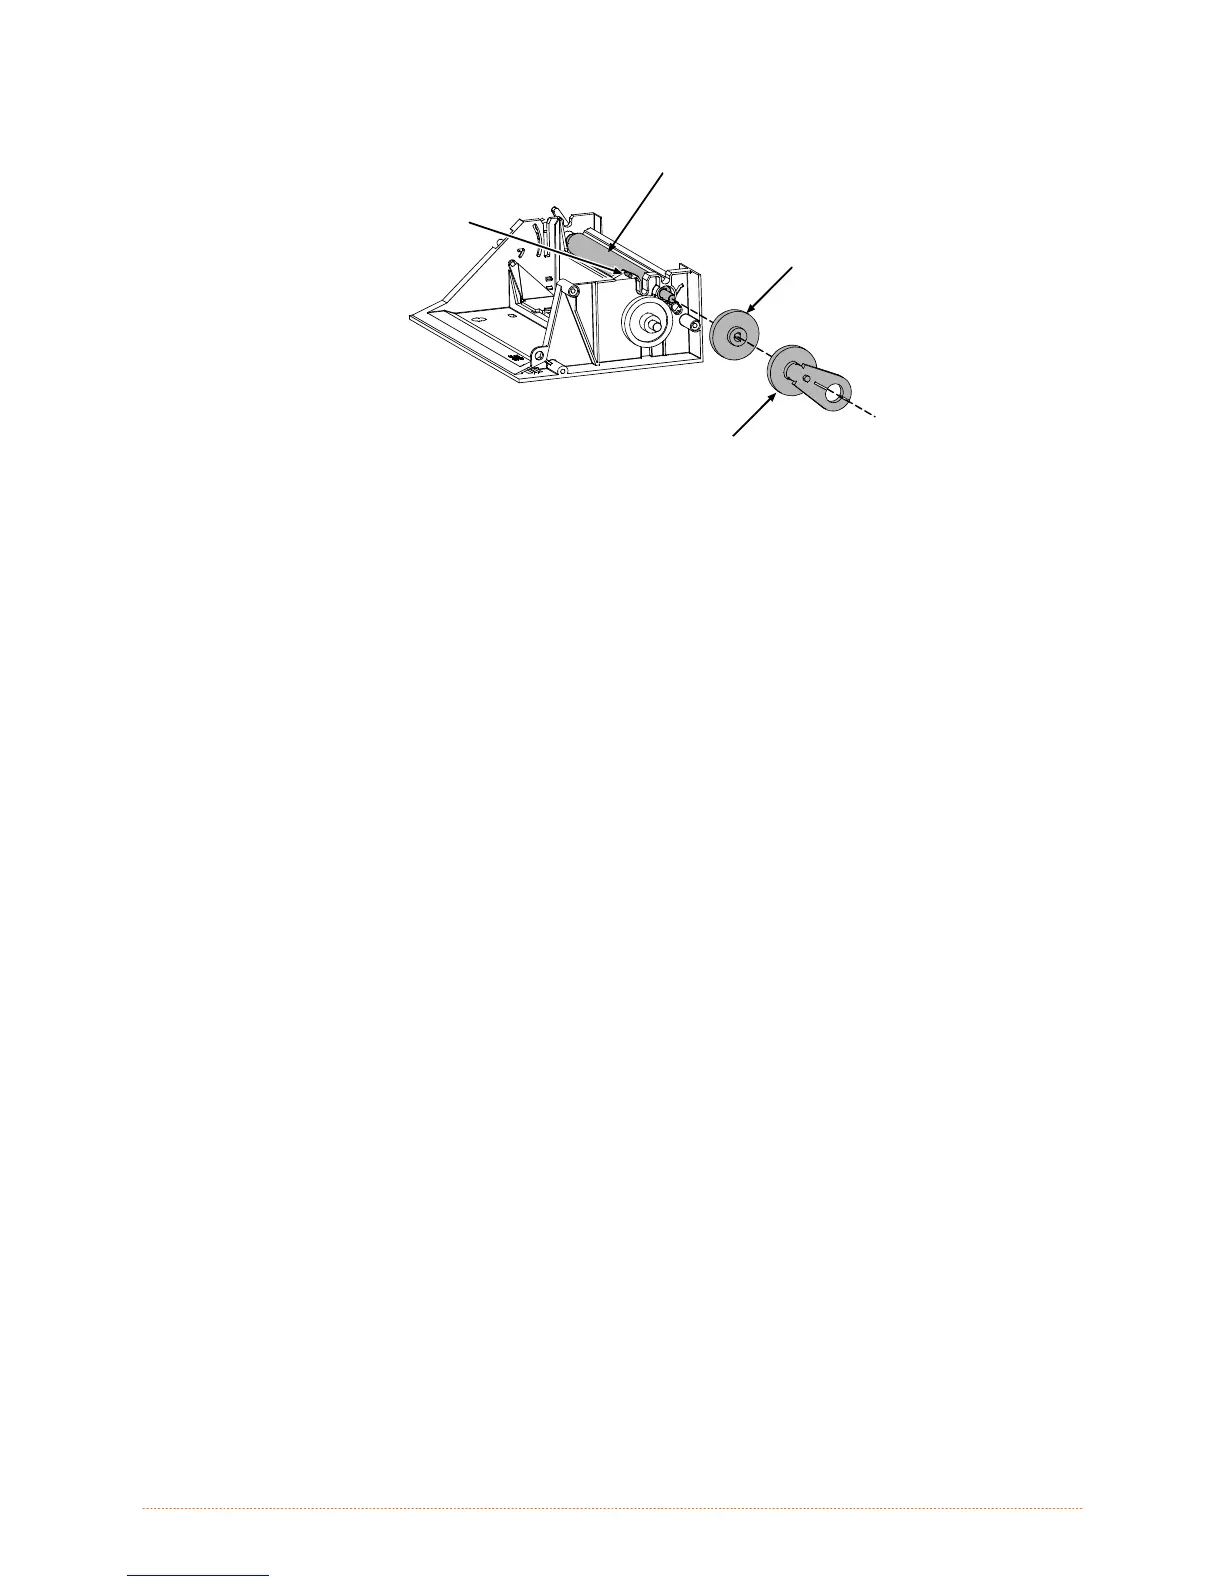
Platen
Gear
Platen
Ribbon Drive
Assembly
Ribbon Gear
Locator
7. Remove the C-Clips and Bushings from each end of the Platen.
8. Slide the Platen away from the Printhead Latch and out of the Print Mechanism.
Replacement:
1. Slide the new Platen into the Print Mechanism then install Bushings and C-Clips at each end of the
Platen.
2. Reinstall the Platen Gear and then the Ribbon Drive Assembly, ensuring that the center of the gear
on the Ribbon Drive Assembly is placed over the Ribbon Gear Locator.
3. Position the Motor Mounting Bracket onto Print Mechanism.
4. Position the Ground Lug against the Motor Mounting Bracket.
5. Secure the Ground Lug, the Motor Mounting Bracket, and Print Mechanism with the two Screws.
6. Reinstall the Drive Motor; see Section 4.5.
7. Reinstall the Print Mechanism; see Section 4.4.
4.7 Control Panel Assembly
Removal:
1. Turn OFF and unplug the printer.
2. If equipped with the Thermal Transfer or Present Sensor option, remove the connector from the
Option Port.
 Loading...


