EasyManuals Logo

Datamax E-Class Mark II Maintenance Manual

Datamax E-Class Mark II
40 pages
To Next Page IconTo Next Page
To Previous Page IconTo Previous Page
Page #39 background imageLoading...
Page #39 background image
Removal and Replacement
4-11
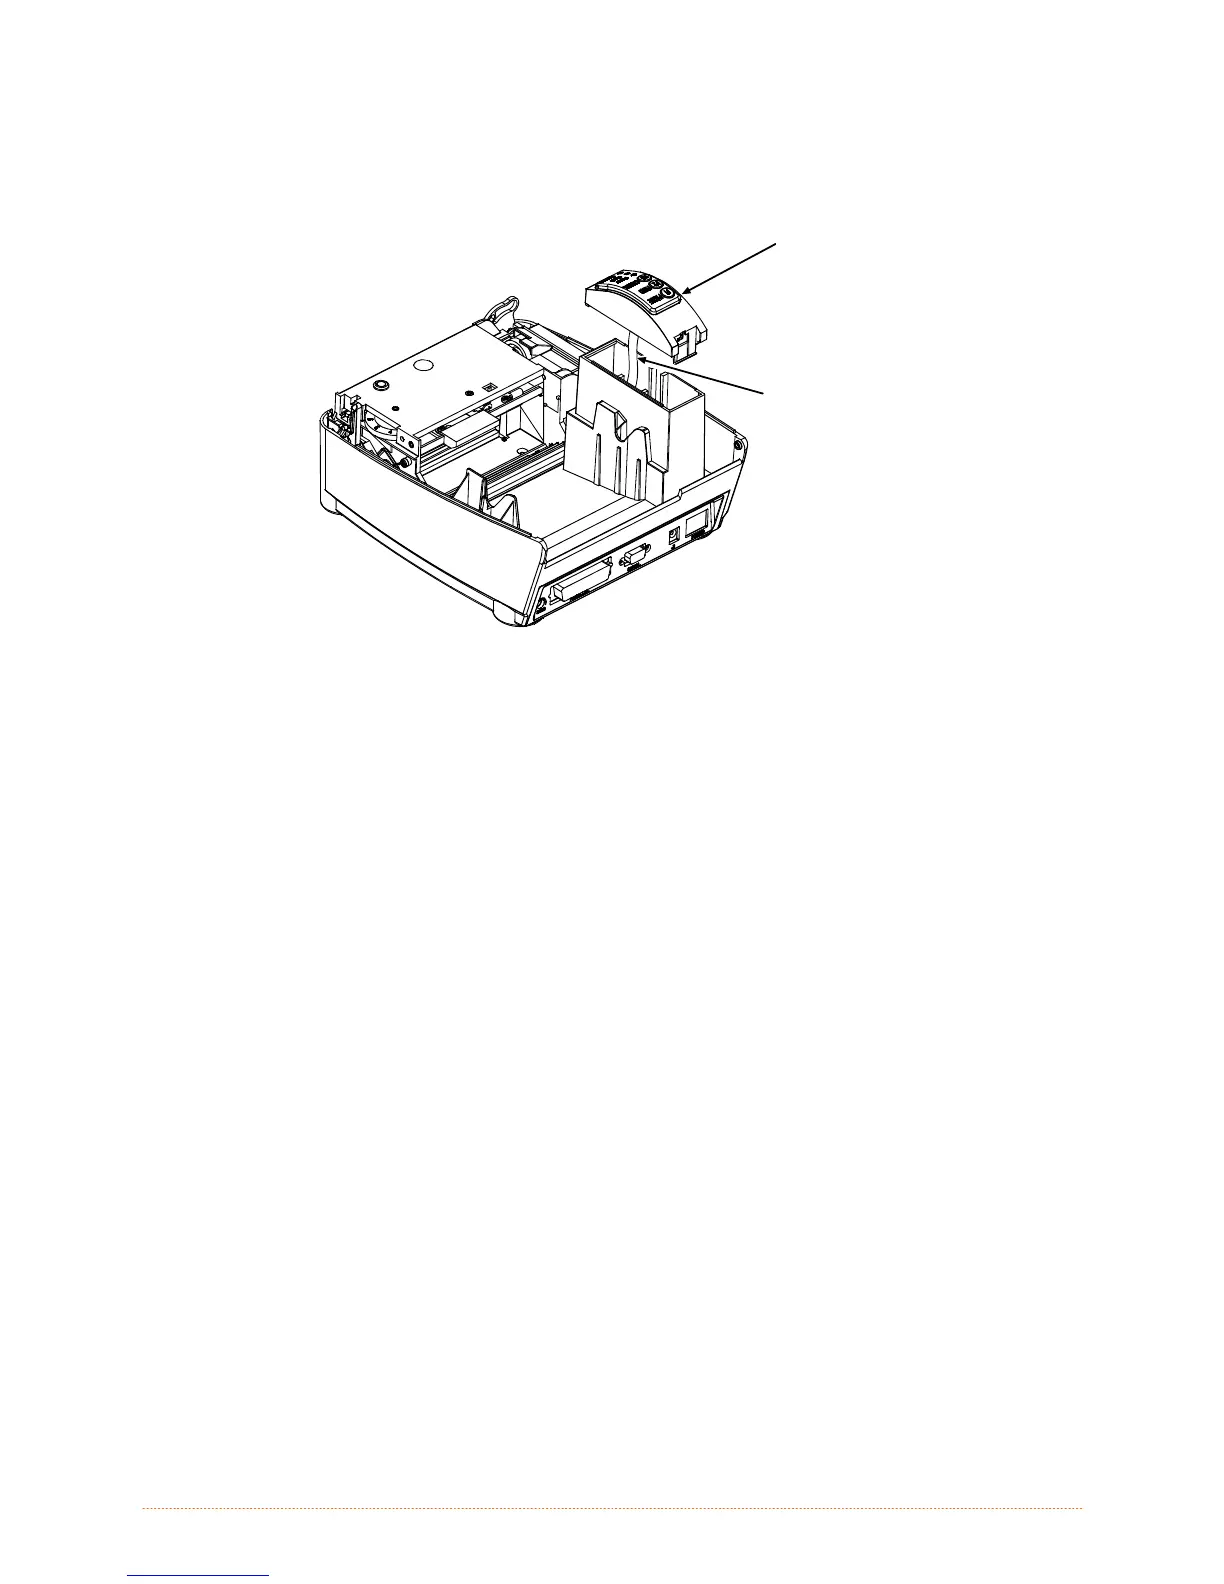
5. Remove the Control Panel Cable from the Control Panel Assembly.
Control Panel
Assembly
Cable
Replacement:
1. Connect the Control Panel Cable to the Control Panel Assembly.
2. Insert the front of the Control Panel Assembly into the Bottom Enclosure and push down until the
Locking Tab snaps into place.
3. Reconnect any removed option to the Option Port.
4. Reinstall the Media Supply Hanger into the Bottom Enclosure.
4.8 Bottom Enclosure
Removal:
1. Turn OFF and unplug the printer.
2. Remove the Cover; see Section 4.1.
3. Remove the Control Panel Assembly; see Section 4.7.
4. Remove the Electronics Tray; see Section 4.3.
5. Remove the Print Mechanism; see Section 4.4.

Other manuals for Datamax E-Class Mark II

Questions and Answers:

Question and Answer IconNeed help?

Do you have a question about the Datamax E-Class Mark II and is the answer not in the manual?

Datamax E-Class Mark II Specifications

General IconGeneral
Resolution203 dpi (8 dots/mm) or 300 dpi (12 dots/mm)
Operating Temperature40°F to 95°F (4°C to 35°C)
Storage Temperature-40°F to 140°F (-40°C to 60°C)
Print MethodDirect Thermal / Thermal Transfer
Max Print Speed6 inches per second (ips)
Memory8 MB DRAM
InterfaceSerial, Parallel, USB
Media TypeLabels, Tags, Receipts
Media Width0.75" (19 mm) to 4.65" (118 mm)
Media Thickness0.0025 to 0.008 inches (0.0635 to 0.2032 mm)
Power Requirements100-240 VAC, 50-60 Hz

Related product manuals