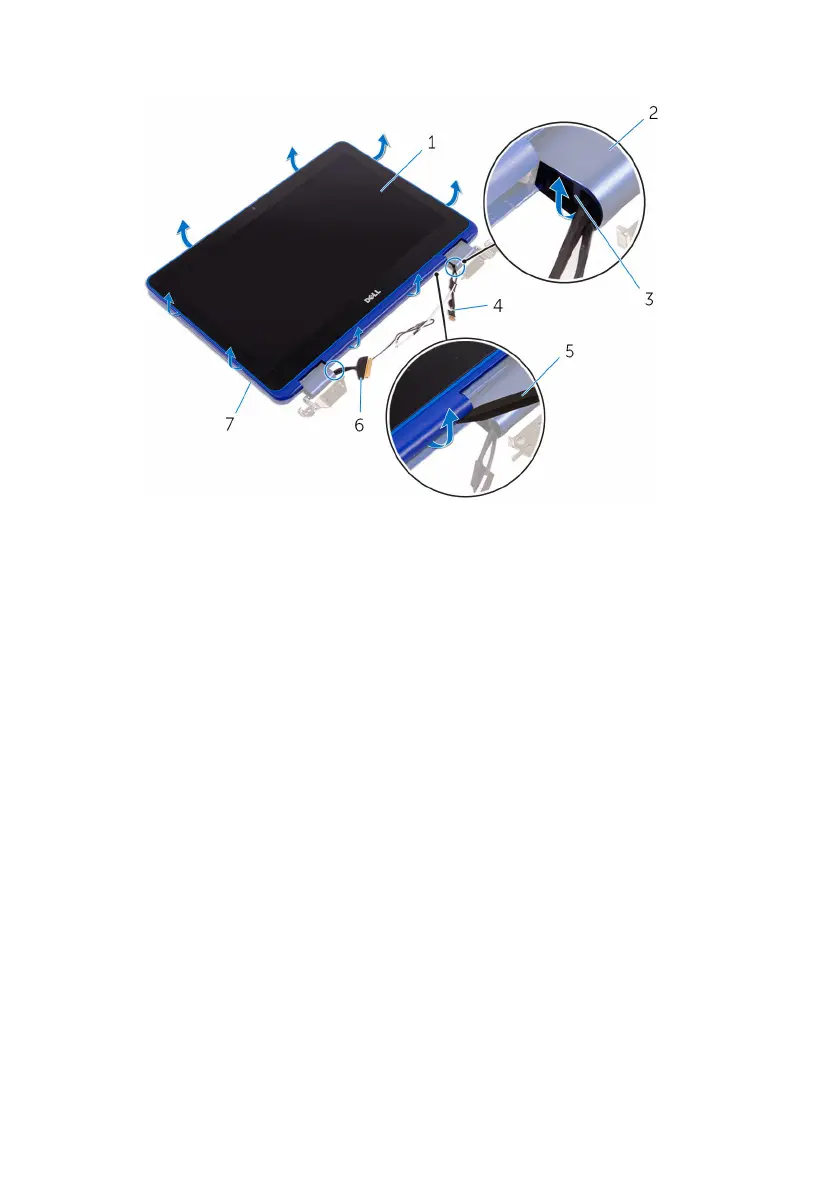
7 Align the screw hole on the display-cable bracket to the screw holes on the
system board.
8 Replace the screw that secures the display-cable bracket to the screw holes on
the system board.
9 Connect the display cable to the system board.
10 Connect the coin-cell battery and speaker cables from the system board.
Identifier GUID-E0465134-782E-477F-AED3-624DF28175F4
Status Released
Post-requisites
1 Replace the memory module.
2 Follow the procedure from step 3 to step 4 in “Replacing the hard drive”.
3 Replace the wireless card.
4 Replace the battery.
5 Replace the base cover.
Identifier GUID-C264FC4F-B5CD-4F08-9183-CB9FC26A5E6A
Status Released
Entering the Service Tag in the BIOS setup
program
1 Turn on or restart your computer.
2 Press F2 when the Dell logo is displayed to enter the BIOS setup program.
3 Navigate to the Main tab and enter the Service Tag in the Service Tag Input
eld.
NOTE: Service tag is the alphanumeric identier located at the back side of
your computer.
74