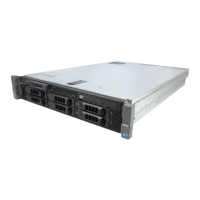
Figure 101. Installing the front mounting front PERC module
Next steps
1. Connect all the cables, observe the cable routing.
2. Install the cooling fan cage assembly.
3. If removed, install the air shroud or install the GPU air shroud.
4. Install the drive backplane cover.
5. Follow the procedure listed in After working inside your system.
Removing the adapter PERC module
Prerequisites
1. Follow the safety guidelines listed in the Safety instructions.
2. Follow the procedure listed in the Before working inside your system.
3. If required, remove the air shroud or remove the GPU air shroud.
4. If required, remove the drive backplane cover.
5. Remove the cooling fan cage assembly.
6. Remove the expansion card riser.
7. Disconnect all the cables from the Adapter PERC card, observe the cable routing.
NOTE: Refer Cable routing topic for more information.
NOTE: Adapter PERC module must be installed only in expansion card riser 1 or riser 2.
Steps
1. Tilt the expansion card retention latch lock to open.
2. Pull the card holder before removing the card from the riser.
3. Hold the Adapter PERC module by the edges. and pull the module from the expansion card connector on the riser.
NOTE: The numbers on the image do not depict the exact steps. The numbers are for representation of sequence.
Installing and removing system components 139
 Loading...
