EN-22 Originalbetriebsanleitung Allgemein
14.5 Practising braking
As every bicycle can react dierently depending on its
braking system, you should familiarise yourself with the
right braking technique. Practise braking in a safe place
before venturing into road trac. Practise until you feel
safe 23. Brakes Page EN-32.
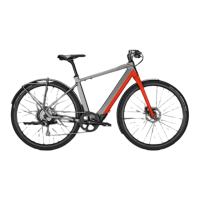
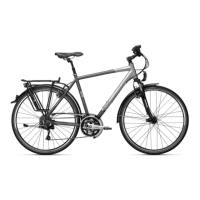
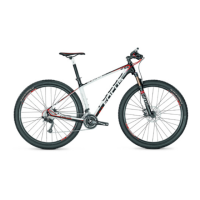
15. Beforeeverytrip
Warning
Seriousfallsandaccidentscausedbyinsucient
bicycle control.
▪ Do not ride the bicycle if it is not fully assembled.
If you need help with assembly, get in touch with a
specialist workshop.
▪ Do not use the bike if it is not in perfect technical
condition. If you are unsure, ask your dealer to
check it over. Have inoperable or damaged parts
replaced.
▪ Pedelec/S-Pedelec: If your Pedelec/S-Pedelec
switches o while you are riding, stop the ride and
visit a specialist workshop.
Inspect your bicycle before every trip, and after each time
it has been transported anywhere or left unattended. Use
the following checklist to help you.
15.1 Checklist
Components Inspection
Frame / forks Check the frame 16. Bicycle frame
Page EN-23 and forks 22. Bicycle fork
Page EN-31 for visible warping, cracks
and damage.
Elastic mounts Check function, setting and secure
fastening.
Handlebars /
front stem
Check the right position and a correct,
rm t 19. Adjusting the handlebars
and front stems Page EN-28.
Check that the bell is working and
attached correctly and securely.
Saddle / seat
post
Check the quick-release skewer for rm
seating. The quick-release skewers
must be locked 17.1.2 Fastening
with quick-release skewer Page EN-24.
Check the right position and correct,
secure fastening
17. Seat height Page EN-24,
18. Adjusting the position and angle
of the saddle Page EN-26.
Wheels Check the condition (damage, foreign
bodies, prole depth), concentricity
and pressures of the tyres 28. Tyres
and tubes Page EN-53.
Check the valves are seated securely
28.3.1 Valves Page EN-54.
Visually inspect the spokes and rims
for damage and wear 27.3 Rims
Page EN-53.
Check that the quick-release skewers/
through-axles are correctly and
securely seated 27.1 Fastening
wheels with quick-release skewers Page
EN-51, 27.2 Attaching wheels with
through-axles Page EN-52.
Components Inspection
Chain or belt Check the chain, belt, pinions and
sprockets for wear and damage
25. Chain Page EN-48, 26. Belt Page
EN-49.
Brakes Check that the brake system 23.4
Brake lever(s) Page EN-34 (including
brake levers) is working and attached
correctly and securely.
Visual inspection of the brake pads/
discs 23.6 Replacing the brake pads
Page EN-36.
Check the lines and connections
(hydraulic brakes) for leaks.
Cables, brake
cables and
lines, switching
cables and lines
Check that all cables, lines and wires
are intact and not kinked.
Lights Check that the light system is adjusted
and in working order 14.2 Lights
Page EN-21.
Check that reectors are axed in
accordance with applicable national
trac regulations 7. Legal
requirements for use on public roads
Page EN-13.
Threaded joints Check that all threaded joints are
tightened as specied 13. Tightening
torques for threaded connections Page
EN-19.