12 - OPTIONAL ACCESSORIES
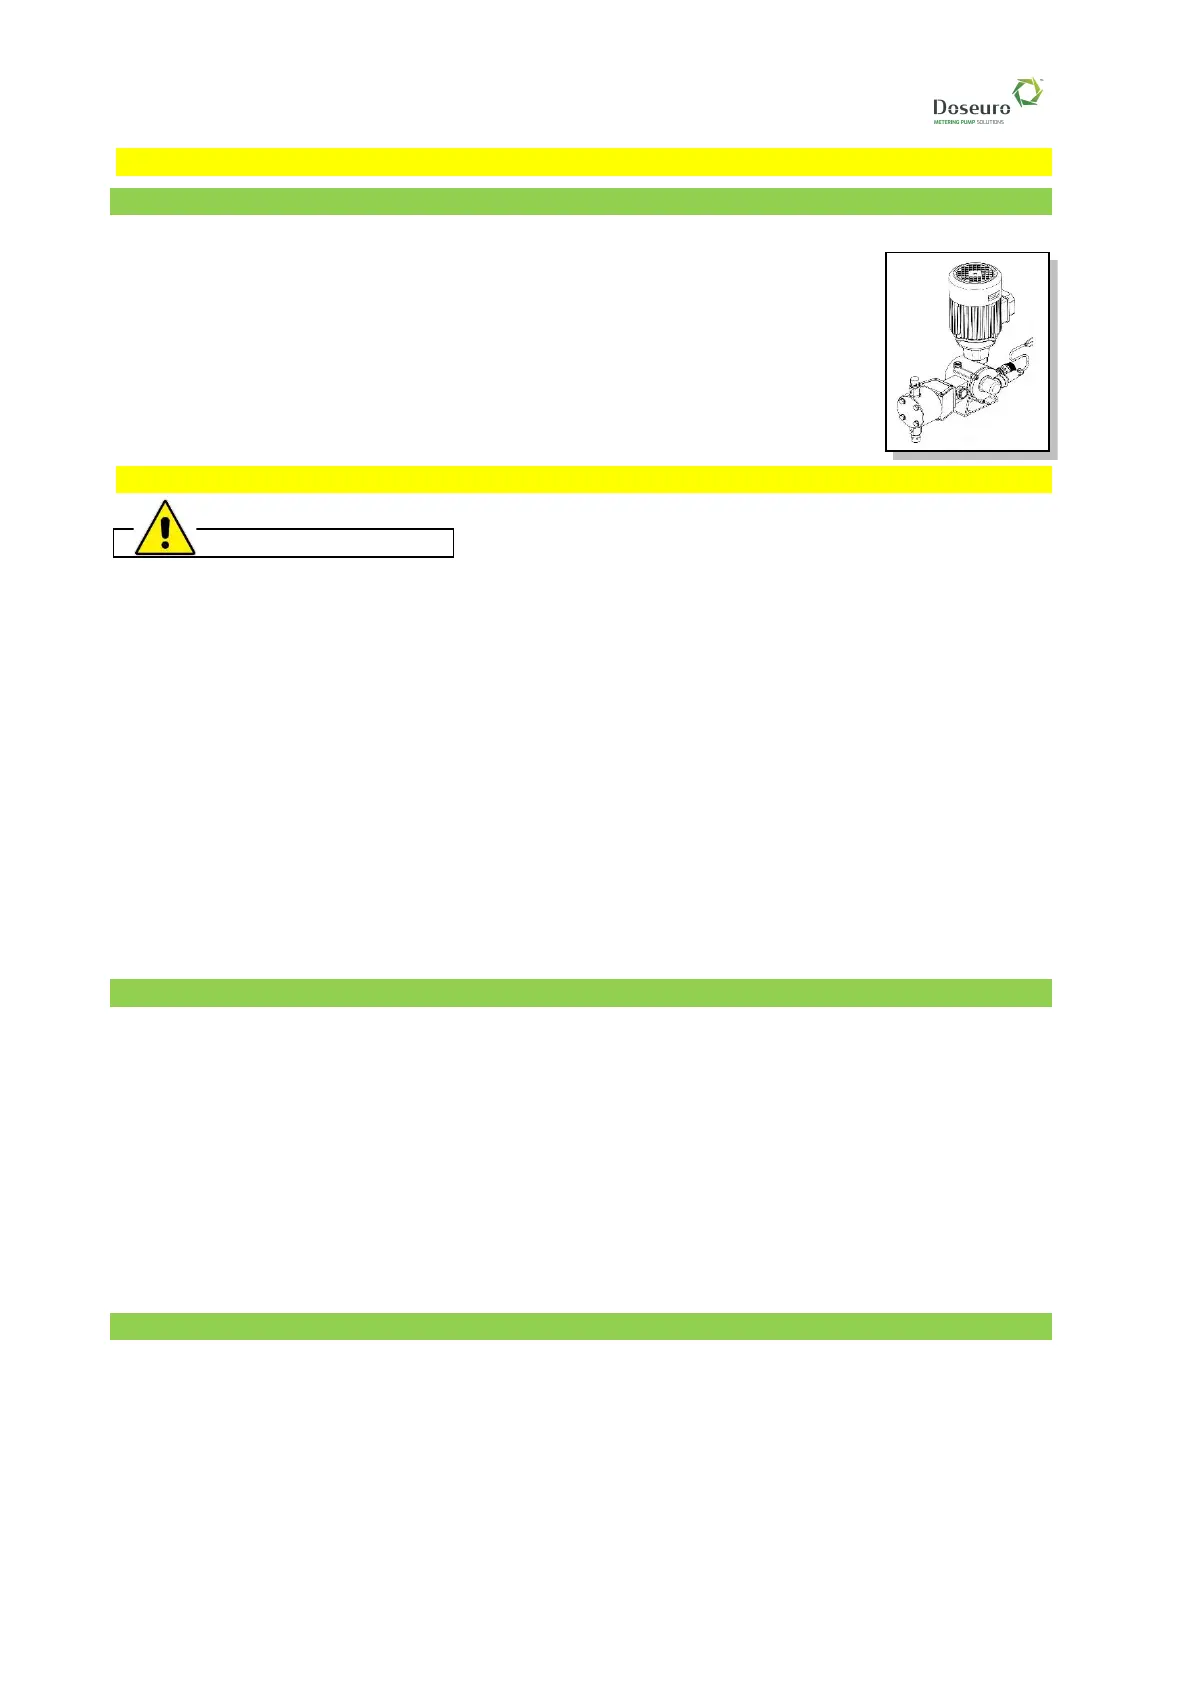
12.1 - Control with inductive proximity sensor
❑ Inductive sensor
• The inductive proximity sensor is applied to the dosing pump to detect the
number of pumps. For each pump, (equivalent to a rotation of the eccentric shaft)
corresponds to an impulse issued by the inductive proximity sensor.
• The sensor is attached to the pump body using a bracket that, besides
guaranteeing its seal, makes it possible to aim it in order to make connection to
the equipment easier.
➢ It is necessary to consult the instructions provided with the specific
application attached to the equipment supplied.
13 - PROCEDURE BEFORE START-UP
Personnel must be aware of the product to be dosed and observe the due precautions when
handling chemical products used in the process, whether they be acids, bases, oxidation-
reducers, etc..
Verification before start-up
• Check pump fixing on its support.
• Make sure that oil present in the pump is visible from the peep hole.
• Check that the liquid being dosed has not solidified or frozen in the piping.
• Check that all shut-off valves on the suction or discharge circuits are open. If the delivery circuit is
fitted with a back pressure and injection valve, open the bleed valve at the delivery side to allow for
the priming of the pump
• Adjust the pump flow rate to 0%.
Verification of the motor's electrical connection.
• Start the pump, checking that the running direction of the motor is the same as the direction of
the arrow located on the fan cover. If it is in opposite direction, reverse the electric power supply
cables L1 - L2 as per the diagram.
13.1 - Commissioning
After all of the checks described in the previous chapter have been carried out, start the pump.
• Progressively adjust the pump flow rate from 0% to 100%, verifying:
✓ The escape of fluid from the bleed valve (where present).
✓ The noise produced by the liquid as it crosses the delivery valve.
• As soon as the liquid escapes, close the bleed valve (where present).
• Carry out a visual and auditory check (for dripping or suspicious noises).
• Check the piping is well supported, does not produce vibrations and, above all, does not exert
tensions on the pump head.
• With start-up at a low temperature, adjust to 0% and leave the pump running in this condition for
at least 5 minutes. This allows for the heating of the pump which eliminates motor condensation
and heats the oil. Then progressively adjust the flow rate up to the flow rate value required by the
process.
13.2 - Problems upon commissioning
Commissioning must take place gradually, if possible by avoiding immediately applying the maximum
load required by the machine, in order to verify the absence of operating faults or residual application
criticalities.
It is recommended to perform a unit run-in with a reduced load (max 40% of the nominal) for 24 hours.
During running-in, the unit is subject to internal friction for a short time and therefore temperature
conditions higher than normal, but always compatible with the limits set. It is normal for a small amount of
grease to leak from the oil seal rings during this stage.
The motor turns with difficulty and heats:
 Loading...