SECTION 3 PRINTING
40 0855849enf 6/08
3. If the selected job has dynamic fields, press F1 (Dynamic
Fields) to view a list of dynamic fields
4. A new menu will appear. If the list is too long to be displayed at
one time, the Page Up or Page Down buttons will appear.
Press EXIT to return to the Preview Menu.
NOTE: Dynamic Fields cannot be changed from the Preview
Menu. To change dynamic fields, see “Selecting a Job.”
5. To display the images for printheads 2, 3, or 4, press the
appropriate function key (F2, F3, or F4).
6. Press EXIT to return to the Top Level menu.
3.0 Production Printing
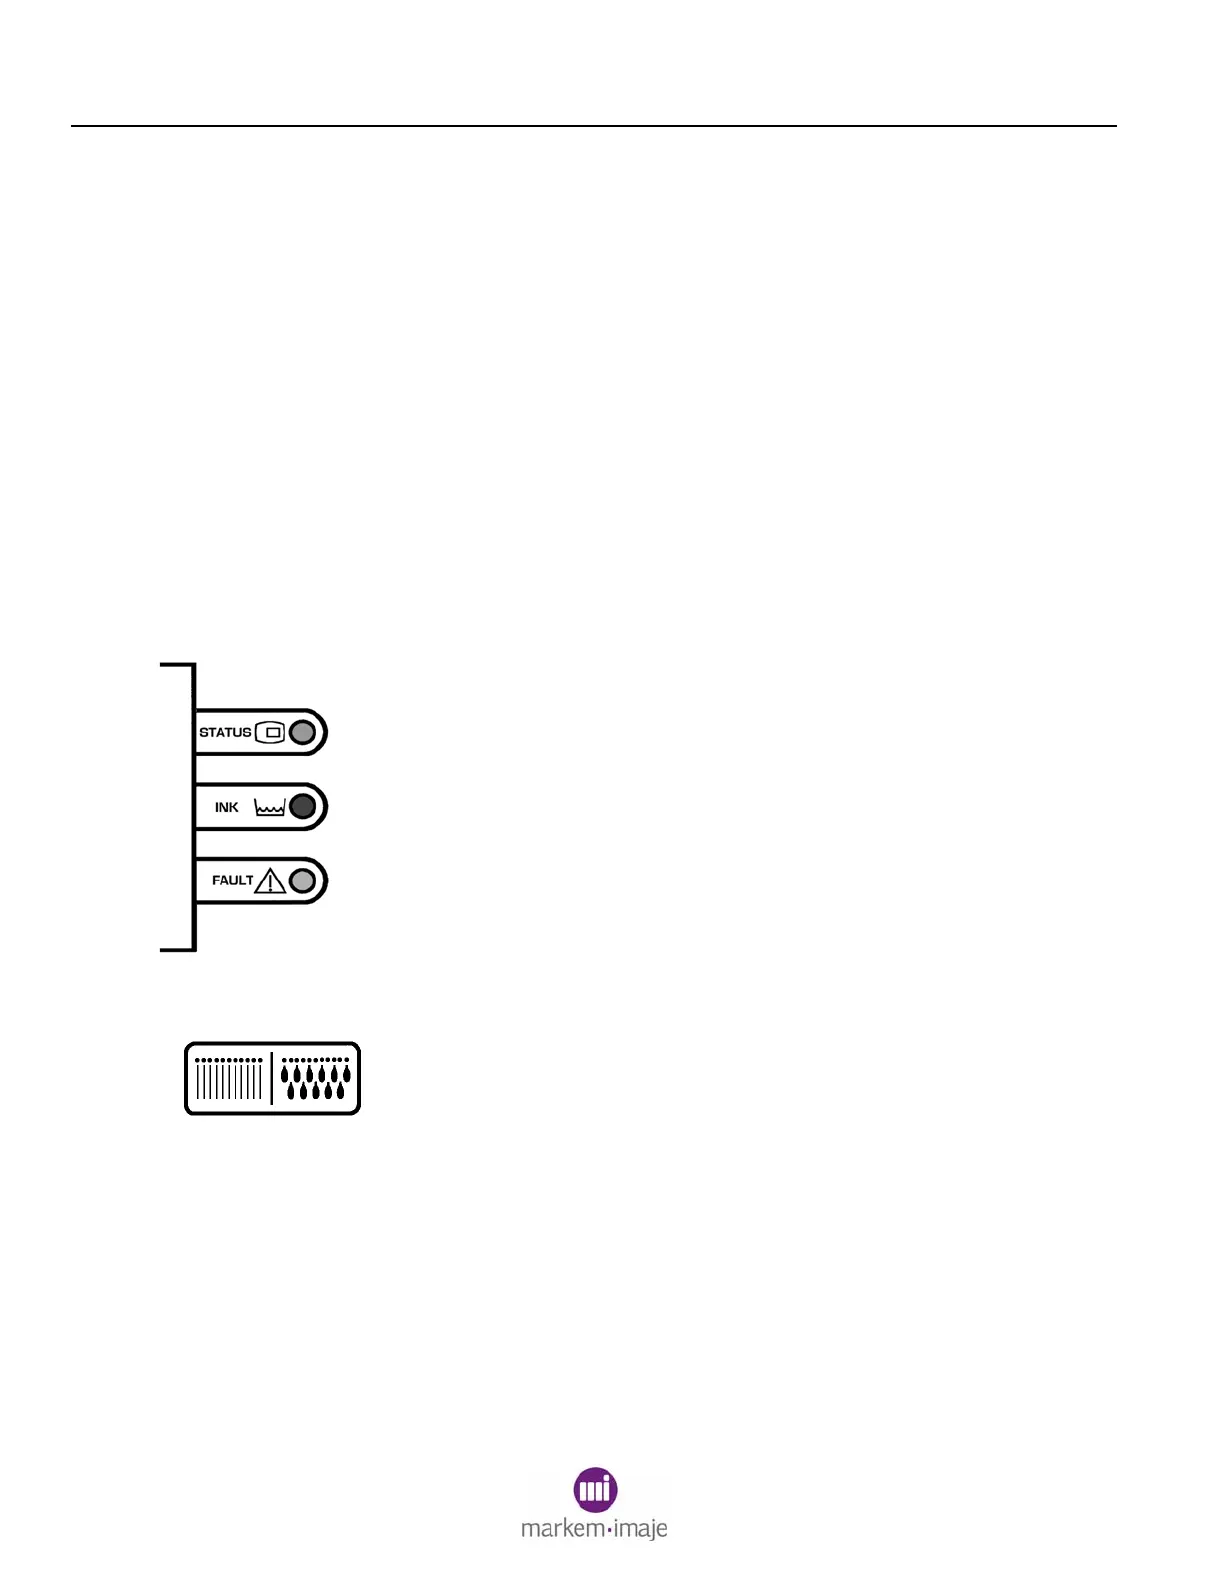
Ensure that the following conditions are met.
• The green STATUS LED is blinking slowly.
• The blue INK LED is OFF. If the LED is blinking or
continuously on, add a bottle of ink. See “Adding Ink” in this
section.
• The amber FAULT LED is OFF.
• The amber LED on the rear of the printhead is ON.
• The desired job has been selected.
• The Top Level menu is displayed.
1. Perform a Jet Test and Purge. See Section 4 of this guide for
instructions.
2. Press START to begin printing. The coder will be online until
STOP is pressed or an error occurs.

 Loading...