4-11
CH 4/ Instrument Settings
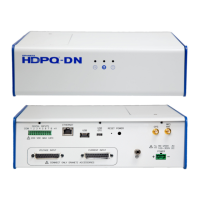
Communication
interface setup
(continued)
Action... Result...
STEP 2: Entering the correct IP
address settings will enable the
PX5 to communicate with the
network.
Prior to entering the IP setttings,
make sure that the PX5 is
connected to the computer
network via the Fiber optic to
Ethernet Adapter (P/N COMM-
OEA).
After you have determined the
proper IP address and settings,
proceed as follows:
• Type in your Ethernet IP
Address in the appropriate
fields. Use the numeric keypad
to enter the IP setting.
• Type in your Ethernet Subnet
Mask in the appropriate fields.
Use the numeric keypad to
enter the Subnet Mask setting.
• Type in your Gateway in the
appropriate fields. Use the
numeric keypad to enter the
Gateway setting.
When done entering IP settings,
press OK. Pressing OK will store
the values in the instrument.
Press Send to configure the
Ethernet adapter using the new IP
address settings. Follow the
instructions that appear on screen
to complete the IP setting
configuration procedure.
Press Cancel to ignore changes
and retain the previous IP
settings, no new values will be
stored in the instrument.
MARK159b
www.GlobalTestSupply.com
Find Quality Products Online at: sales@GlobalTestSupply.com
 Loading...