Drobo 8D User Guide 22
Notes:
Once you insert the drives into the Drobo 8D, they function as a unit or “pack.” To access
the data on them, you will need the entire pack.
The Drobo 8D supports migrating entire disk packs from other Drobo, preserving its data.
To ensure a safe and successful migration of the drives, carefully follow the instructions in
Migrating a Disk Pack from Another Drobo Device.
By default Drobo 8D creates 128 TB volume size, if required you can create your own volume
size.
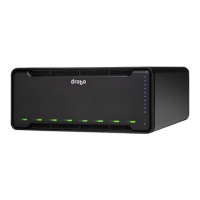
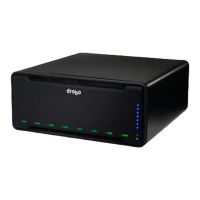
6. When finished, replace the faceplate right side up, so that when the Drobo device is turned on,
you will be able to see the indicator lights. For more information on Indicator lights, see Guide to
meaning of indicator lights (LEDs).
You are now ready to connect cables and power on the Drobo device.
Related topics:
Connecting Cables on the Drobo 8D
Return to Setting Up the Drobo 8D