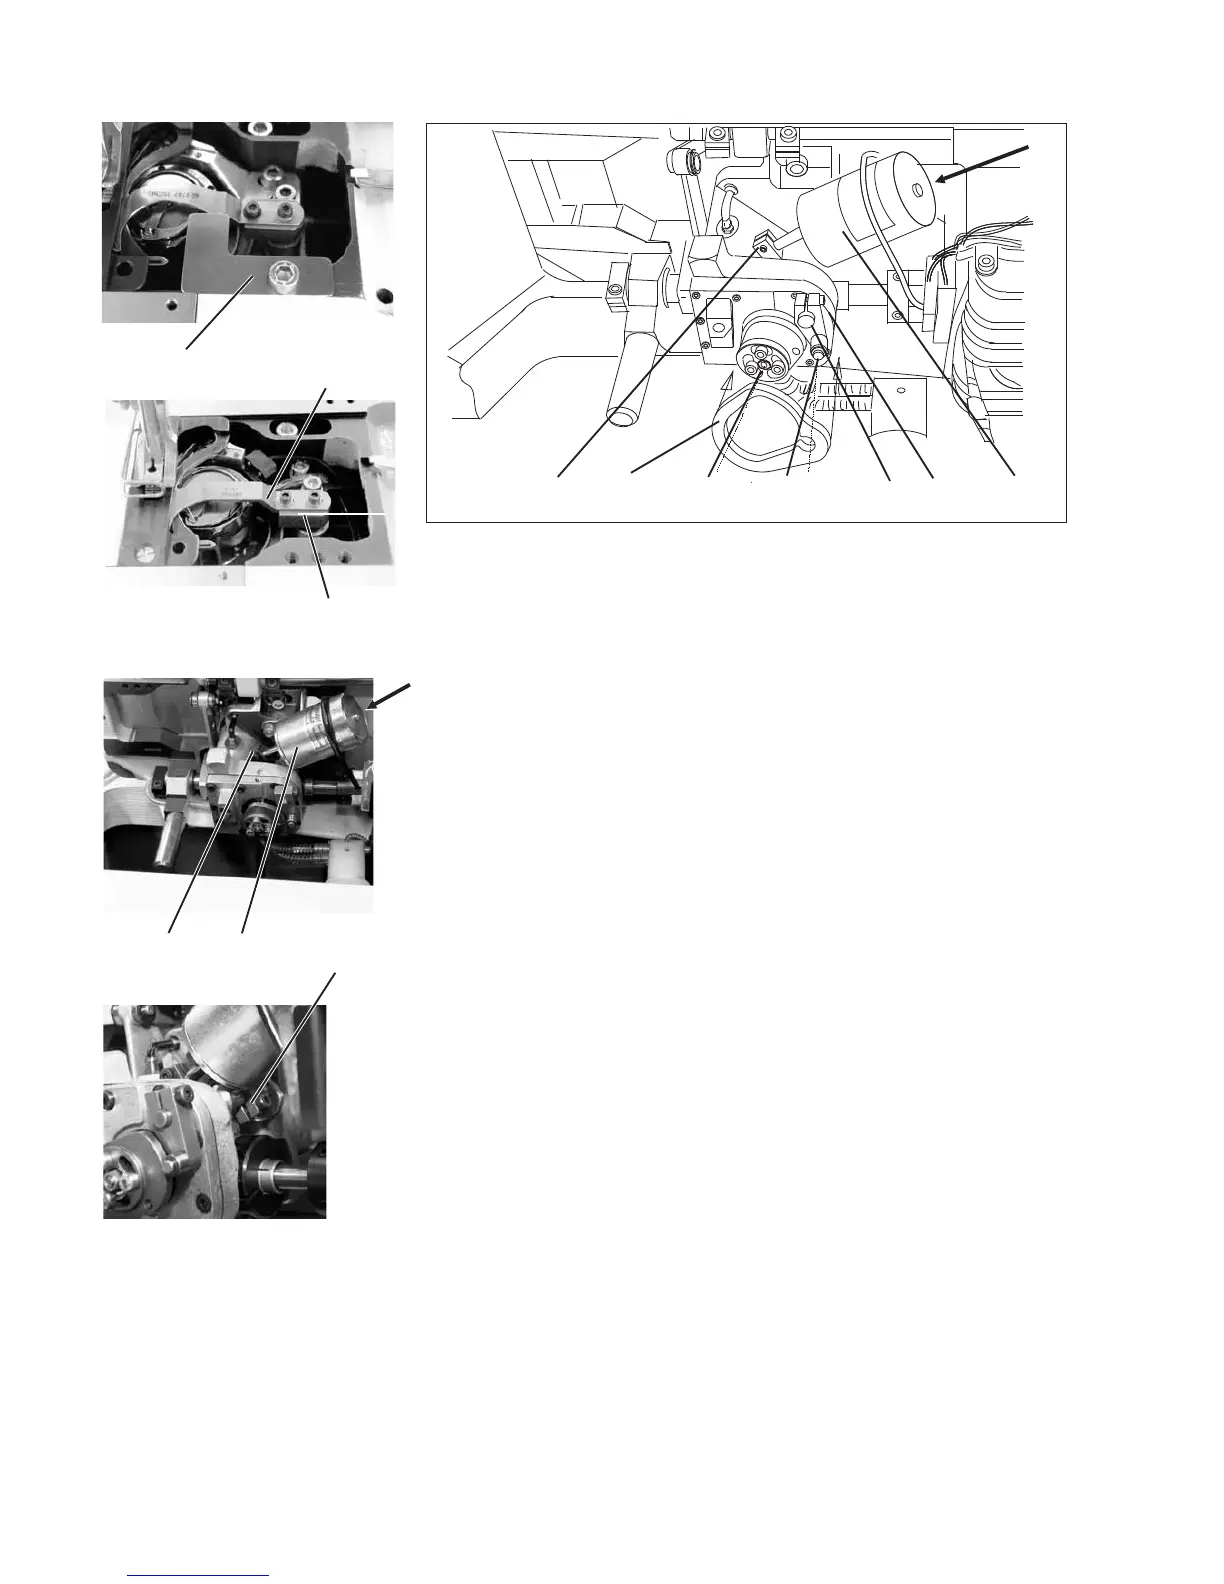
14.2.2 Align the trimmer disc w ith the gauge
5. Set the piston rod of the magnet 10.
–
Loosen the block 7 on the piston rod of the magnet 10.
–
Twist the piston rod completely on the block 7 and tighten it.
6. Screw on the gauge Y ( Part No. 0767 290020)
–
Position the roll 11 against the disc 8.
–
Position the trimmer disc 8 to its lowest position by turning the
handwheel. (Lowest position:where the roll 11 comes closest to the
to the axis of rotation of the disc 8). The thread pulling knife abut on
the gauge Y, see picture.
–
Tighten the c lamping screw 5 again.
–
Screw off the gauge Y.
7. Tighten the lever 1 to the shaft of the thread-pulling knife support 2
–
Tu rn the machine using the handwheel, so that the roll 11 clings to
the highest point of the thread trimmer disc 8.
(Highest position: where the roll 11 is furthest from the axis of
rotation of the thread trimmer disc 8).
–
There should be a clearance of 0.1 mm between the roll 11 and the
peak of the trimmer disc 8.
–
Press the rod of the magnet 10 downward in the direction of the
arrow and tighten the clamping screw 1 in this position.
–
Check whether all moving parts are running smoothly!
58
710 1
76 811 9510
Y12
2

 Loading...


