10 of 44
User Manual for the GSC400 Programmer and PC Interface
2. Windows Vista and Windows 7
If you have already installed the USB drives go to step 3.
a. The driver installation is automatic.
When you connect the USB cable,
Windows will connect to Microsoft
Update to find the appropriate
drivers. If you do not have an
internet connection it will locate
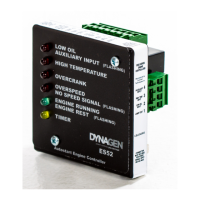
the local drivers. You will see a
notice popup in the lower right
hand corner of the screen saying the drivers are being installed.
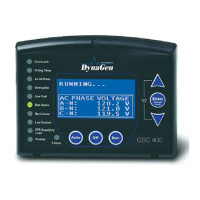
b. Click on the popup and the
following window will appear. At
the end of the driver installation,
this window will show the serial
port the USB uses.
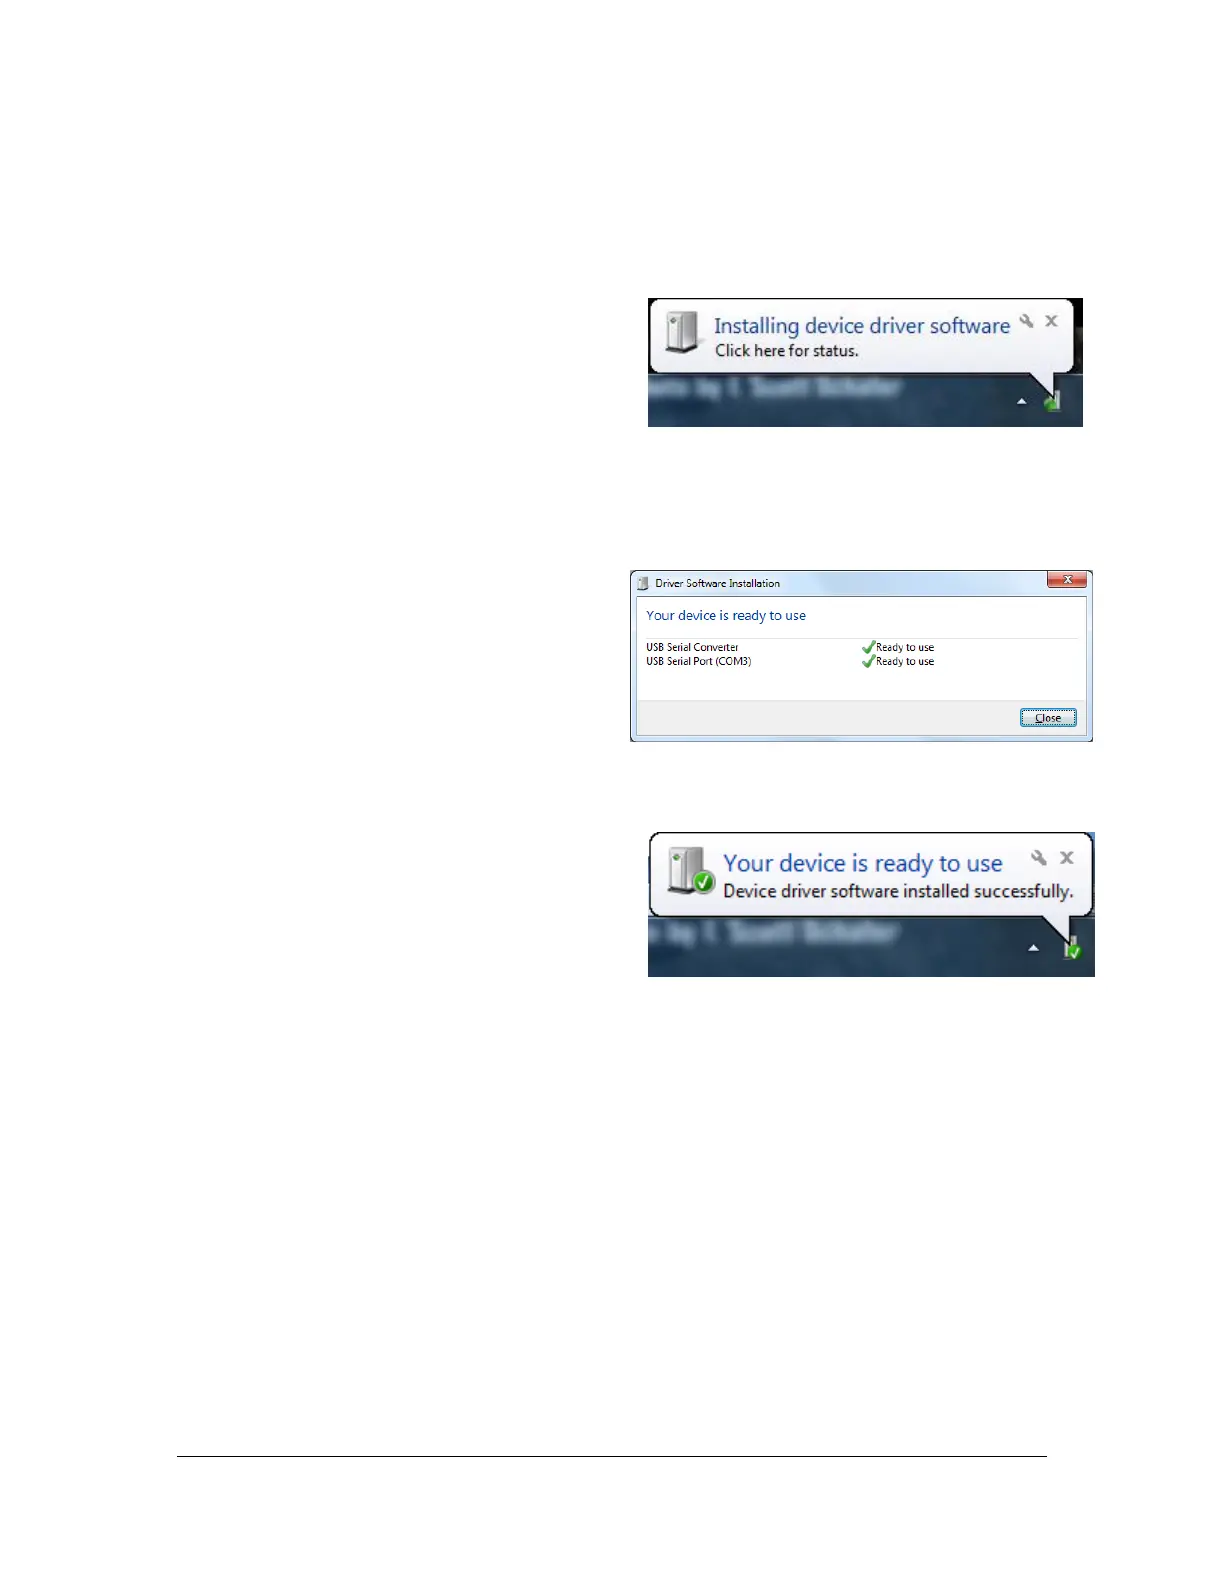
c. The following popup will appear
when the installation is complete.
3. The GSC400 Programmer can be set in one of two modes: Configure or
Firmware which is controlled by the Mode Switch. To use the PC
Interface the programmer needs to be in the Configure mode.
To do this, follow the instructions below while referring to Figure 7 on page
8. If the Configure LED is already lit and the firmware and hardware
revision were displayed when the GSC400 was powered on then the
programmer is already in the Configure mode.
a. Slide the Mode Switch to the Configure position. The Configure
LED should light up and the Firmware Upgrade LED should be
dark. You will need a small screwdriver to do this.
Figure 13 – Vista/7 installing popup.
Figure 14 – Vista/7 installation details.
Figure 15 – Vista/7 driver installation finished popup.
 Loading...