19 of 44
User Manual for the GSC400 Programmer and PC Interface
1.7 Setting up the GSC400 PC Interface
Now that the PC Interface is installed, the GSC400 Programmer is setup, the
USB drivers are installed, and the COM port set, the next step is to configure the
PC Interface. When you open the PC Interface for the first time it will guide you
though selecting the COM port and picking the controller hardware version. If
you wish to change these settings latter, this section shows you how.
First open the PC Interface. Then follow these steps.
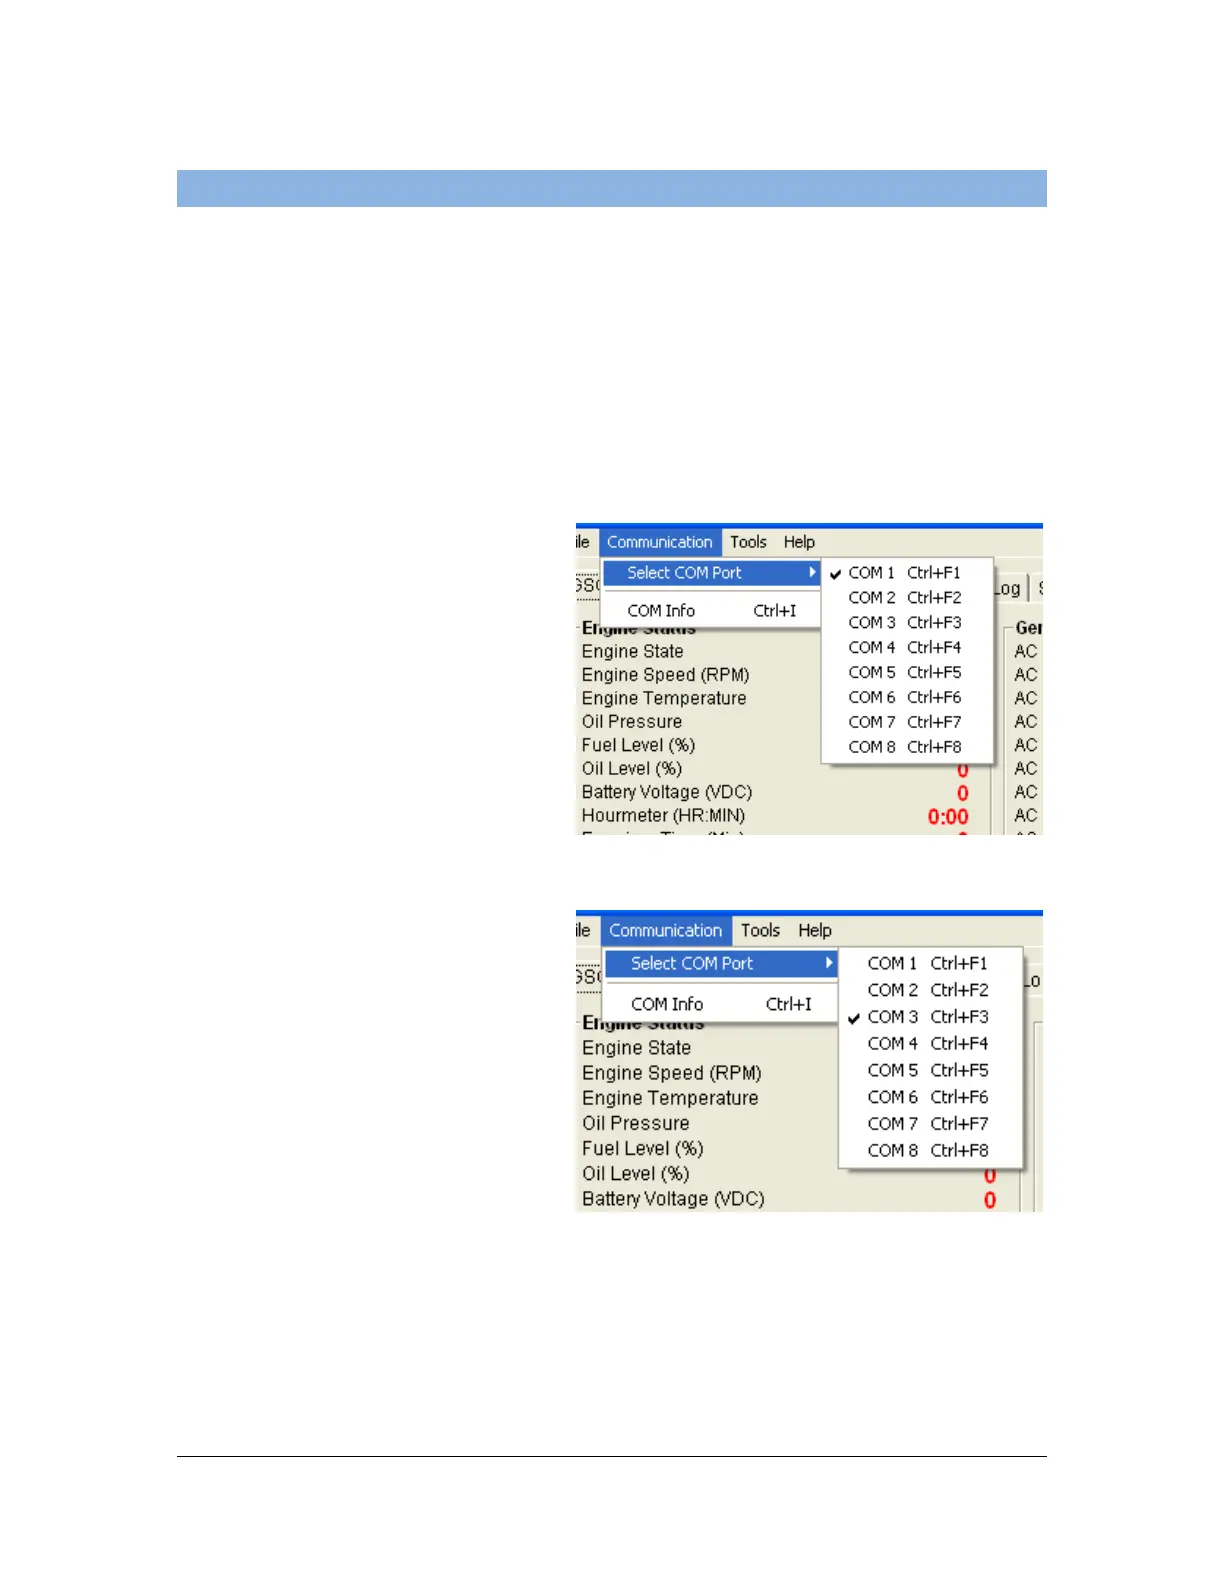
1. Setting the COM Port
a. Click on Communication
located in the top menu and
then Select COM Port. You
will see a list of COM ports
from 1 to 8. Select the
appropriate one by clicking
on it.
b. After you selected the
appropriate COM port the
menu will automatically
close. If you reenter the
“Select COM Port” menu
you will now see a check
mark beside the COM port
you selected. In this
example COM3 is now
checked.
Figure 29 – Communication Menu
Figure 30 – Verifying COM port selection.
 Loading...