service manual
Issued 05/05
20
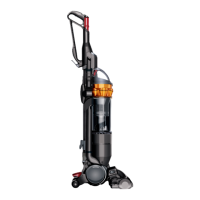
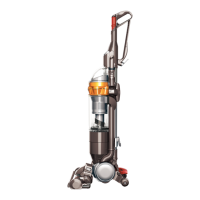
Removing the ball and motor bucket
Fitting notes
Prise the halves of the ball assembly apart
using a large flat bladed screwdriver whilst
pressing the release catch in using a torx
screwdriver. Repeat on the other side of the
ball assembly.
80
Pull the two halves apart and lift off from
the front of the product.
81
Refit the screw that attaches the yoke cover
to the yoke bracket.
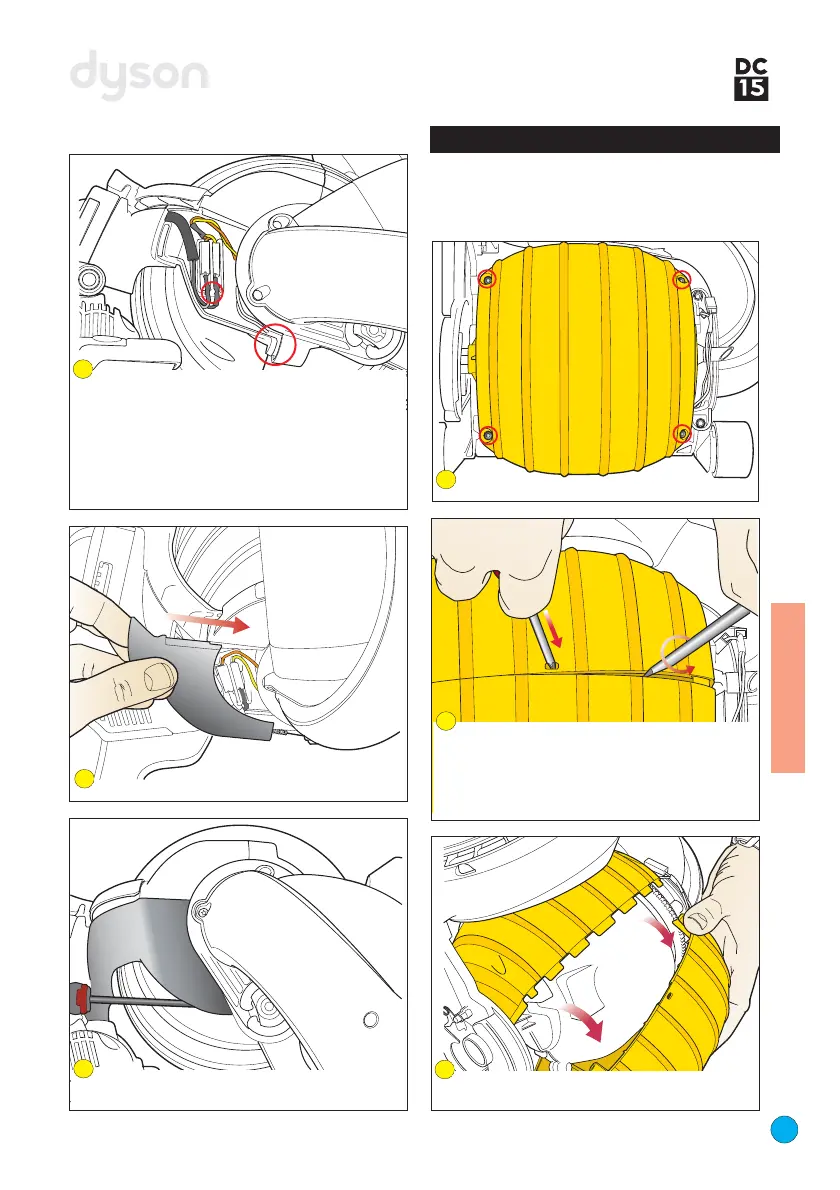
78
Slide the yoke cover onto the side of the yoke.
77
Undo the four screws in the ball assembly.
79
Press the insulation boots into the housing as
shown. Neatly tuck the PCB to yoke loom into
the side of the yoke leaving enough spare to
allow for movement of the cleanerhead.
IImmppoorrttaanntt::
ensure the PCB to yoke loom is
clear of the area where the yoke and yoke
bracket attach.
76
The following parts should be removed, as
previously shown, before continuing:
cleanerhead and yoke assembly, (pages 6-7)
 Loading...