44
3. Disassembly and Assembly 01/2018 Rev. 1 EA(B)O-6X06
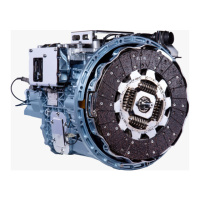
12. From the clutch actuator cylinder side cover (1), remove
the four retaining screws and remove the side cover.
13. Remove the clutch actuator cylinder assembly (2) by
removing the four screws (4) securing the cylinder to
the transmission front cover.
14. Remove the adapter plate (3) between the front cover
and the cylinder ange.
6953
2
3
1
4
4
6910
6947
6950
7. Unscrew the ground strap retaining screw and remove
the strap and both the upper and lower TCU brackets.
8. If necessary, remove the four screws securing the TCU
upper bracket to the lower bracket and remove the upper
bracket and the four rubber mounts.
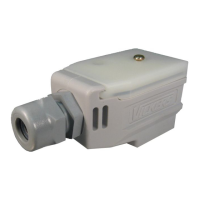
9. Disconnect the wire harness from the clutch actuator
position sensor.
10. With a 13mm open-end wrench, remove the hydraulic
tube of the clutch actuator cylinder (1).
NOTE: Plug tube tting end to prevent oil leakage
from the system.
11. From the clutch actuator position sensor, remove the
two retaining screws (2) and remove the sensor.
1
2
Transmission Disassembly
 Loading...