INSTALLATION AND CONFIGURATION
EATON Managed ePDU User’s Guide 164201xxx Rev 1 DRAFT 10−OCT−2008
13
the ePDU to Your Network
To use the Web interface to administer the ePDU, you must connect the ePDU to
your local area network (LAN).
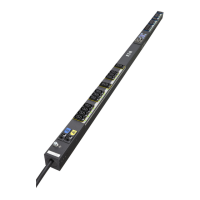
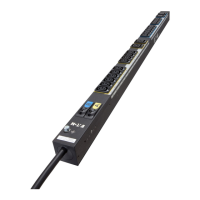
1. Take a standard Category 5e UTP cable and connect one end to the LAN port on
the front of the ePDU.
NOTE See Figure 9 through Figure 11 for the location of the LAN port on your size ePDU.
2. Connect the other end of the cable to your LAN.
the ePDU for Network Connectivity
You have two options:
Connect immediately to your LAN for the device to communicate with your DHCP server and
allocate an address. If using DHCP then this nishes the installation.
Or
Connect the serial conguration cable from the ePDU to the device and follow the below
1. Go to the computer that you connected to the ePDU and open a communications
program such as HyperTerminal or PuTTy. Make sure the port settings are
congured as follows:
Bits per second = 9600
Data bits = 8
Stop bits = 1
Parity = None
Flow control = None
NOTE The ˆFlow control˜ parameter must be set to ˆNone˜ for the communications program to work
correctly with the ePDU.
2. Point the communications program at the serial port connecting the ePDU and
open a terminal window.
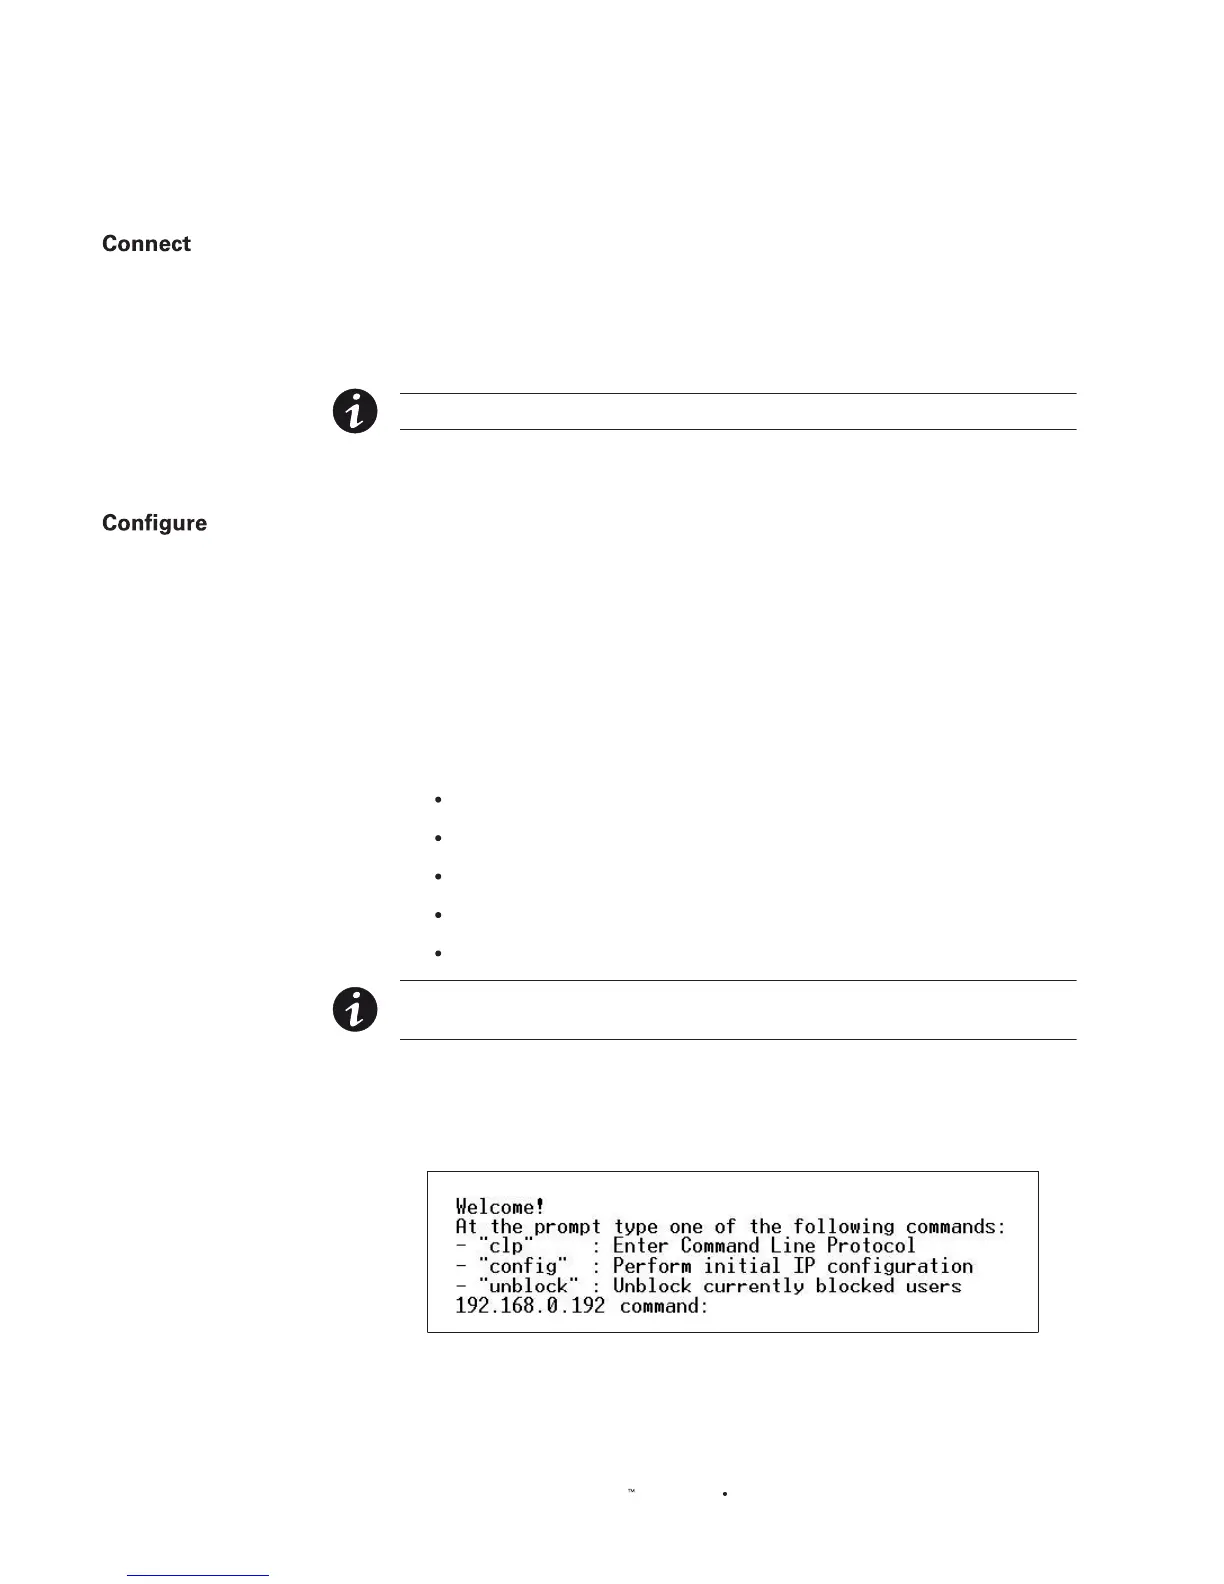
3. Press Enter to display the opening conguration prompt (see Figure 12).
Figure 12. Opening Conguration Prompt