INSTALLATION AND CONFIGURATION
EATON Managed ePDUt User’s Guide S 164201xxx Rev 1 DRAFT 10−OCT−2008
14
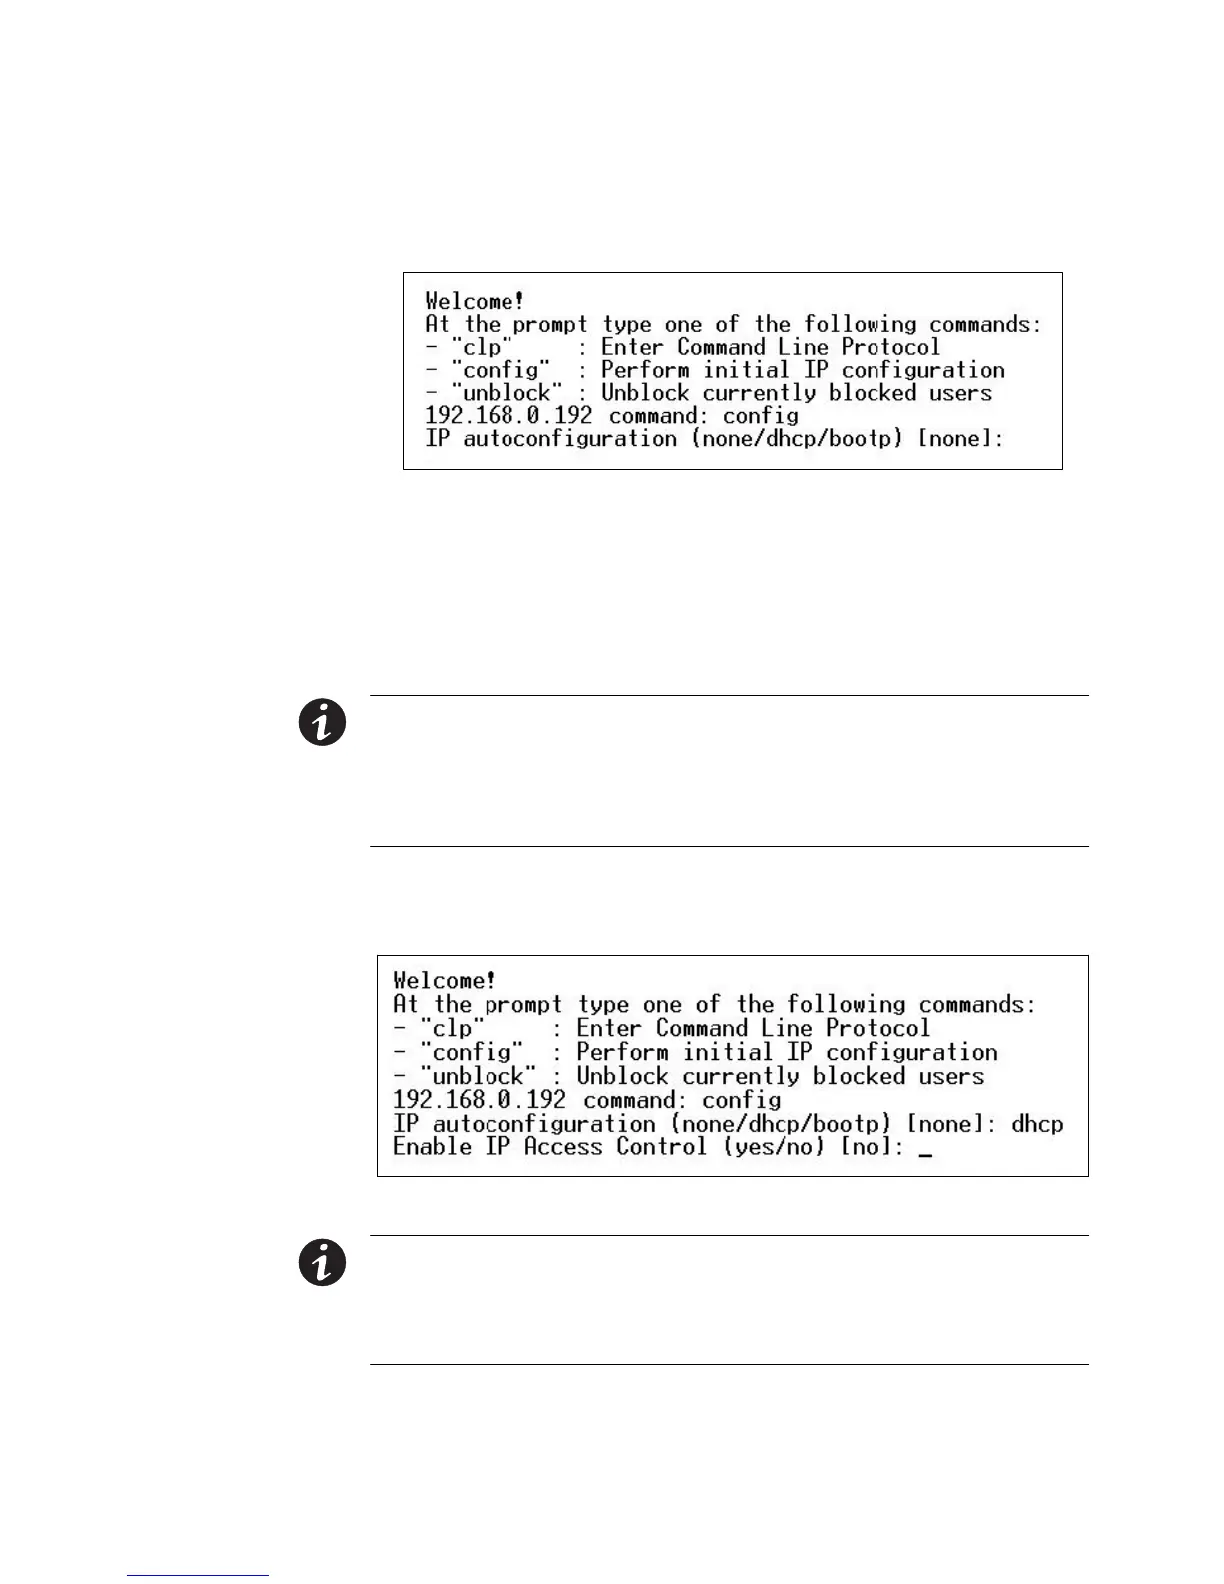
4. Type config and press Enter to begin the configuration process. You are prompted
to select an IP configuration method (see Figure 13).
Figure 13. IP Configuration Prompt
5. You must assign the ePDU an IP address. There are two ways to do this:
S Auto configuration: Select an autoconfiguration method such as dhcp or bootp
and let the DHCP or BOOTP server provide the IP address.
S Static IP address: Select None and assign the ePDU a static IP address. You
will be prompted for the address, network mask, and gateway.
NOTE The ePDU IP address displays automatically in the system prompt. The default IP address is
192.168.0.192. The default IP configuration method is DHCP, and the default IP address is replaced by the
address assigned by DHCP or BOOTP, or the static IP address you entered, as soon as the configuration
process is complete.
To use the factory default IP address, please type in none as the IP autoconfiguration command, and accept
the default value. The default IP address for static (none) configuration is 192.168.0.192.
6. Type your selection and press Enter. You are prompted to enable IP access
control (see Figure 14).
Figure 14. Access Control Prompt
NOTE By default, IP access control is NOT enabled. This disables the ePDU firewall. Leave the firewall
disabled for now. Later on, you can enable the firewall from the Web interface and create firewall rules (see
Configuring the Firewall" on page 39 for details).
NOTE If you accidentally create a rule that locks you out of the ePDU, you can rerun the configuration
program and reset this parameter to disabled to allow you to access the ePDU.
 Loading...