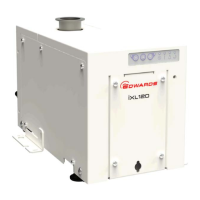
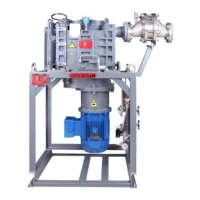
Locate the T-Staon 85
WARNING:
Hea
vy objects can cause muscle strain or back injury. The mass of the T-Staon 85 will
dier depending on the model supplied.
WARNING:
The turbo pump used on the T-Staon 85 stores a large amount of kinec energy when it
is running a
t full speed. In the unlikely event of a malfuncon (rotor seizure), the stored
energy could cause a slight movement of the T-Staon 85 plaorm. If the T-Staon 85 is
operang on a bench top, taking the following steps is advised: (a) Posion the T-Staon
85 at least 10-15 cm away from the edge of the bench top and adjacent devices and/or (b)
Tether or x the T-Staon 85 to the bench top, see Bench top xing on page 12.
CAUTION:
When
locang the T-Staon 85, care should be taken not to restrict the venlaon grid
located under the base of the system. Failing to observe this may result in overheang of
the turbomolecular pump.
Bench top xing
There are two M8 xing points located at the rear of the T-Staon 85 base (Figure 1 on pag
e
10, item 7). Using suitable brackets or straps (not supplied), securing the T-Staon 85 to the
bench t
op is recommended to prevent excessive movement in the unlikely event of a pump
failure.
Note:
Straps or brackets cannot be provided as the best type xing for the customer bench top
locaon cannot be determined. Sourcing or fabricang these xings locally is recommended.
Fill the pump with oil
Pr
ocedure for lling the pump with the recommended oil.
If the T-Staon 85 uses an E2M1.5 rotary vane pump, it must be lled with the correct quanty
of oil (supplied) before operang the equipment. For further informaon refer to the EM
R
otary Vane Pump manual A371-32-880.
Fill the pump with oil as follows:
1. Remove the oil ller plug.
2. Pour oil into the pump unl the oil level just reaches the MAX mark on the bezel at the
top of the sight glass. If the oil level goes above the MAX mark, remove the drain plug
and drain the excess oil from the pump.
3. Aer a few minutes, recheck the oil level. If the oil level is now below the MAX mark,
pour more oil into the pump.
4. Ret the oil ller plug. Tighten the plug rmly by hand. Do not over ghten.
D395-94-880A - Installaon
Page 12
 Loading...