5
1.3 What this box contains
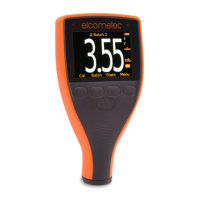
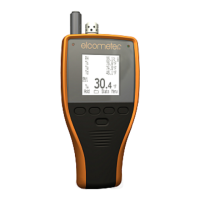
• Elcometer 456
2
Gauge with integral probe, or
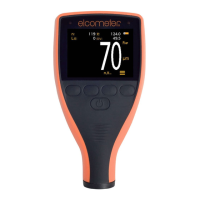
Elcometer 456
2
Gauge and separate probe
(probe must be ordered separately)
• Calibration foils
• Gauge carrying pouch
• Wrist harness
• Batteries
• Operating instructions
1.4 Conventions in these instructions
The Elcometer 456
2
is controlled using a simple menu
structure which helps you get the most from your gauge
- see page 18.
As an example, the LANGUAGES option which is in
SETUP from the MAIN MENU would be shown in these
instructions as MENU/SETUP/LANGUAGES.
These instructions include images of Elcometer 456
2
screens with units set to microns (µm). Similar screens
will be seen when the gauge is set to other units such as
mils or inches.
1.5 Quick-start
To quickly configure the gauge and start taking readings:
1. Fit batteries: see page 6
2. Fit probe (separate versions only): see page 7
3. Switch on: see page 9
4. Select language: see page 11
5. Try taking a reading: see page 13
6. Adjust calibration: see page 23
The gauge is now configured and ready to use.
To maximise the benefits of your new
Elcometer 456
2
, please take some time to read these
Operating Instructions. Do not hesitate to contact
Elcometer or your Elcometer supplier if you have any
questions.
Op_456_2_English.book Page 5 Friday, February 17, 2006 3:35 PM