17
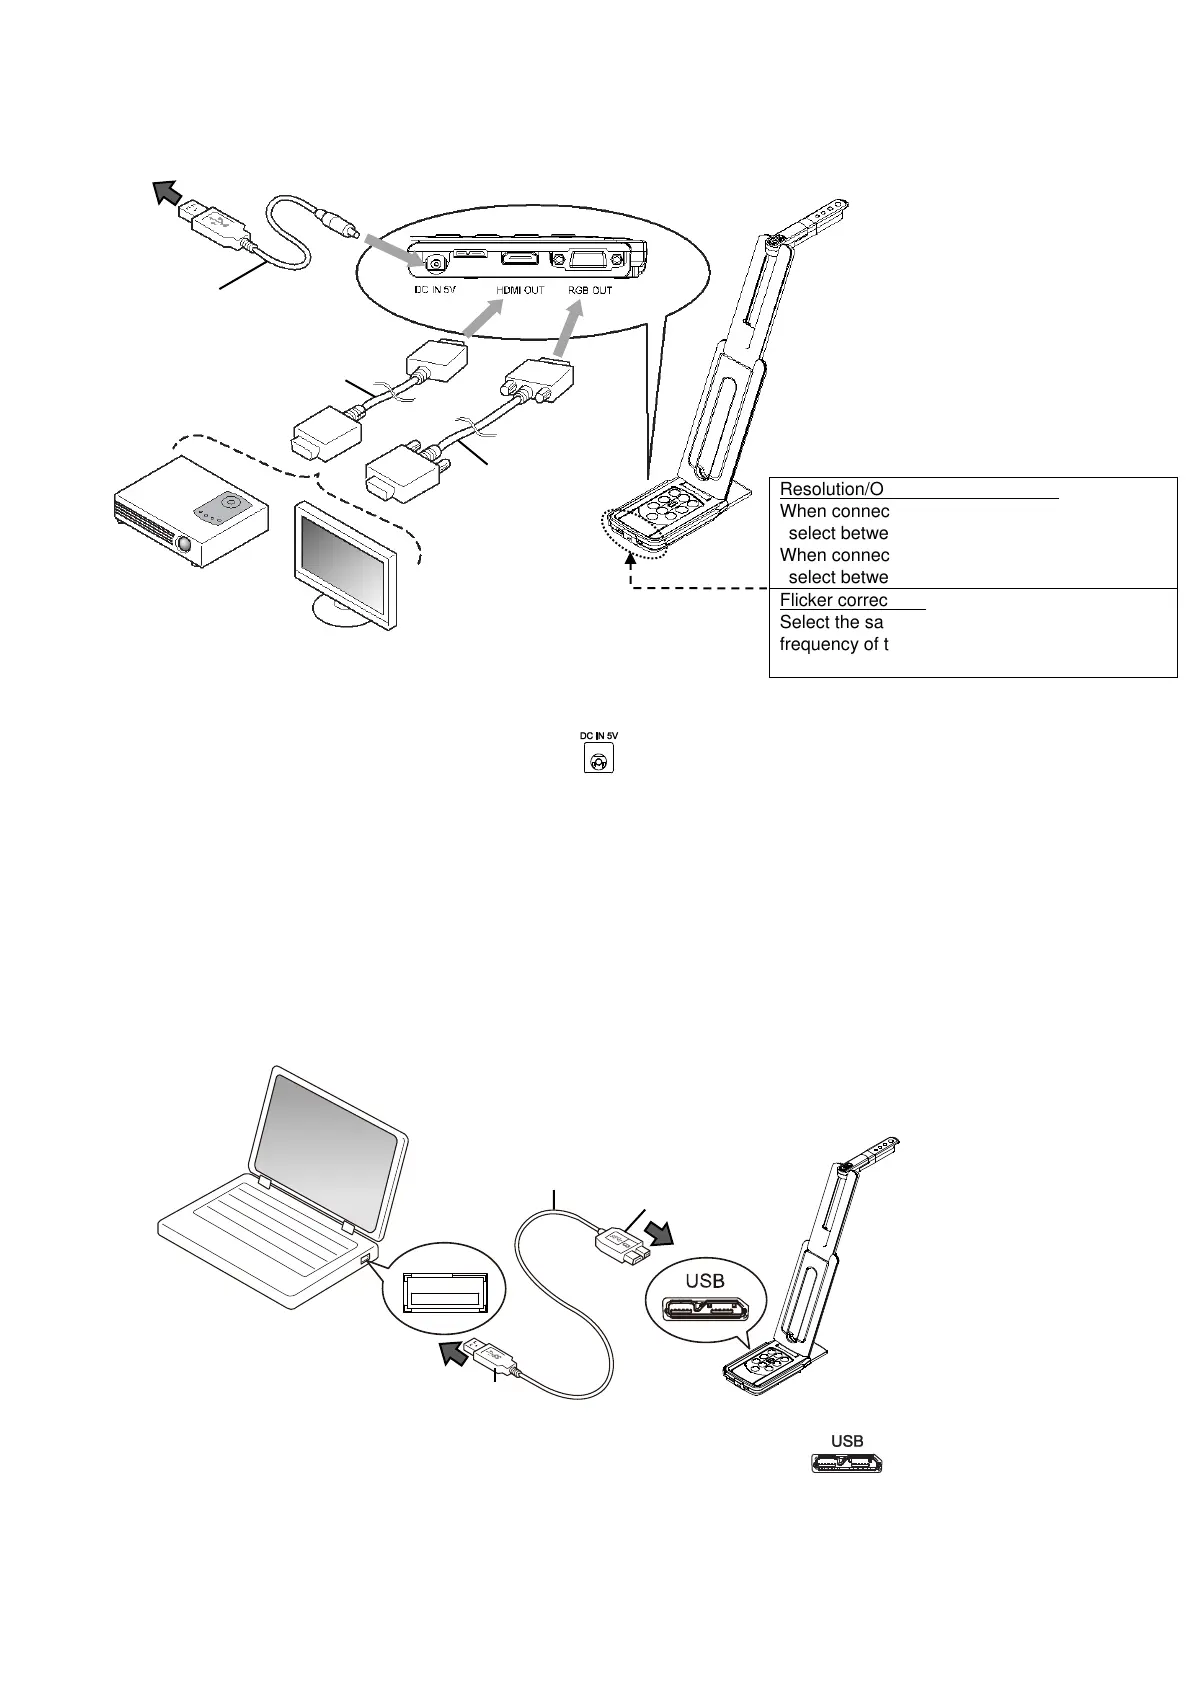
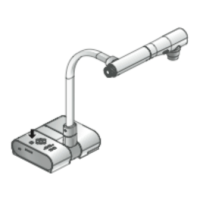
◆CONNECTING TO A PROJECTOR OR MONITOR
1. Connect the product to a projector or monitor with the HDMI cable or RGB cable.
2. Connect the supplied DC power cord to [ ]. Connect the USB plug to the supplied AC
adapter. Then connect it to a wall outlet.
3. The product enters the standby status. (Status LED: Red)
4. Press the Power button to turn on the product. The image output will start.
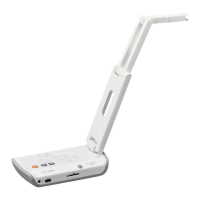
◆CONNECTING TO A COMPUTER
The product is compliant to UVC (video class) standard. You can transfer the image via USB by
connecting the product to a computer using the USB3.0 cable (bus power).
1. Connect the microB connector terminal of the USB3.0 cable to [ ] connector in the
side of the product.
2. Connect the typeA terminal of the USB3.0 cable to the USB port of your running computer.
3. Set the resolution according to the description in P.13 using the UVC app.
Resolution/Output mode selection
When connecting RGB only:
select between XGA and 1080p
When connecting HDMI:
select between Full and Normal (angle of view)
Flicker correction
Select the same value as the power supply
frequency of the location where the product is
used. (50Hz/60Hz)