22
➏ TROUBLE SHOOTING
◆SYMPTOMS AND CONFIRMATION
Check the following items. If any abnormality is found, consult the dealer from whom you
purchased this product or our nearest branch/office.
・ The cable is not correctly connected.
・ The DC power cord is disconnected from the power supply
socket of the unit.
・ The AC adapter is disconnected from the outlet.
・ Zoom is set at the TELE side, displaying only the white or black
part of the document.
・ If you turn the power ON immediately after turning it OFF, the
unit may not start. Wait for several seconds after turning the
power OFF, and then turn it back ON.
・ The USB cable is disconnected.
・ The output setting does not match the cable connected to the
unit. Set the correct output setting.
・ Reconnect the AC adapter and the power cord.
・ The monitor is not turned on.
・ The input source of the monitor is not set correctly.
・ The viewer software is not started correctly. Restart the software
and try to connect again.
・ The product is not selected in the setting of the viewer software.
The output image
(resolution) changes
automatically.
・When the HDMI monitor is connected to the product, the output
image (resolution) is automatically changed based on
information from the connected monitor.
The image is out of focus.
・The document (object) is too close to the lens. Move the
document (object) slightly away from the lens.
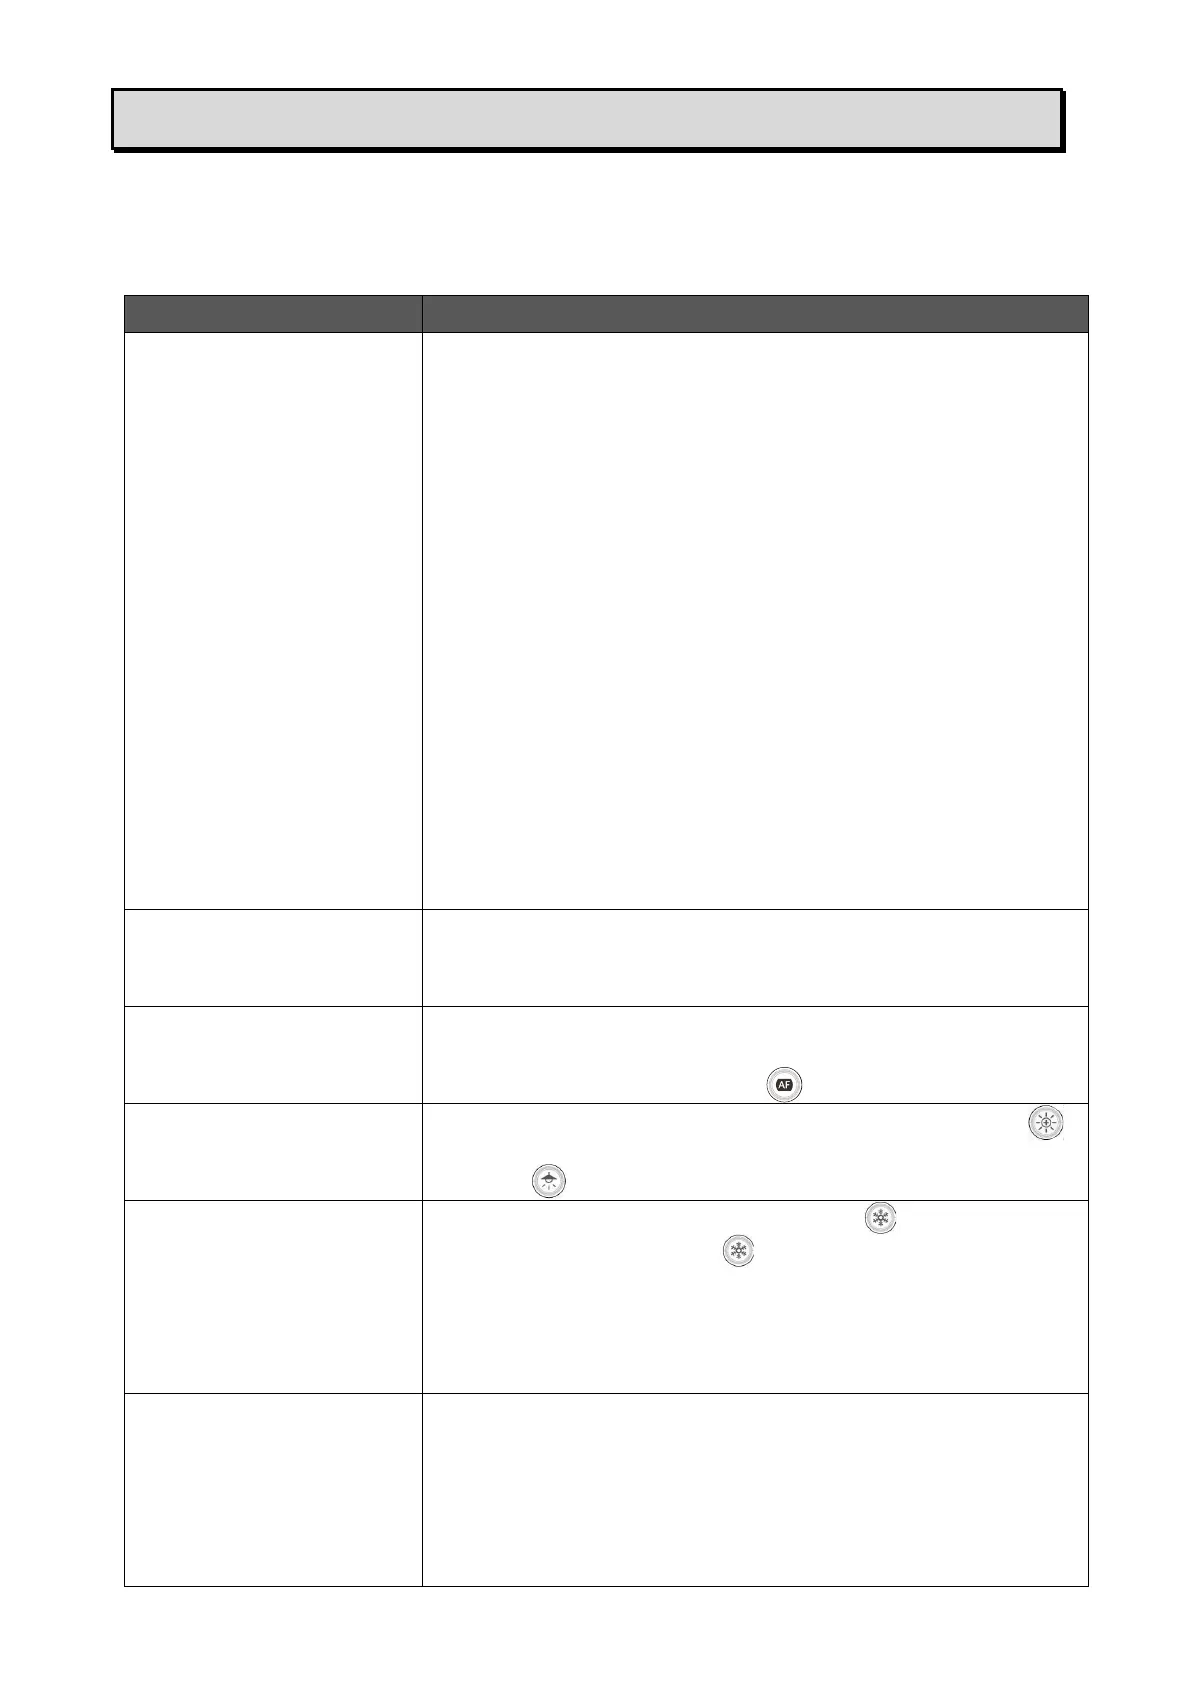
・Press the One-push AF button [ ] on the operating panel.
・The intensity of the lighting is insufficient. Press the button [ ]
on the operating panel to adjust the brightness. Or press the
button [ ] to turn on the LED lighting.
・Camera image is paused by pressing the [ ] button on the
operating panel. Press the [ ] button again to restart the
image.
・Camera image is paused by selecting Freeze function in the
viewer software. Check the software and release the freeze.
・Reconnect all the cables.
・This may be interference fringes between dots of printed matter
and TV scanning lines or CMOS pixels. Changing the shooting
range may help the problem.
・Vertical stripes may appear on an LCD projector image.
Manually adjusting the dot clock at the projector side may help
the problem.