EMC
®
VNX
™
Procedure Generator
EMC CONFIDENTIAL version: 4.5
25 of 51
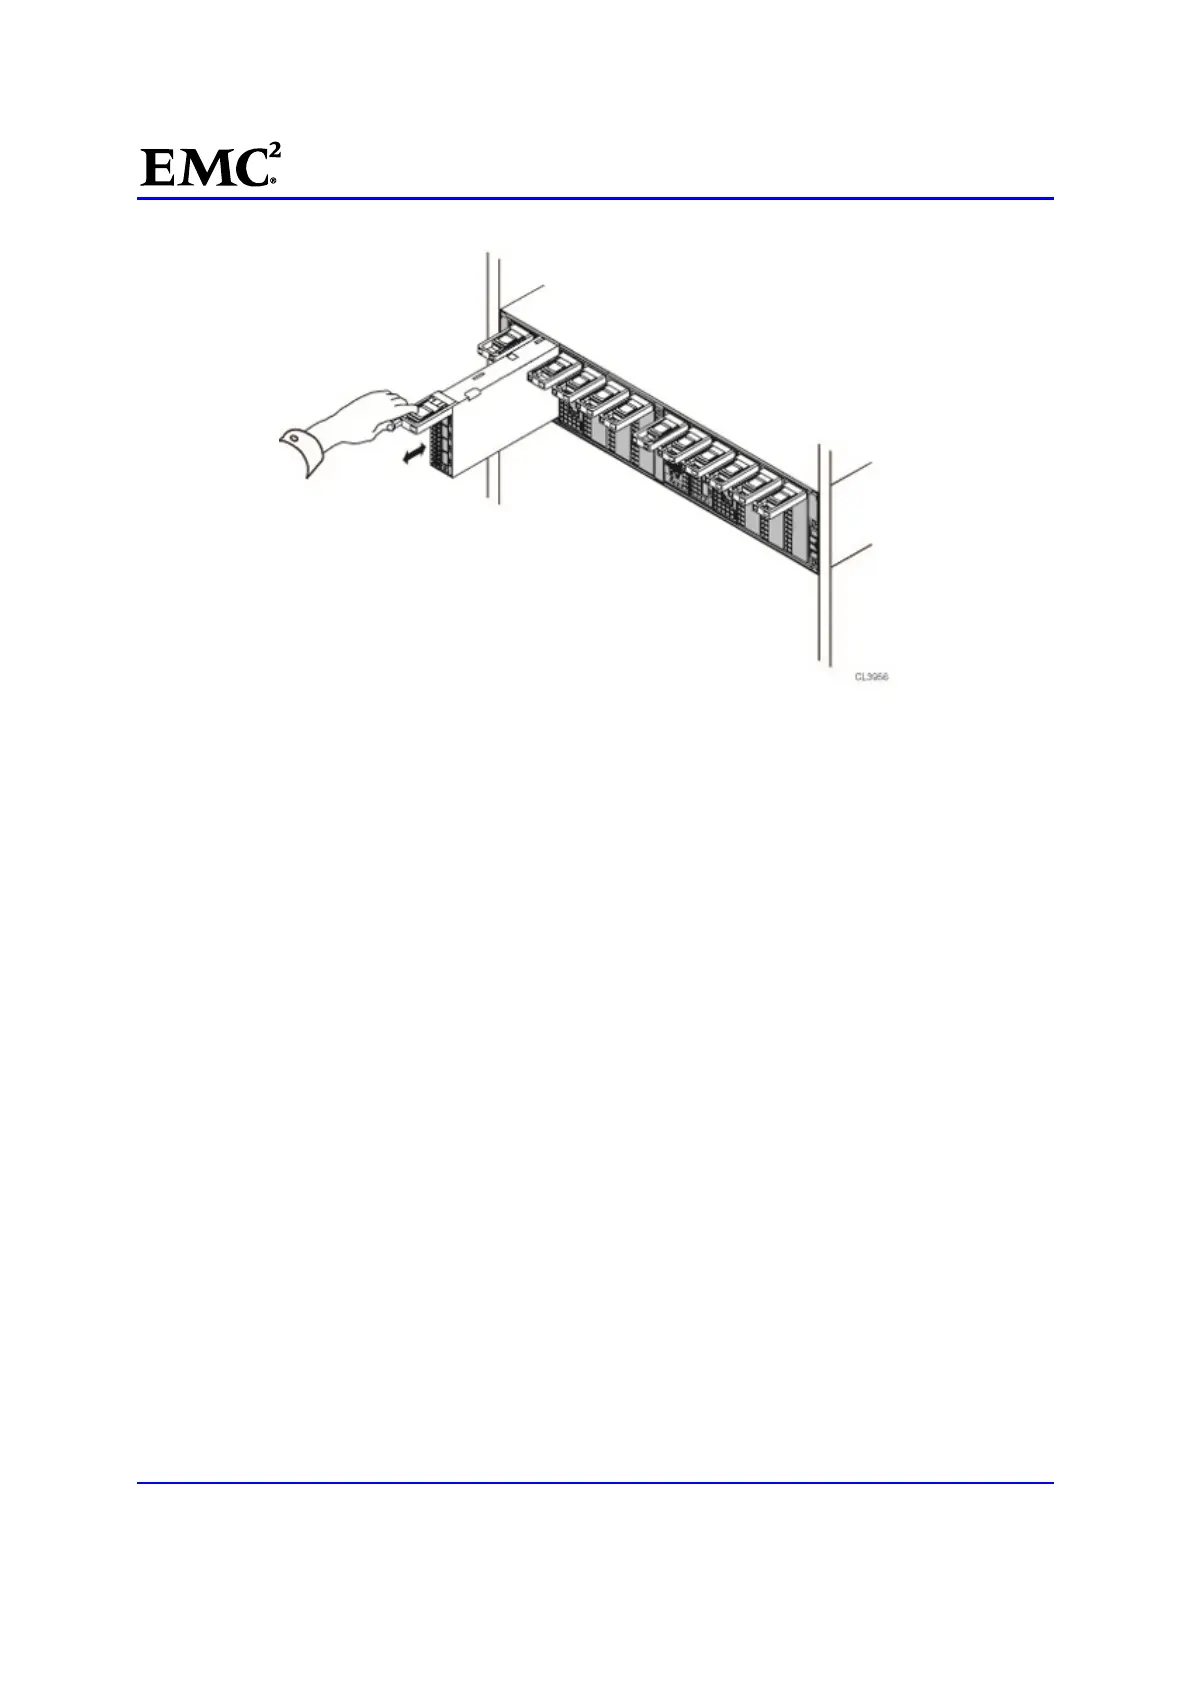
Figure 15 Removing an I/O Module
Installing an I/O module
You must install a replacement I/O module in the same slot from which you removed the faulted I/O module
and a new I/O module in the same slot from which you removed the I/O filler module.
33. [ ] Align the module with the empty slot (Figure 16).
Install the replacement I/O module in the same slot from which the faulted I/O module was removed.
34. [ ] When the I/O module appears seated, push and release the small button on the handle
(Figure 16).
If the button remains in, the module is fully seated .
If the button springs back, gently push the module further into the chassis, then push it again.
If the button still does not rest flush with its handle, remove the module and repeat steps 1 and 2.

 Loading...


