Configuration and Use Manual 31
Flowmeter Startup
Required Configuration Optional ConfigurationUsing the TransmitterFlowmeter Startup
5.5.2 Zero procedure
To zero the flowmeter:
• Using the display menu, see Figure 5-8. For a complete illustration of the display zero menu,
see Figure C-16.
• Using the zero button, see Figure 5-9.
• Using ProLink II, see Figure 5-10.
• Using the Communicator, see Figure 5-11.
Note the following:
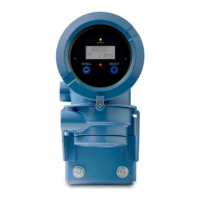
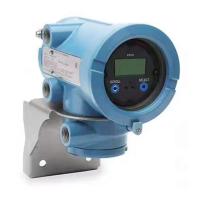
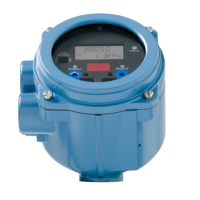
• If the transmitter was ordered with a display:
- The zero button is not available.
- If the off-line menu has been disabled, you will not be able to zero the transmitter with the
display. For information about enabling and disabling the off-line menu, see
Section 8.10.3.
- You cannot change the zero time with the display. If you need to change the zero time, you
must use the Communicator or ProLink II.
• If the transmitter was ordered without a display, the zero button is available.
- You cannot change the zero time with the zero button. If you need to change the zero time,
you must use the Communicator or ProLink II.
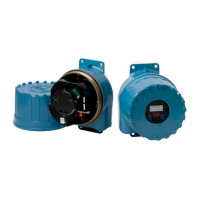
- The zero button is located on the user interface board, beneath the transmitter housing
cover (see Figure 2-2). For instructions on removing the transmitter housing cover, see
Section 2.3.
- To press the zero button, use a fine-pointed object such as the end of a paperclip. Hold the
button down until the status LED on the user interface module begins to flash yellow.
• During the zero procedure, the status LED on the user interface module flashes yellow.



 To Next Page