Section 7: Using the Epilog Dashboard
93
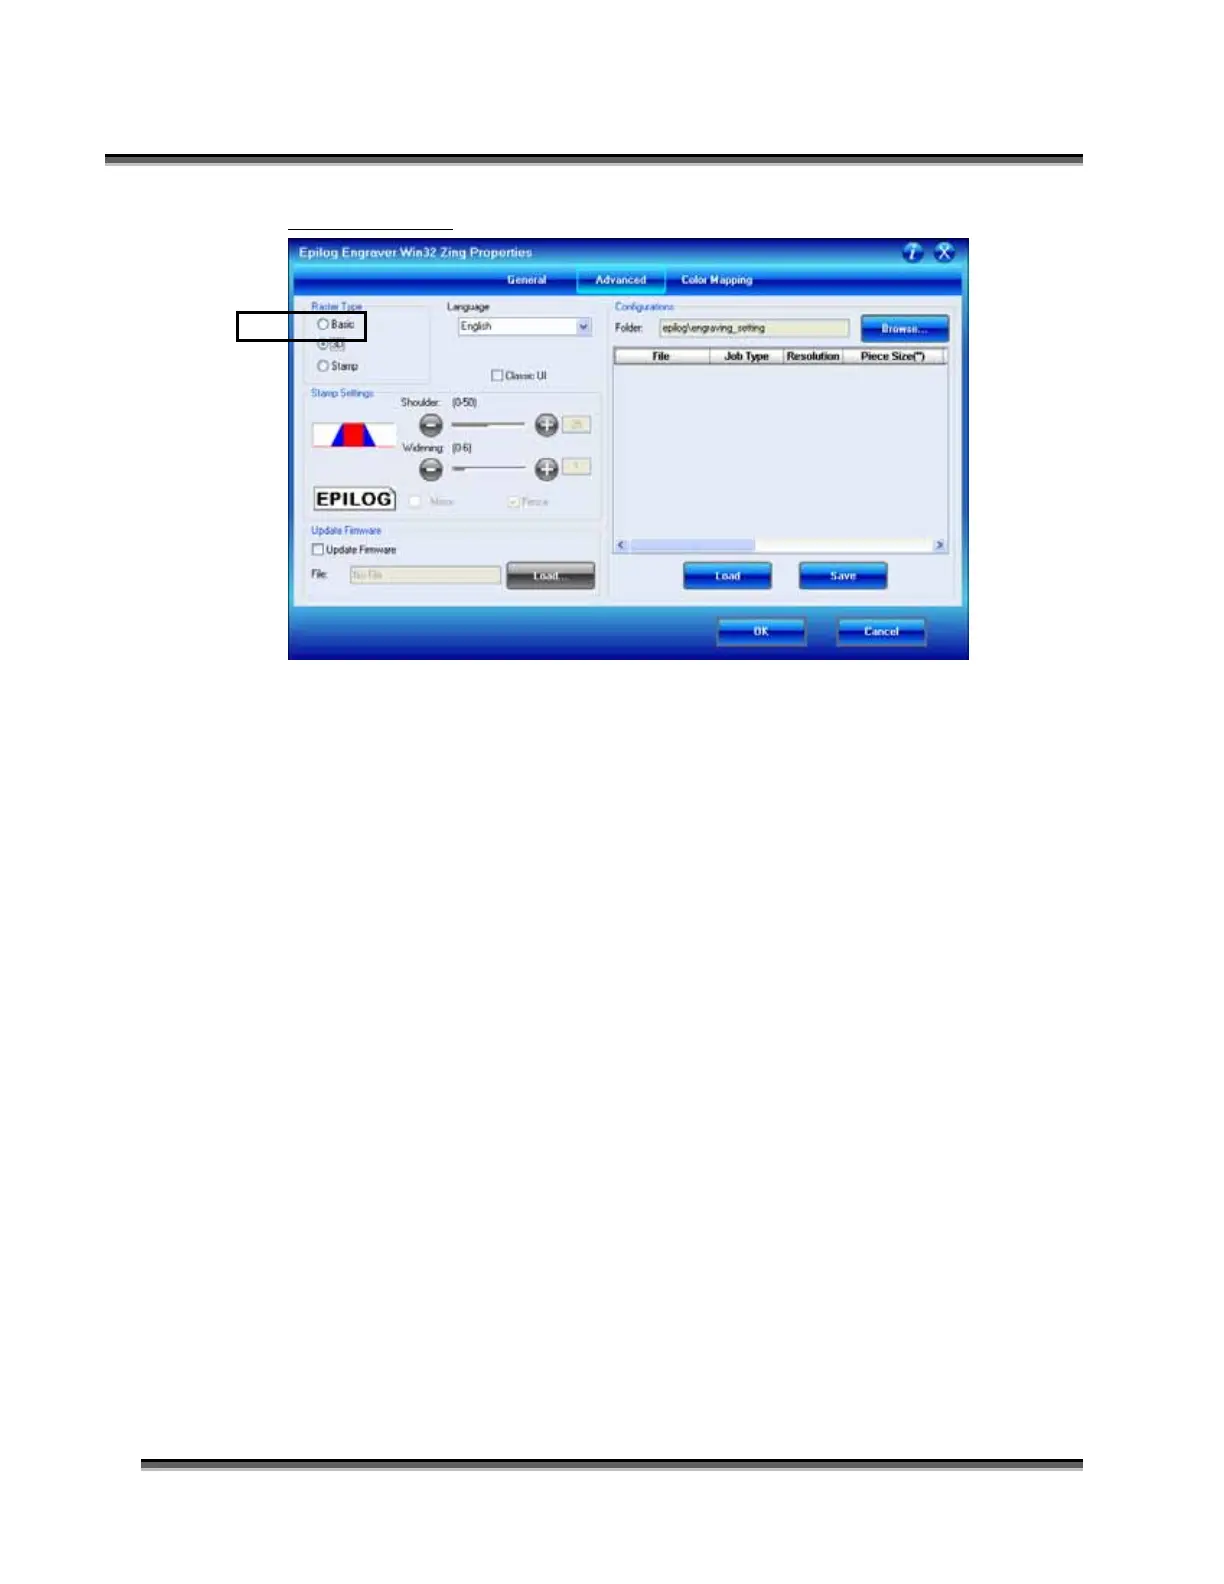
3D Engraving
Earlier in the manual we discussed dot patterns and how those patterns are used to
create raster images. 3D mode looks at the dots and the dot patterns in a very
different way than Basic raster engraving mode, especially where it concerns
either color, or grayscale images.
In 3D mode, instead of looking at the dots and determining where to fire the laser
based on the dot spacing, we look at the dots and determine how much laser
power (wattage) to apply to each dot, and that’s the big difference between Basic
raster engraving mode and 3D. In Basic raster engraving mode, every dot is fired
at the same laser output (wattage). In 3D mode we have the ability to adjust the
laser output for every dot.
An additional aspect of 3D mode is that, unlike Basic mode, the laser fires
continuously between most dots – even if it is engraving from a 10% fill pattern
to a 30% fill pattern. This is by design so there is a gradual change in the depth of
engraving when the artwork transitions from one shade of gray to another. The
only time that this is not true is when the artwork changes from 100% black to
100% white (or visa versa). Because we adjust the way the laser fires in 3D mode
we also have to adjust the artwork that is used to create good 3D images, and this
is where 3D engraving gets difficult.
In 3D mode, since we’re going to vary the laser power output for every dot, we
want artwork that will produce more than one level of gray. We want artwork
that gradually blends from one shade of gray to another. Engraving either of the
two gray boxes on the previous page will not produce a 3D affect because each

 Loading...