Section 7: Using the Epilog Dashboard
95
3D engraving usually requires more than one pass to get the depth of engraving
necessary to produce the dimensional relief that makes 3D engraving look good.
Many users will engrave an image using two or three passes to get the depth they
are looking for. As long as you do not move the piece that is being engraved, the
multiple passes will align perfectly with the first pass. The following images
show examples of a simple piece of 3D artwork.
These images are available in Corel 11 format as Leaf1.cdr and Leaf2.cdr, and as
bitmaps (Leaf1.bmp and Leaf2.bmp) on the Drivers and Documentation disk that
came in the accessories disk with your machine.
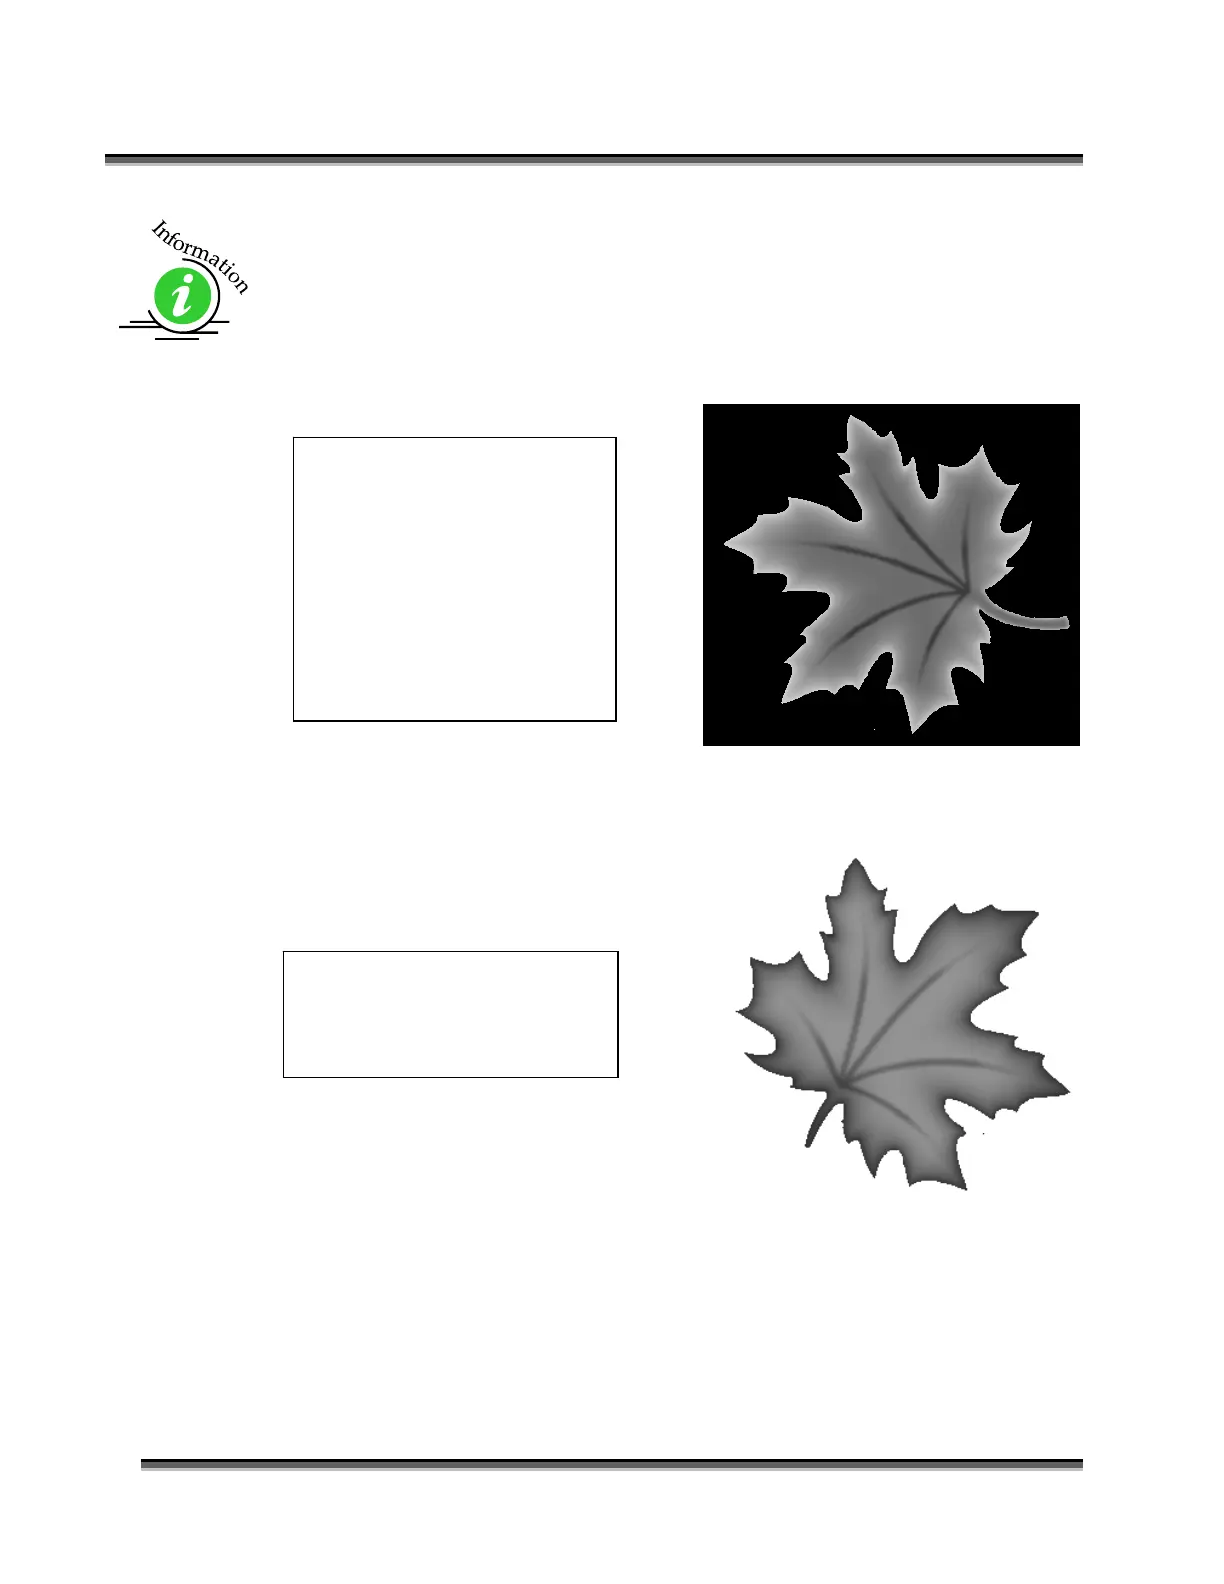
In this sample, the black
background would be
engraved away. Using this
technique, the leaf stands up
away from the background,
with the edges of the leaf
being the highest points and
the stems being engraved the
deepest.
This image would engrave
deepest around the edges of the
leaf and less deep in the body.
 Loading...