Section 7: Using the Epilog Dashboard
96
Stamp
The stamp option automatically converts your artwork into to a format that will
produce a laser engraved stamp. This function automatically inverts your artwork
so that the background is engraved away while your text and graphic images are
left standing. It also puts a supporting shoulder around every component of the
artwork.
Because of the unique nature of Stamp mode, we have devoted a sub-section on
all aspects of stamp making and printing. Please see Material Engraving
Techniques - Engraving Rubber Stamps section of this manual for detailed
instructions on producing and printing stamps.
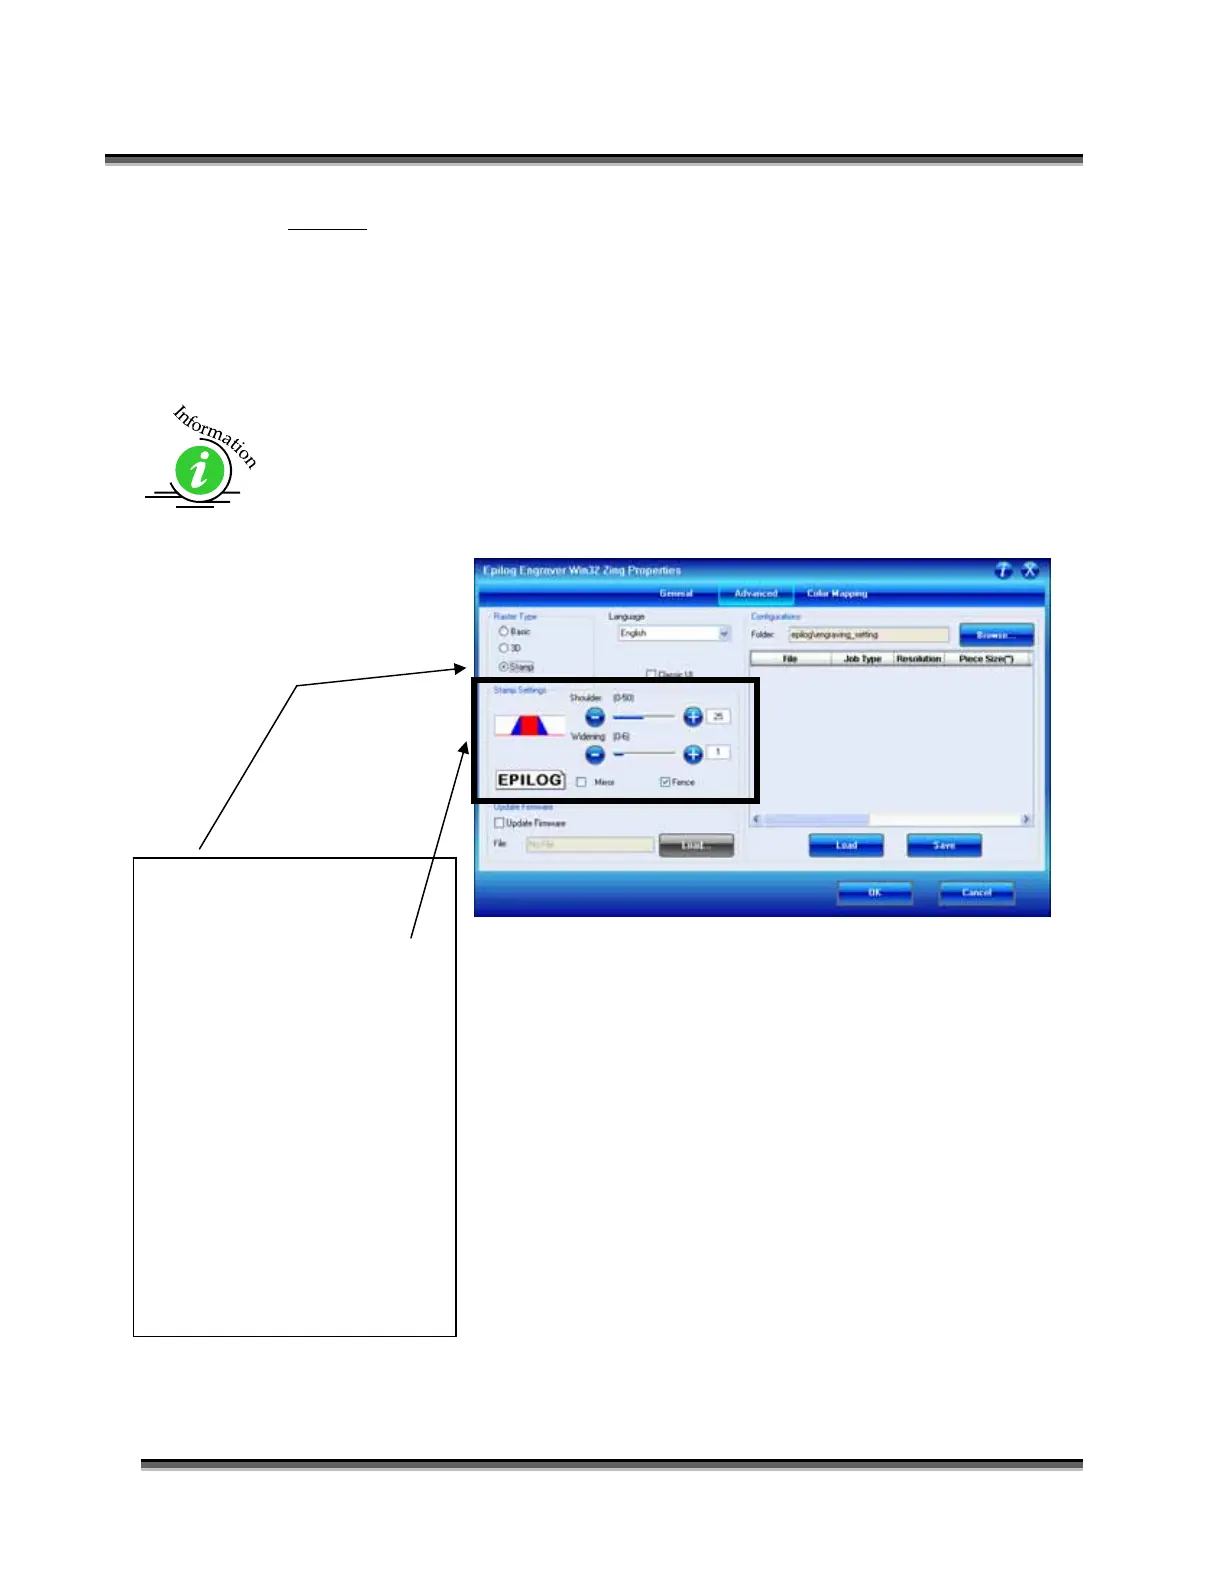
Select Stamp for all Stamp
jobs.
Stamp Settings become active
after selecting Stamp mode.
These settings can be used to
change some of the Stamp
variables.
Please see the Material
Engraving Techniques -
Engraving Rubber Stamps
section later in this manual
for detailed instructions on
producing and printing
stamps.
 Loading...