1-18
Setting Up the Printer
R4C4620
Rev. C
A5 size SETUP.FM
6/14/00 Pass 3
L
Proof Sign-off:
SEI Y.Ohkawara T.Takahashi
T.Takahashi
SEI M.Kauppi K.Blair
Installing the printer software in Windows 3.1 or NT 3.5x
Follow the steps below to install the printer software in Windows
3.1 or NT 3.5x systems.
Note:
Installing the printer software on Windows NT 3.5x may require
network administration privileges. Ask your administrator for more
information.
1. Make sure Windows is running and the Program Manager
window is open.
2. Insert the printer software CD-ROM shipped with your
printer in the CD-ROM drive. (If you are using diskettes,
insert Disk1 of your printer software in a disk drive.)
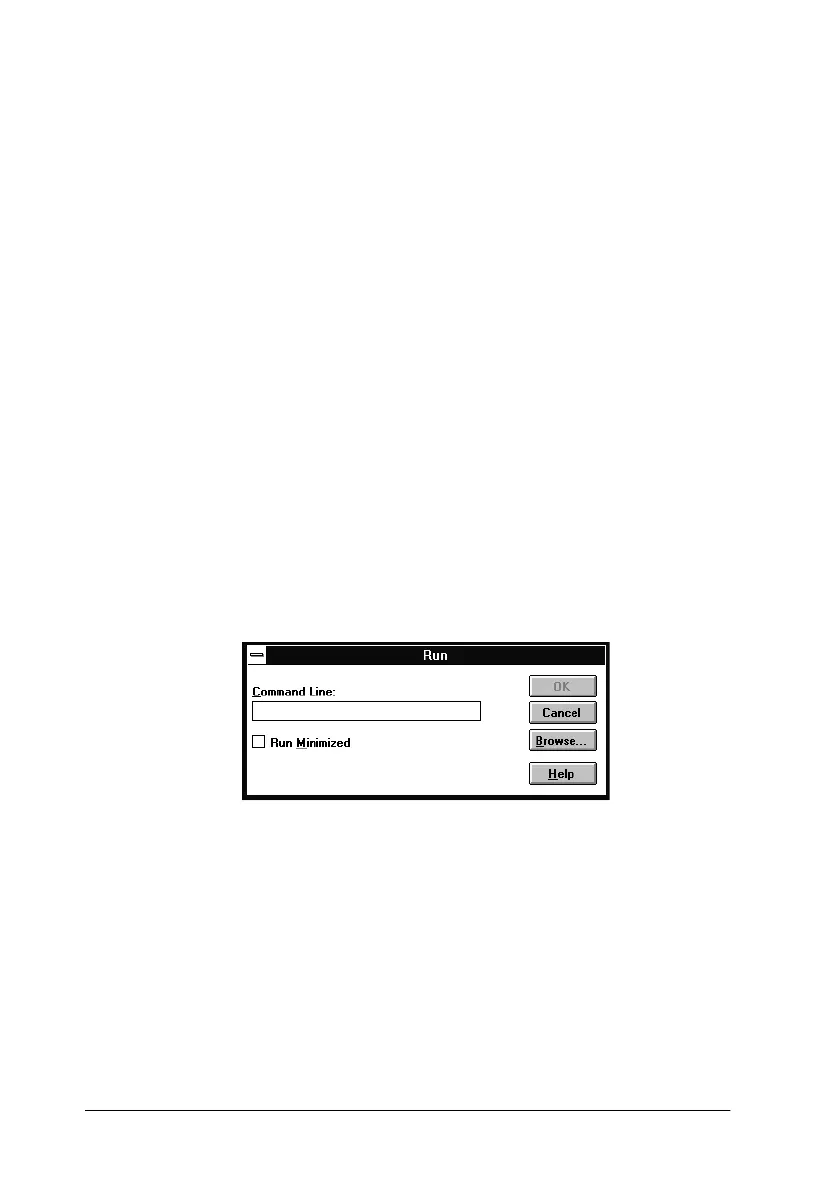
3. Choose
Run
from the File menu. The Run dialog box appears.
In the Command Line box, type
D:SETUP
. (If your CD-ROM
drive has a drive letter other than “D,” or if you are using a
diskette, substitute the appropriate drive letter.) Then click
OK
.
If you wish to make a diskette version of the printer software
on your CD-ROM, type
EPSETUP
instead of
SETUP
. In the
dialog box that appears, click the
Driver disk creation utility
button and follow the on-screen instructions.
4. Select your printer from the list.
5. The installation program begins copying the printer software
files.