EPSON FX-890/2190 Revision B
Troubleshooting Troubleshooting Based on Symptoms 62
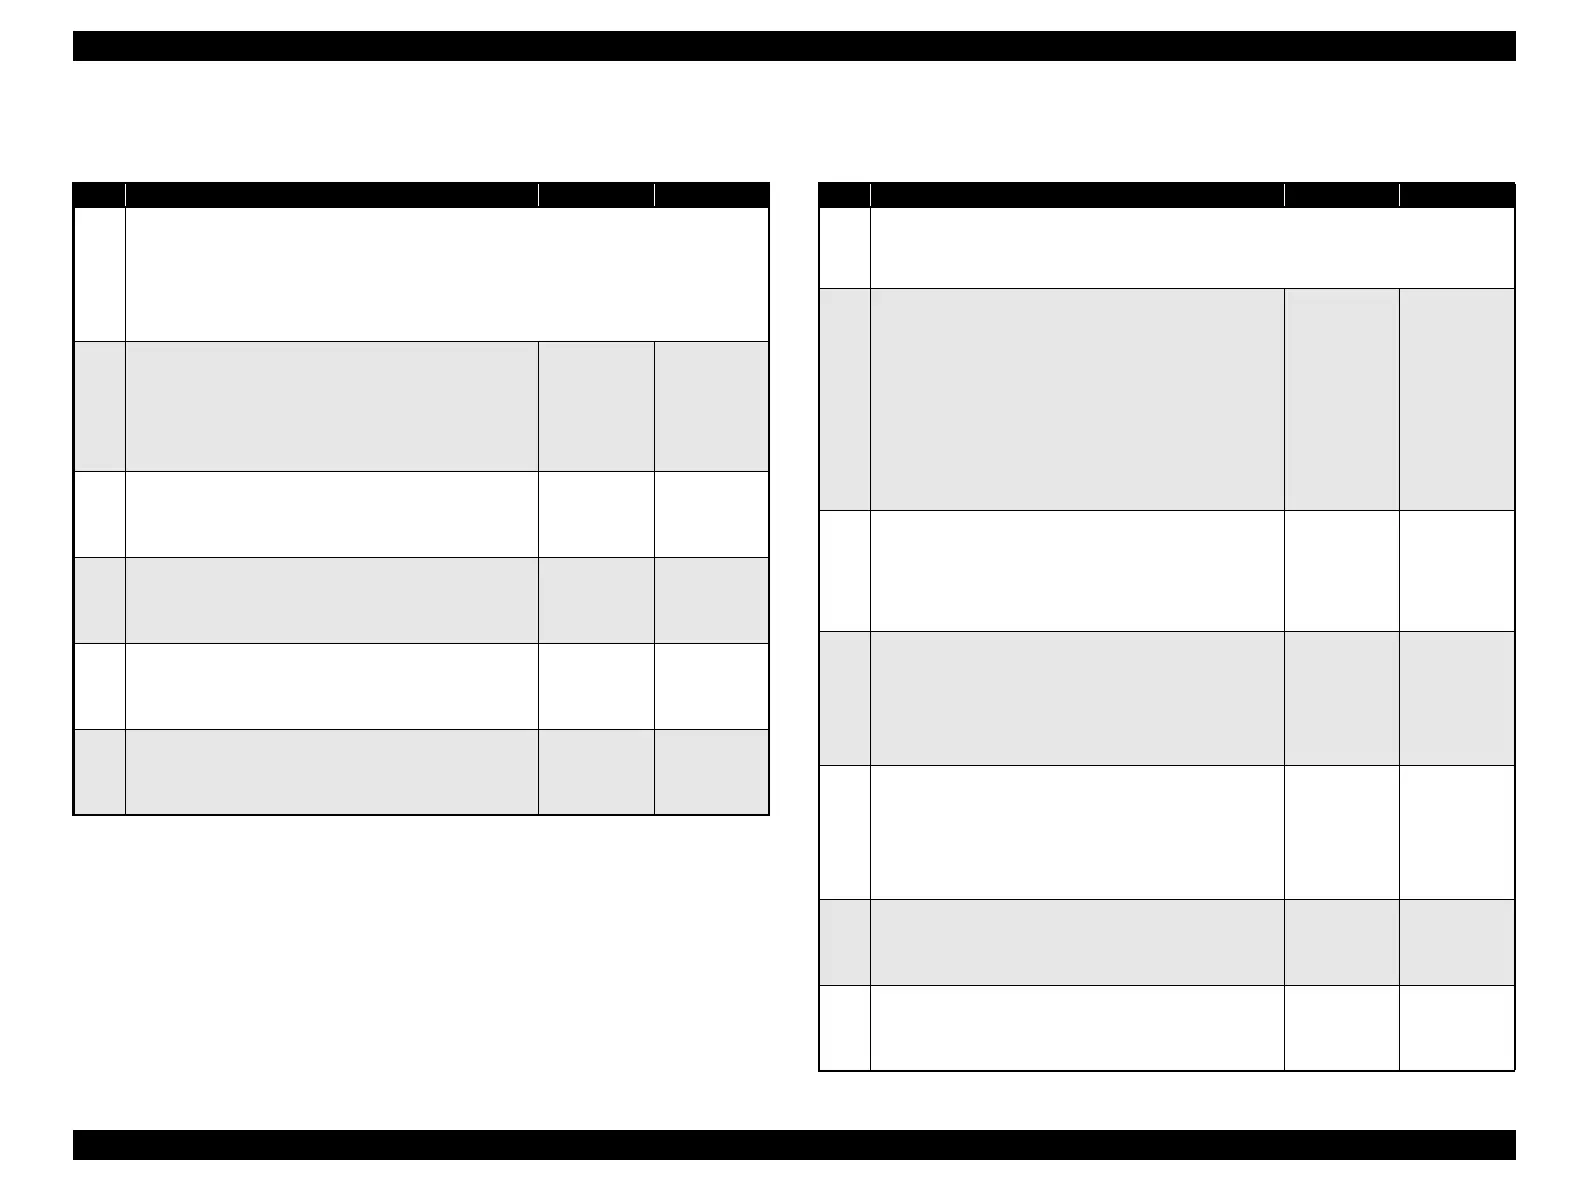
3.2.10 Faulty print 3.2.11 Electrical Noise
Table 3-12. Faulty print
Step Action and Question Yes No
Parts below can be the source of this error (Chapter 4 Disassembly and Assembly)
• Ribbon Mask
• Printhead (p.77)
• Printhead FFC
• C524MAIN Board (p.74)
1
Ribbon Mask
Remove the Ribbon Mask from the Printhead, and
make sure that the Ribbon Mask is free from
deformation or damage.
♦Is the problem solved?
Problem
solved
Go to Step 2
2
Defective Printhead
Replace the Printhead with a new one.
♦Is the problem solved?
Replace the
Printhead.
Go to Step 3
3
Platen Gap Adjustment (p.95)
Adjust the platen gap.
♦Is the problem solved?
Problem
solved
Go to Step 4
4
Printhead FFC
Replace the Printhead FFC with a new one.
♦Is the problem solved?
Replace the
Printhead
FFC.
Go to Step 5
5
Main Board
Replace the Main Board with a new one.
♦Is the problem solved?
Replace the
Main Board.
Go to 3.2.11
Electrical
Noise (p.62)
Table 3-13. Troubleshooting for Electrical Noise
Step Action and Question Yes No
Parts below can be the source of this error (Chapter 4 Disassembly and Assembly)
• C524PSB/PSE/PSH Board (p.76)
• C524MAIN Board (p.74)
1
External noise
1. Check to see if within 3 m from the printer there is
another electrical apparatus, such as a generator,
radio transmitter or an apparatus incorporating a
motor.
2. Turn off the power to the electrical apparatus in
question or move the printer to a position at least 6
m distant from the apparatus.
♦Does the problem with electrical noise still occur?
Go to Step 2
Problem
solved
2
AC grounding
Check the AC power connection.
♦Is the AC power cable connected and grounded
properly?
Go to Step 3
Ask the
customer for
repair of the
AC power
connection.
3
Harness of Power Switch
1. Remove the Printer Mechanism. (p.80)
2. Replace the HOUSING ASSY.,LOWER with a new
one.
♦Is the cable grounded properly?
Go to Step 4
Install the
grounding
screw
properly.
4
Grounding of circuit boards
1. Remove the Shield Cover.(p.74)
2. Make sure that the screws for the Power Supply
Board is tightened securely.
♦Is grounding ensured?
Go to Step 5
Ensure
grounding.
5
Power Supply Board
Replace the Power Supply Board with a new one.
♦Is the problem solved?
Replace the
Power Supply
Board.
Go to Step 7
6
Main Board
Replace the Main Board with a new one.
♦Is the problem solved?
Replace the
Main Board.
Problem
solved
 Loading...